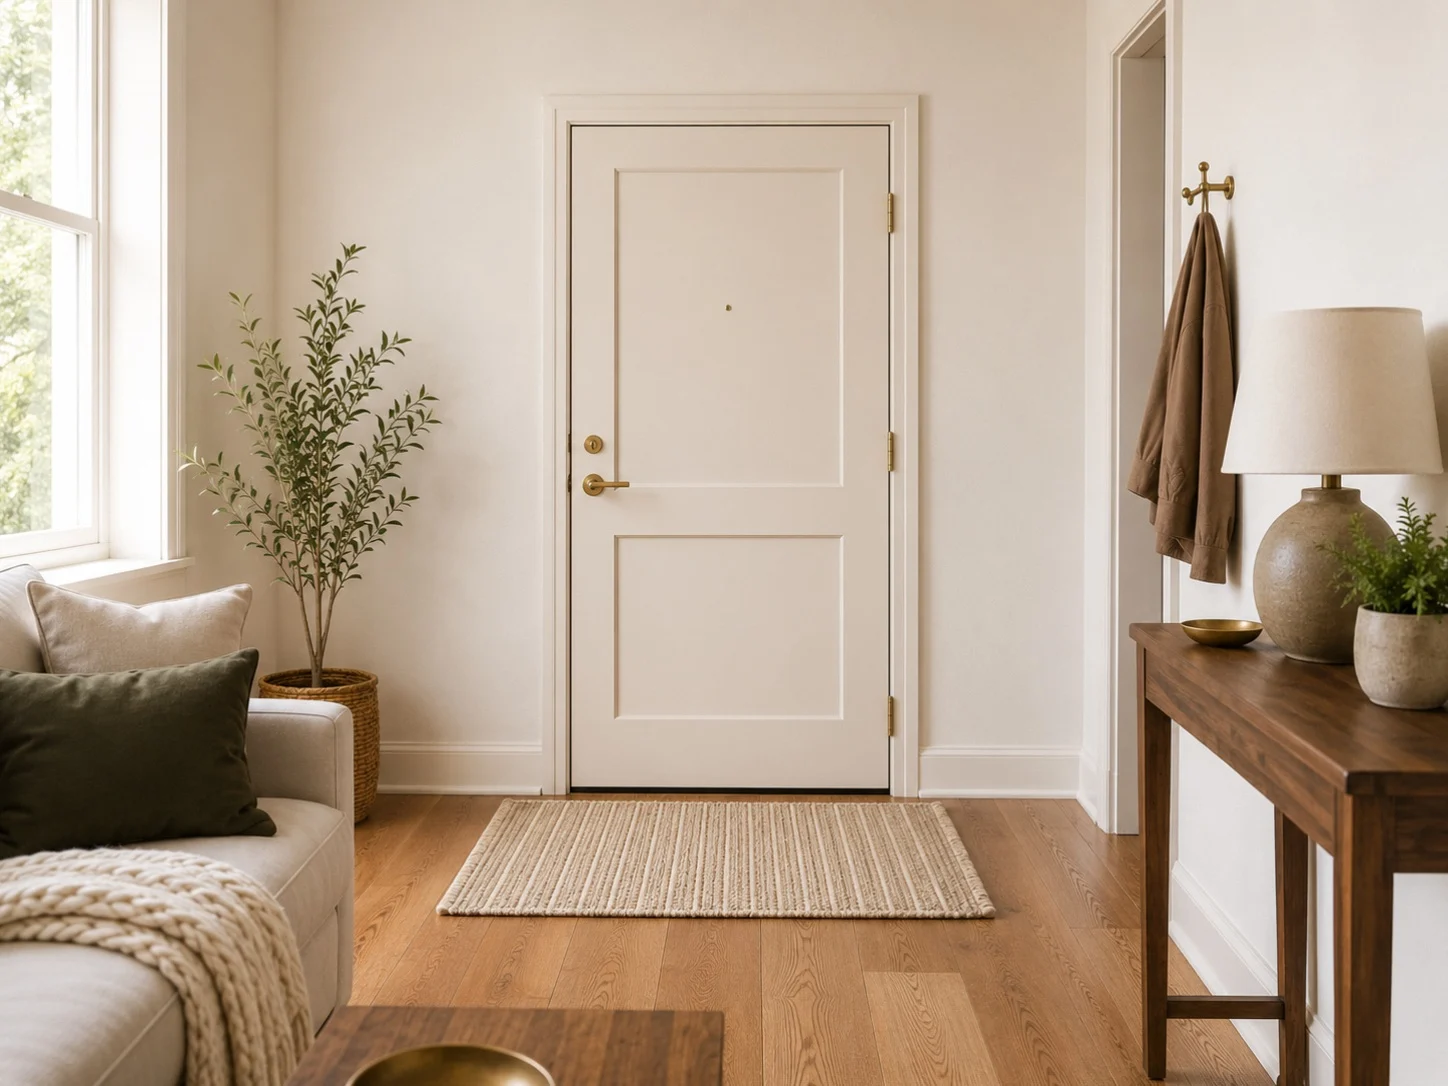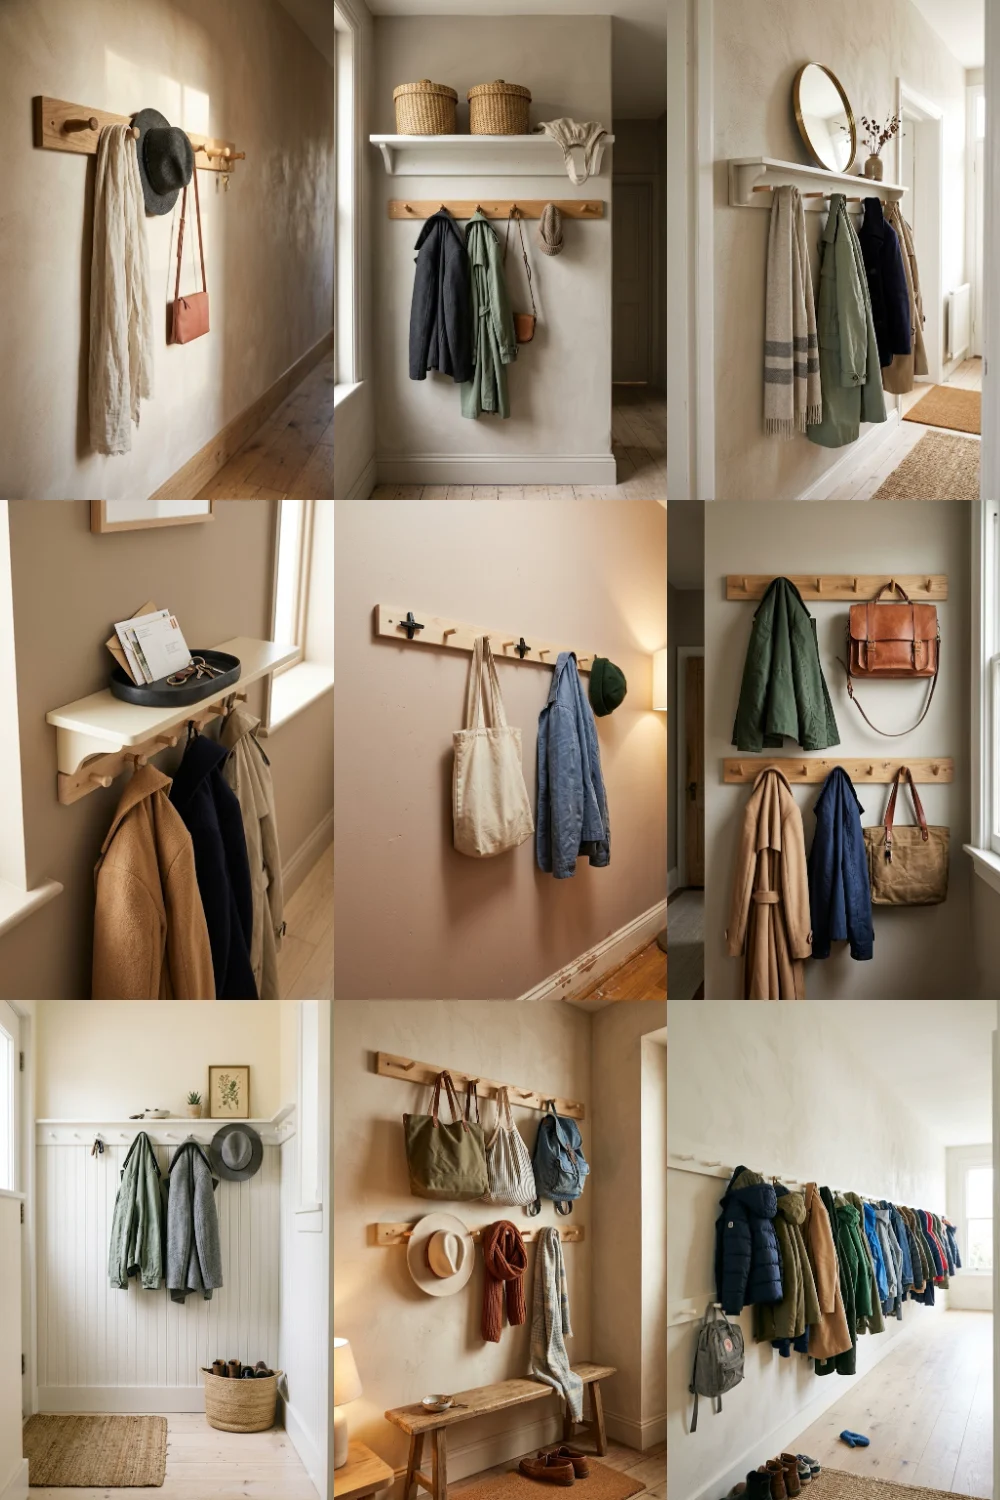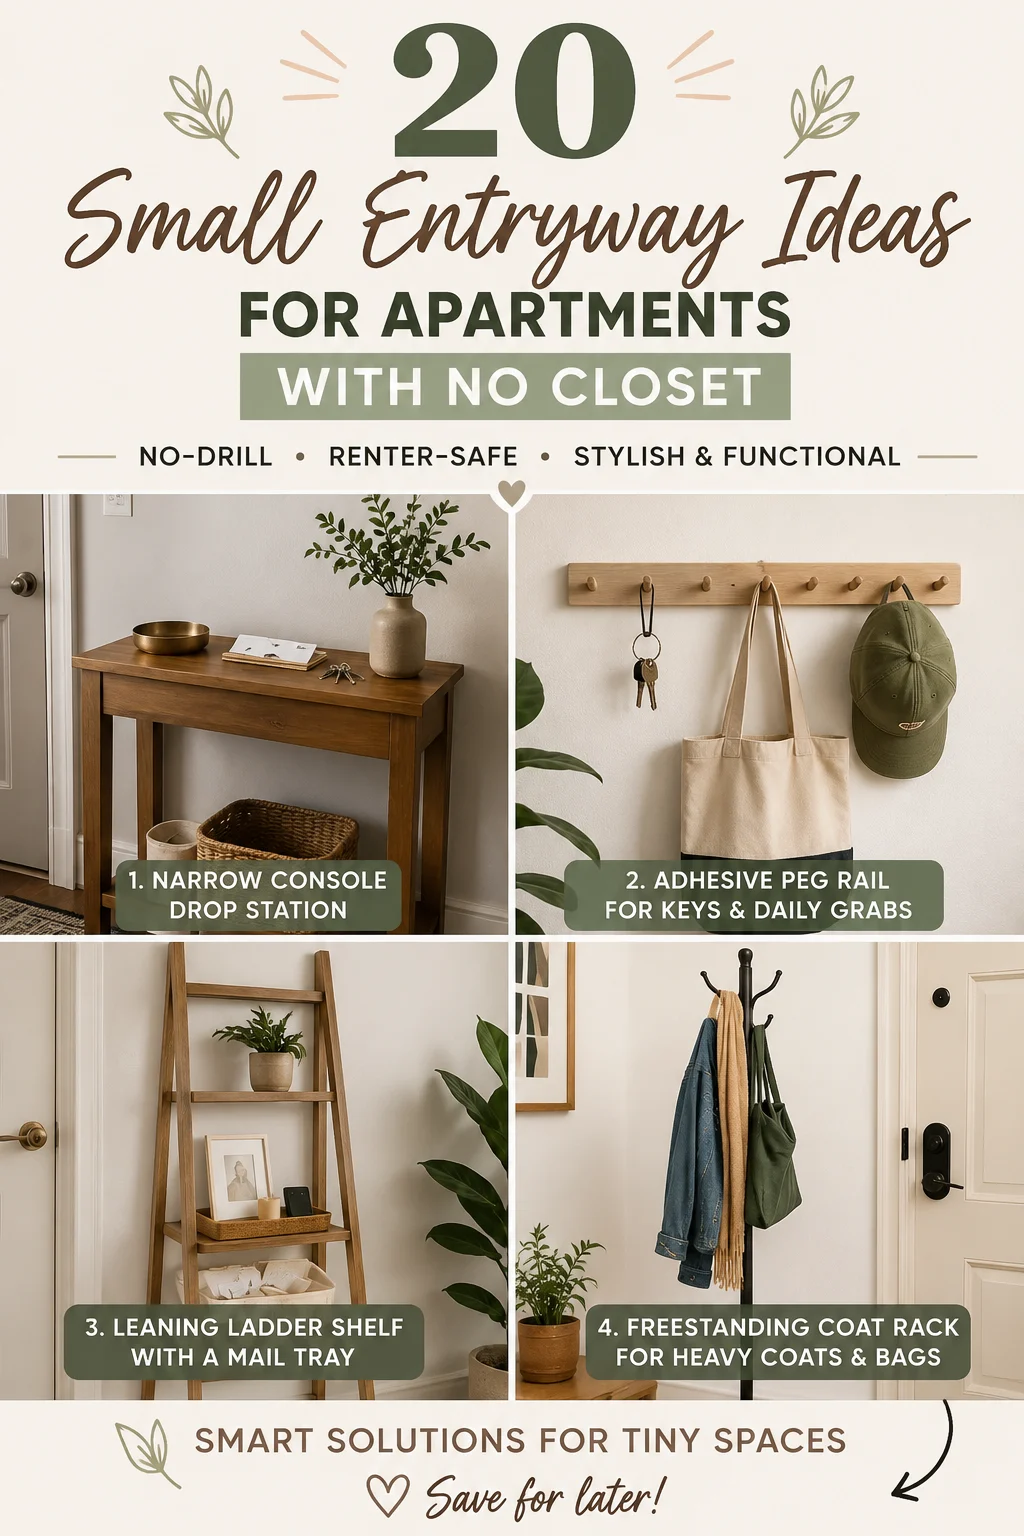
Small entryway ideas for an apartment with no closet have to clear a bar most posts quietly ignore: no closet anywhere, and no drilling anywhere either. I've moved four times, and I'm done spackling nail holes on move-out day, so every idea here survives a lease with zero wall patching. You won't find a single over-the-door hack aimed at a coat closet you don't have, and that's the whole point. These 20 are organized the way you actually use an entry: somewhere to drop keys and mail, somewhere to hang coats and bags, somewhere to park shoes, then the finishing touches that make the corner read as a real entry. Save this to Pinterest so it's here when you move.
1. Narrow freestanding console as your drop station
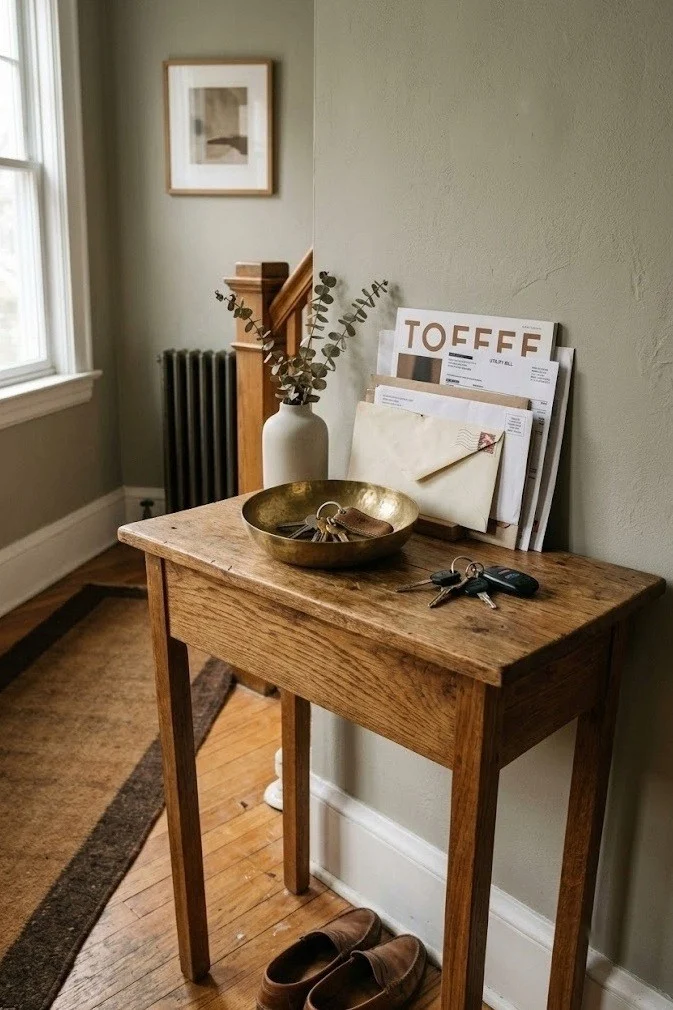
A narrow freestanding console, 8 to 12 inches deep, gives you a real landing surface for keys, mail, and sunglasses without touching a wall. Depth is the number that matters in a tight entry: anything past 12 inches and you'll clip it with your hip every time you walk past. Set a shallow tray or bowl on top so small stuff has a home and doesn't migrate around the apartment. A slim console with a lower shelf doubles as a spot for a basket, which keeps the floor clear. Look for one with a weighted or wide base if your floors aren't level, because a tippy console by the door is the one that eventually loses. It moves with you: no anchors, no holes.
2. Adhesive peg rail for keys and daily grabs
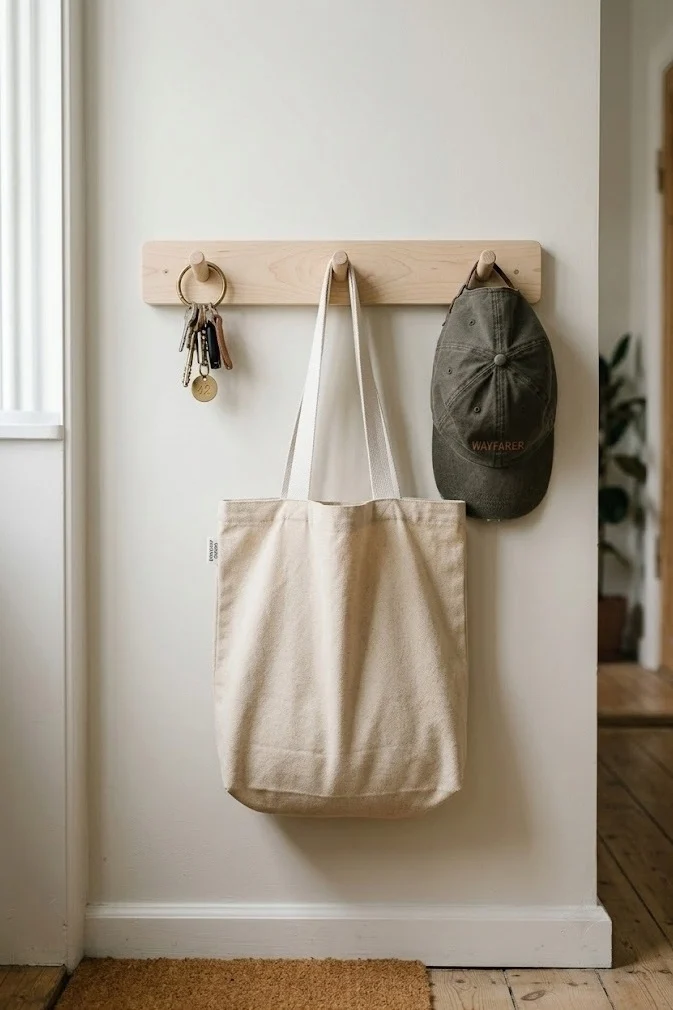
An adhesive peg rail mounted at shoulder height turns a bare patch of wall into a key-and-lanyard station with zero holes. Keep what hangs here light: keys, a small tote, a lanyard, a cap. The adhesive backing on these strips is rated for a few pounds at most, so this is not where a wool coat goes. Press it onto clean, smooth, painted drywall, not textured or freshly painted walls, where the bond fails within days. Give it the full cure time before you load it up. Position it just inside the door at the height your hand naturally reaches, so dropping keys becomes muscle memory instead of a decision you have to make tired at 8am. When you leave, warm the adhesive with a hairdryer and it peels clean off the paint.
3. Leaning ladder shelf with a mail catch-tray
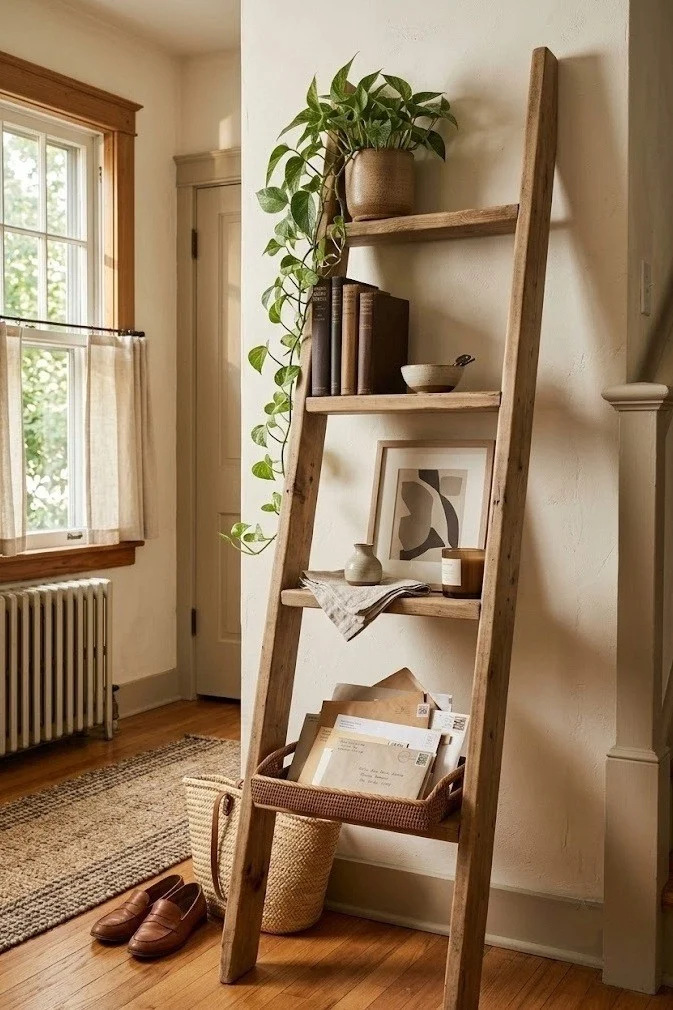
A leaning ladder shelf props against the wall and gives you vertical storage in a footprint barely wider than the ladder itself. Reserve the top rungs for light, pretty things and the bottom for a tray that catches mail and small packages. Unlike the console in idea 1, a ladder leans instead of standing free, so it wants friction at the feet: a rubber pad or a scrap of rug stops it sliding on hard floors. Load it bottom-heavy, because a top-heavy leaning shelf is a slow-motion accident waiting for a slammed door. Dust collects fast on open rungs, so this works best if you're the type who'll wipe it weekly rather than let it fur over between guests.
4. Slim freestanding cabinet as a hidden landing zone
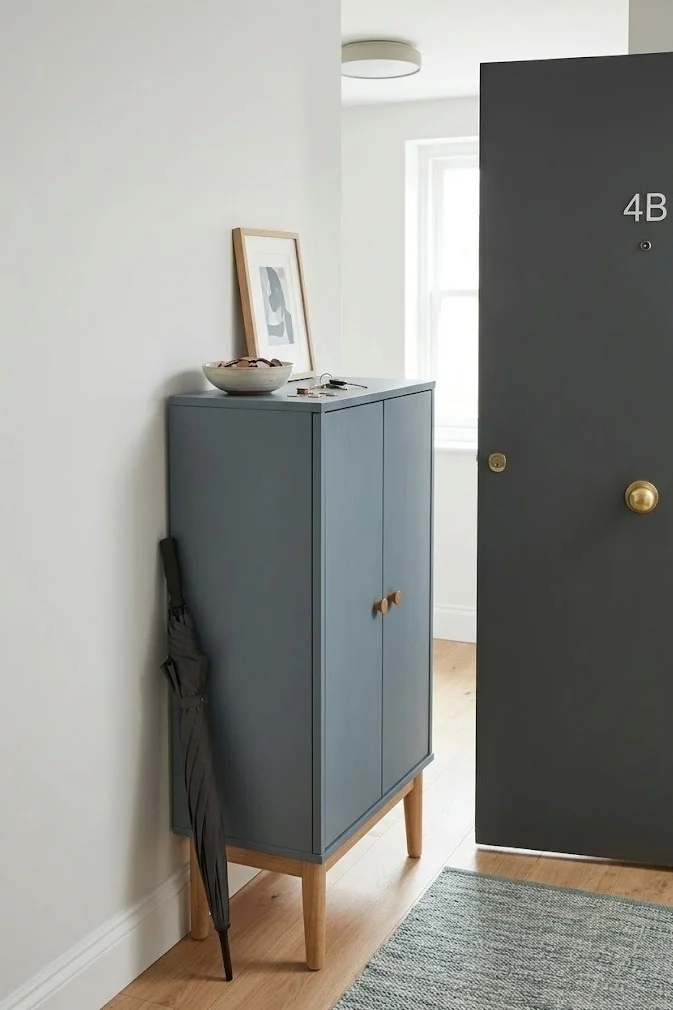
A slim freestanding cabinet hides the entry clutter you don't want on display, like chargers, spare masks, and the umbrella, behind a door in about a 14-inch-deep footprint. The most common mistake here is buying for capacity instead of clearance: measure your door swing and walkway before you fall for a wider unit, because a cabinet that blocks the entry door from opening fully is worse than no cabinet at all. Pick one with a top surface you can still use as a drop zone, so it earns its footprint twice. A cabinet on legs reads lighter in a small space than a box that sits flush to the floor, and it lets a robot vacuum or a broom get underneath instead of trapping dust in a dead corner.
5. Freestanding coat rack for the heavy winter coats
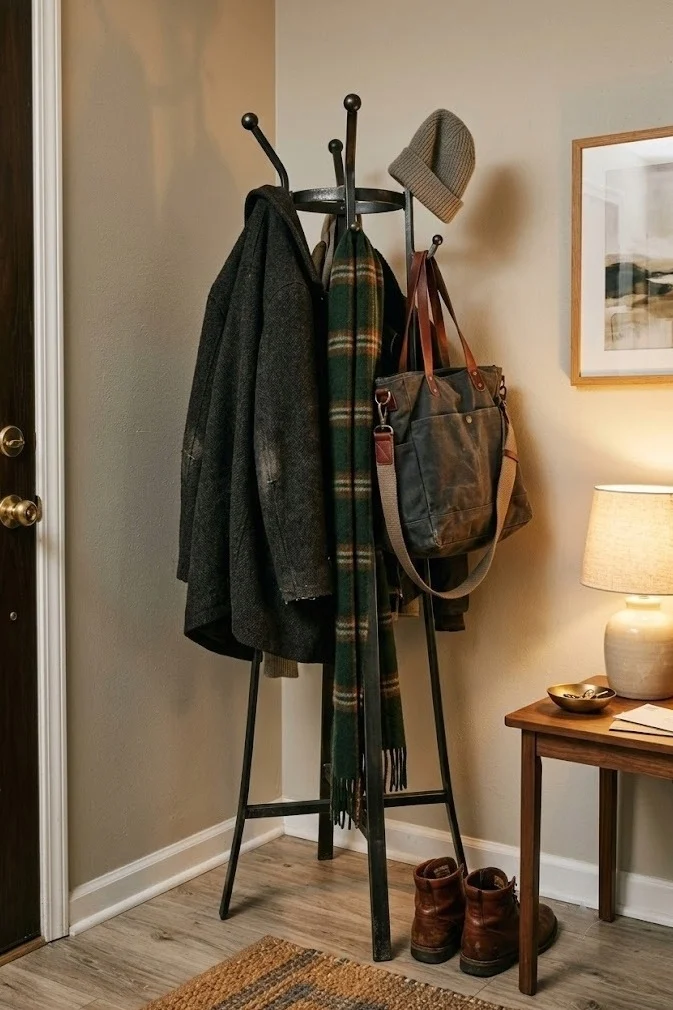
A freestanding coat rack is the honest answer for heavy winter coats and wet raincoats, the stuff adhesive hooks physically cannot hold. A weighted tripod or wide four-leg base keeps it upright when three coats pile onto one side, which is exactly what happens by February. Think of the loadout as a formula: 60% coats on the main pegs, 30% bags and scarves on the mid hooks, 10% a hat or umbrella up top, so the weight sits low and centered. Swap the umbrella spot for a hanging plant in summer and the same rack reads seasonal instead of purely utilitarian. Place it in a corner rather than mid-wall, because a corner braces two sides and the rack stops looking like it's stranded in the middle of the room.
6. Wood peg rail on adhesive mounts for hats and bags
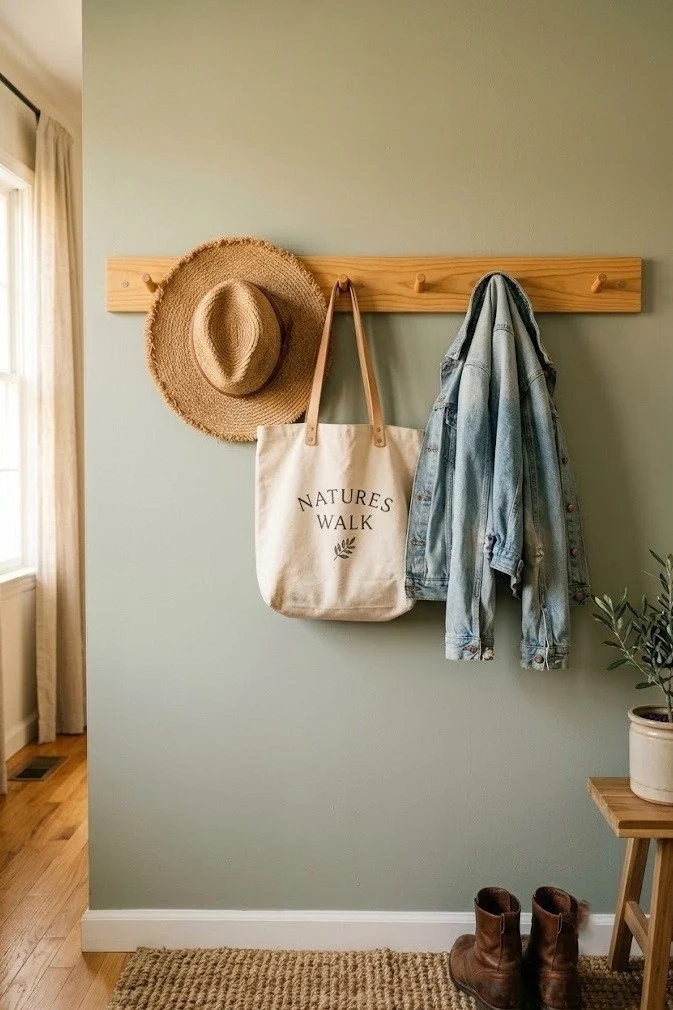
A wooden peg rail on adhesive mounts gives you a row of hooks for hats, tote bags, and lightweight jackets without a single screw. The rail spreads the load across several adhesive points, which is gentler on the bond than one hook taking all the weight, but the ceiling is still light, so think canvas totes and baseball caps, not a loaded backpack. Choose a rail with pegs spaced at least four inches apart so bags don't crowd and knock each other off. Real wood rails look far less renter-temporary than plastic hooks and cost only a little more. Keep the total hanging weight modest and check the mounts every few weeks, since adhesive creeps in the humid air near an exterior door.
7. Leaning ladder as an open coat-and-scarf display
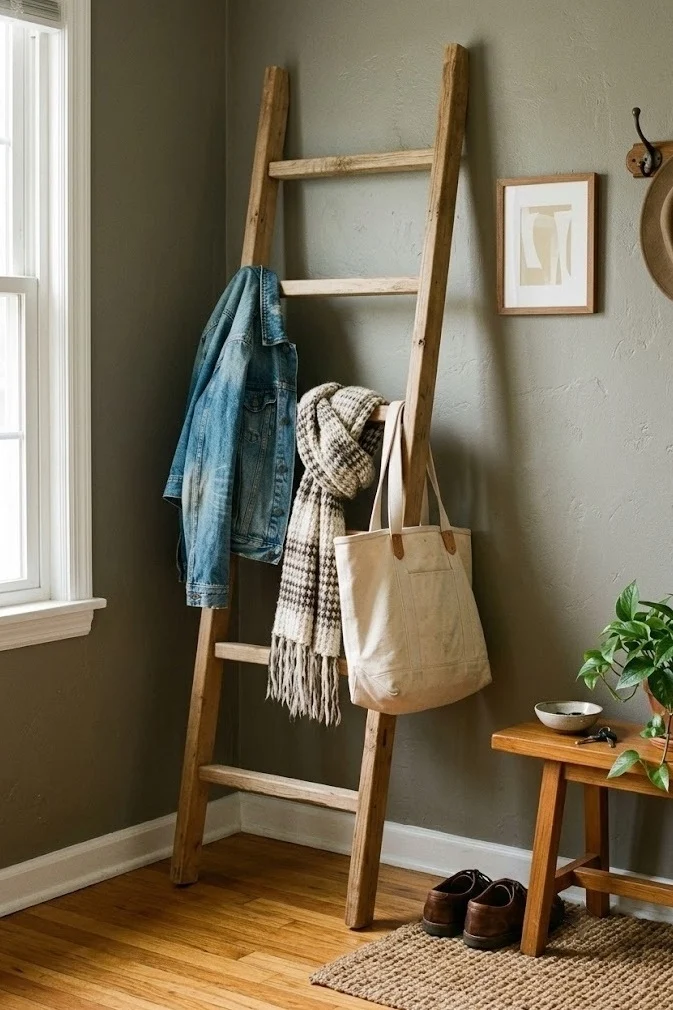
A leaning ladder doubles as an open coat rack for the jackets you actually rotate through, draped over rungs instead of hung, so nothing needs a hook rated for weight. This is the lighter-duty cousin of the freestanding rack in idea 5: great for denim jackets, scarves, and a canvas bag, but not the spot for a soaked wool overcoat. Lean it at a shallow angle so coats don't slide off the rungs, and put the heaviest item on the lowest rung to keep the center of gravity down. A wooden ladder with a matte finish grips fabric better than a glossy metal one, which lets everything slide off in a heap. It folds flat when you move, which is the whole appeal for someone hauling it to a fifth apartment.
8. Staggered cluster of adhesive hooks for light jackets
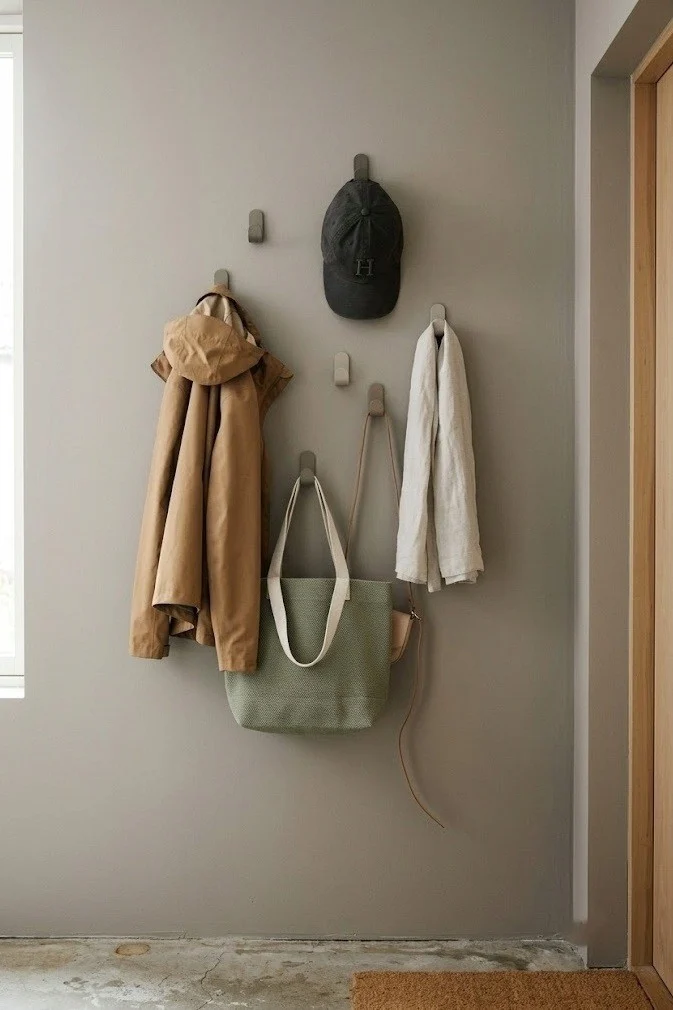
A staggered cluster of adhesive hooks holds lightweight jackets, tote bags, and hats across a bare wall, no rail required. The mistake that ruins this look, and dents your deposit, is overloading a single hook: the same weight limit from the peg rail in idea 6 applies to each hook here, roughly two to three pounds before the adhesive starts to peel. Spread the load by hanging one item per hook and clustering the hooks at slightly different heights, so a heavy bag isn't tempting you to double up. Wipe the wall with rubbing alcohol before mounting, since skin oils and dust are the quiet reason hooks fail early. Skip the wet coat entirely and hang it on a freestanding rack instead, where nothing is trusting glue.
9. Freestanding garment rack as an open wardrobe
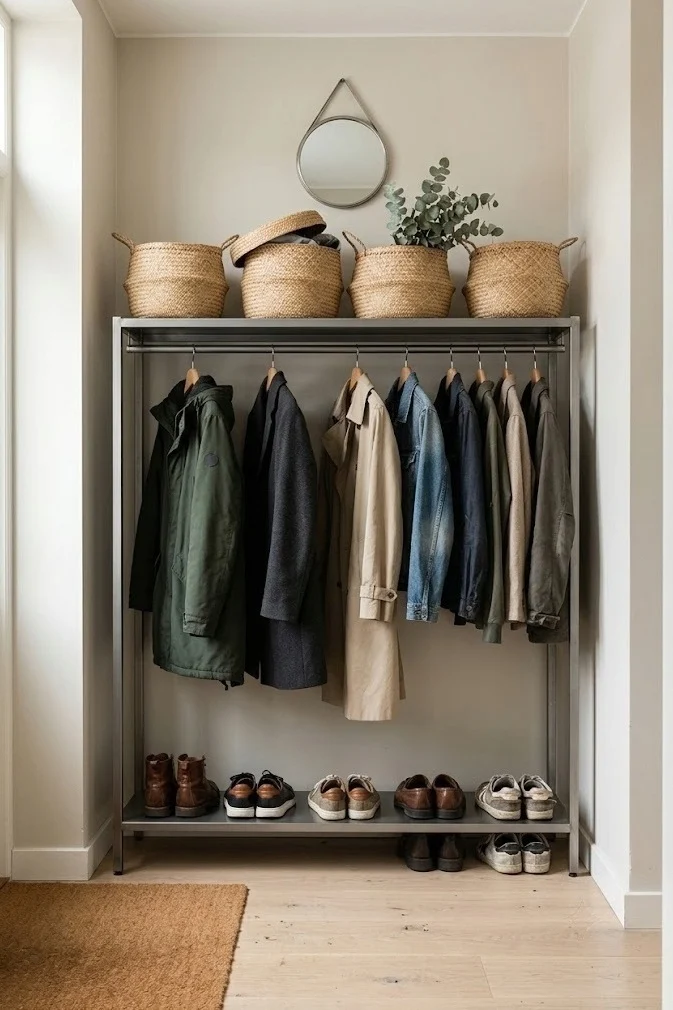
A freestanding garment rack works as a full open wardrobe by the door when you have no closet at all: hang coats, keep a shelf of shoes below, done. Buy one with a lower shelf and, ideally, a top shelf, because the vertical space above the hanging bar is prime real estate for baskets of gloves and hats. The upkeep reality is that an open rack shows everything, so it only looks good if you keep it curated to what's in season and stash the rest out of sight. Wheeled racks roll for cleaning but drift on hard floors, so lock the casters or choose fixed feet. Expect to wipe down a metal bar now and then, since hands and sleeves leave a grimy film on chrome faster than you'd think.
10. Boot tray to corral wet and muddy shoes
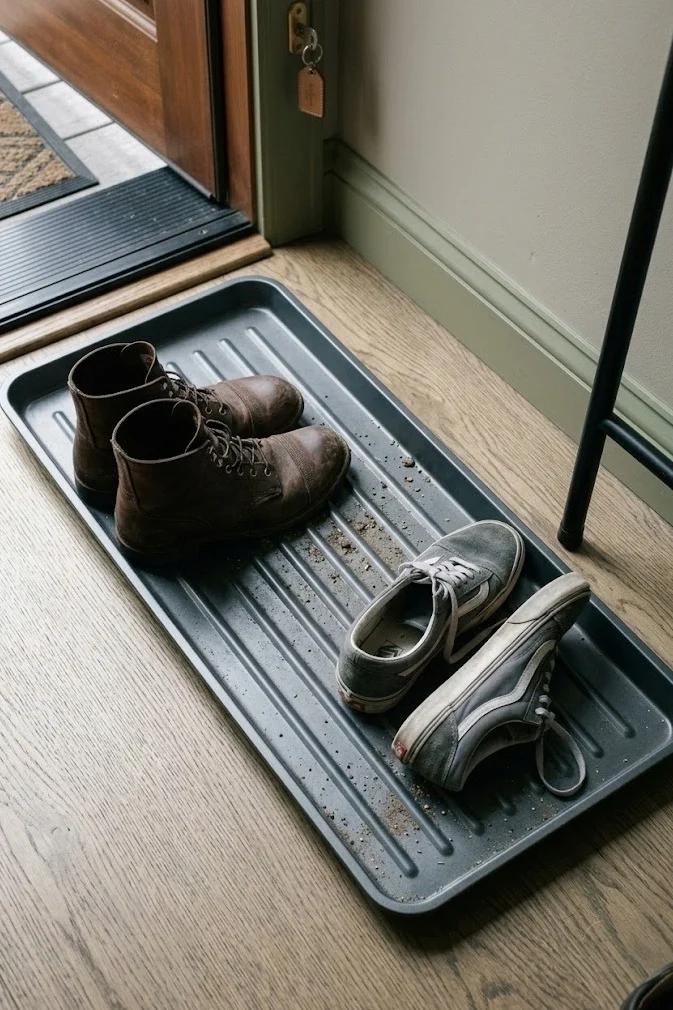
A boot tray by the door contains the mud, snowmelt, and grit that would otherwise track across your whole apartment, in a footprint about the size of a doormat. Sizing is the trick: get one with a raised lip and at least 30 inches long, so two pairs fit side by side and the water stays in the tray instead of pooling on your floor. The formula that keeps it from looking like a mudroom afterthought is restraint: one tray, two pairs visible max, everything else parked elsewhere. A tray with a ridged bottom lifts soles out of standing water so shoes dry faster. Swap the metal tray for a woven-look one in summer when boots give way to sandals and there's nothing wet to catch.
11. Freestanding storage bench with open shoe cubbies
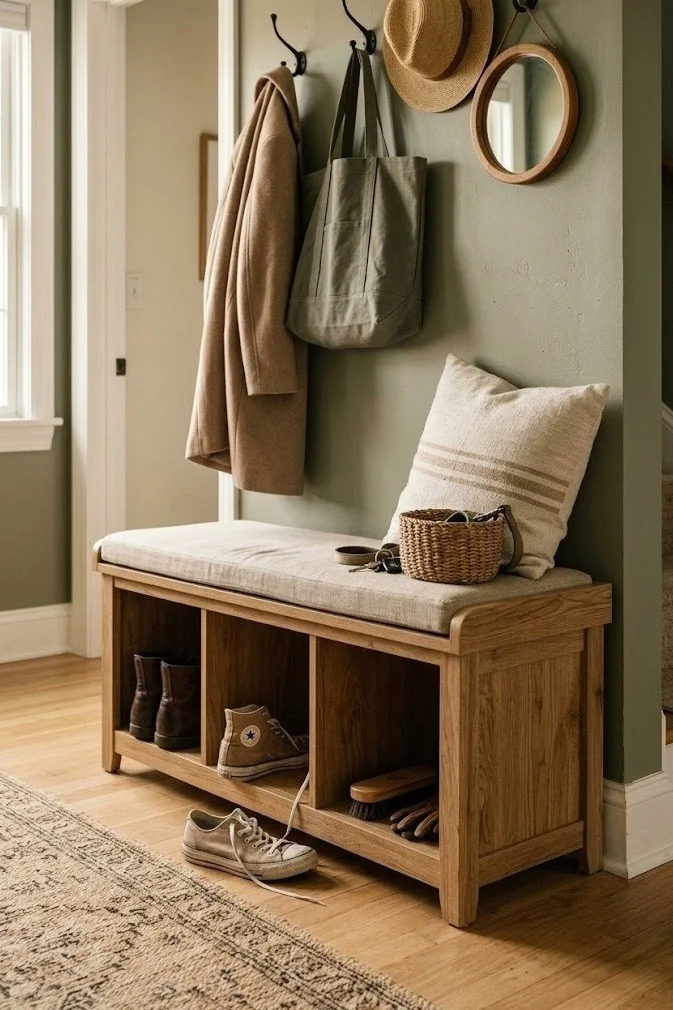
A freestanding storage bench solves two problems at once: a seat to pull boots on, and a rack underneath for the shoes that pile up by the door. Look for one around 30 to 40 inches wide with an open lower shelf or cubbies, because open storage beats a lift-top here; you'll actually use it when the shoes are visible and one motion away. A bench with a slatted or upholstered top invites you to sit, which is the difference between a bench and a shelf you never touch. Keep the depth under 16 inches so it doesn't eat the walkway. This is the piece worth spending a little more on, since it takes daily abuse: feet, bags dropped on it, someone standing on it to reach a high shelf.
12. Slim tilt-out shoe cabinet against the wall
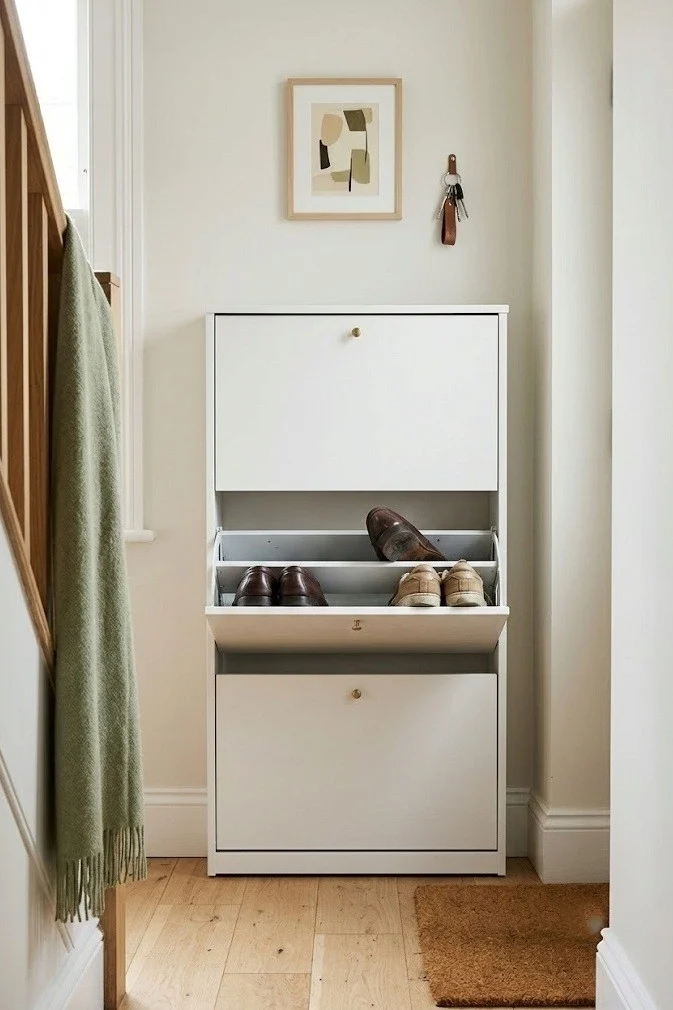
A slim tilt-out shoe cabinet stores several pairs upright behind a shallow flap, in a cabinet only 8 to 10 inches deep, thin enough to line a narrow hall without narrowing it further. The tilt-out design is the point: shoes store on an angle, so the cabinet stays shallow while still swallowing a surprising number of pairs. The honest upkeep note is airflow, because a closed shoe cabinet traps odor and damp from wet soles; let shoes dry on a tray first and drop a cedar block or charcoal pouch inside. Wipe the interior every so often, since grit falls off soles and collects in the base where you never look. Choose one that stands on its own feet rather than needing a wall anchor, so it stays fully renter-safe.
13. Low stackable shoe rack tucked under the console
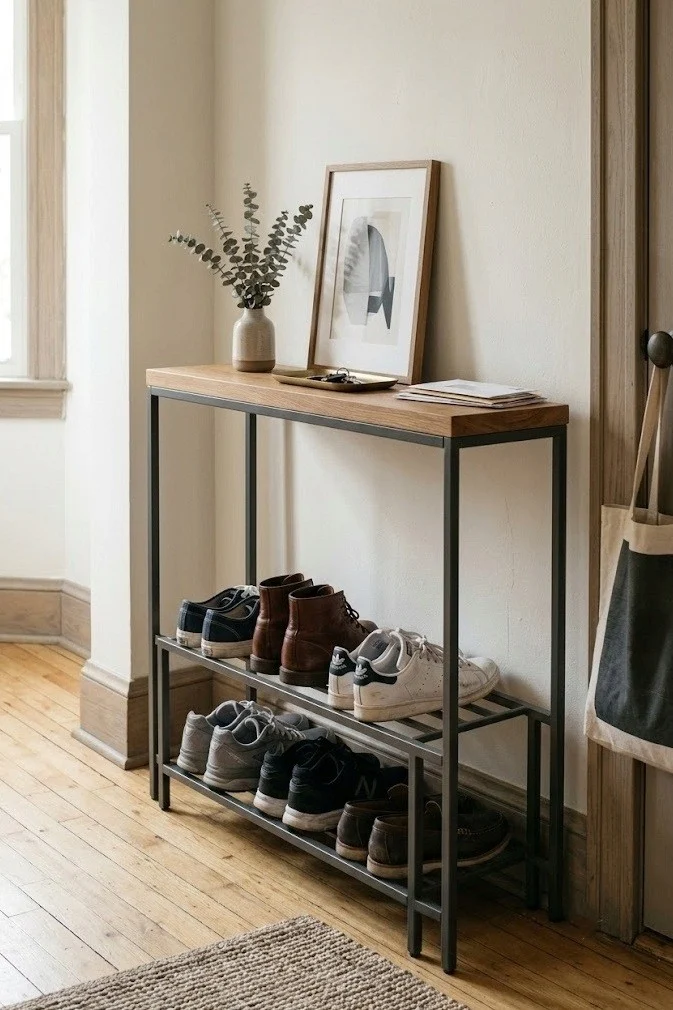
A low stackable shoe rack slides under the console or bench and turns dead floor space into parking for four to six pairs. Tuck it beneath the console from idea 1 and you get a two-tier landing zone: surface up top, shoes below, one footprint doing both jobs. These racks assemble in minutes and come apart just as fast for moving day. Measure the clearance under your console or bench first, because the rack has to fit below the shelf with a little room to slide shoes in and out. Angle the rack's bars so toes point up and heels rest low; shoes hold better and take less depth that way. A wipeable metal or plastic frame beats fabric, which just soaks up whatever drips off wet soles.
14. Washable runner rug to draw the entry line
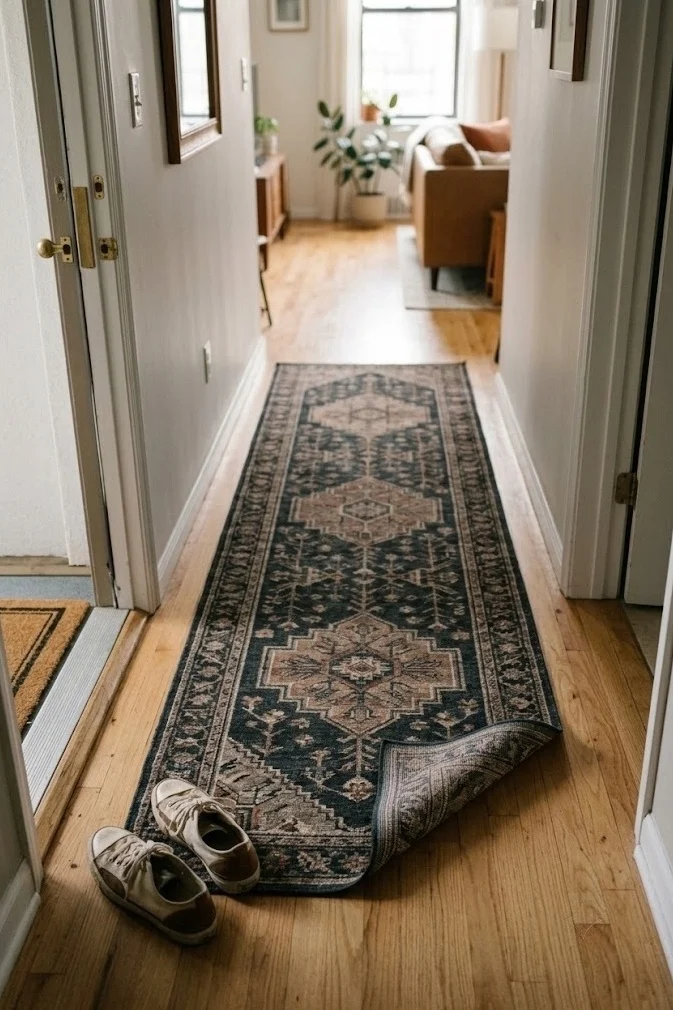
A washable runner rug marks where the entry ends and the rest of the room begins, which is what gives a no-wall entry an actual sense of place. The common mistake is going too small: a bath-mat-sized rug by the door looks stranded, while a runner two to three feet wide and four to six feet long anchors the whole zone. Choose low-pile and machine-washable, because this is the single dirtiest patch of floor in the apartment and a plush rug here just holds grit. A rug pad or rubber backing stops it sliding when you step off a wet shoe. Dark or patterned hides tracked-in dirt between washes far better than cream, which shows every footprint by week two.
15. Freestanding folding screen to carve out an entry
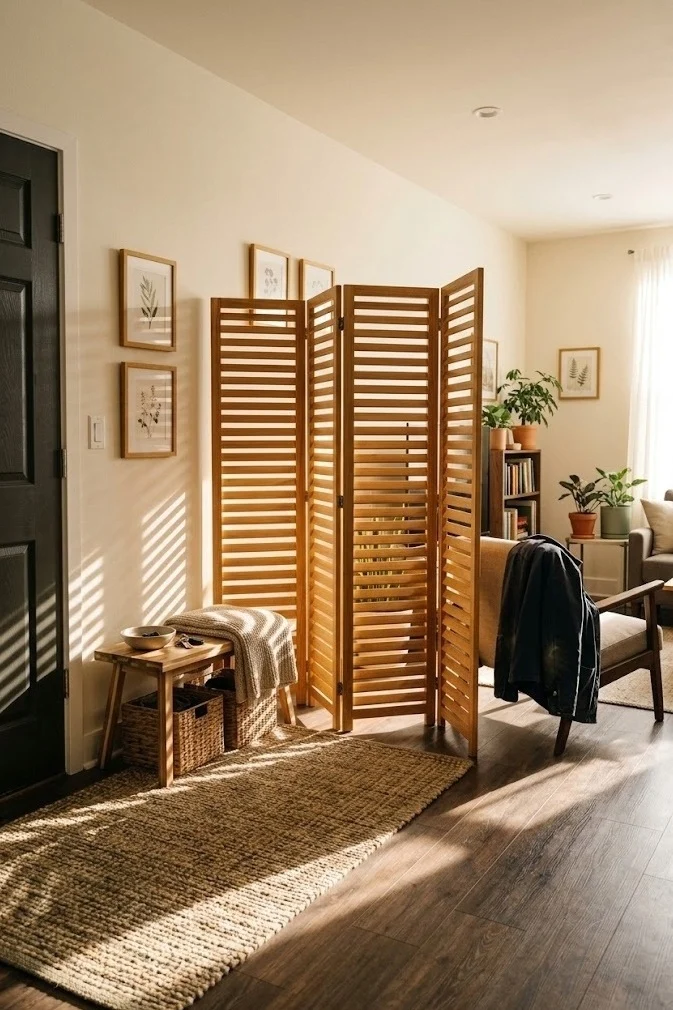
A freestanding folding screen carves a pocket of entry out of an open-plan studio where the front door opens straight into the living room. Set it a few feet in from the door at an angle, and it creates a small foyer with a defined edge, somewhere the eye stops before it hits your couch. The proportion that works is screen covering about 60% of the sightline from the door, 30% left open as the walkway, and 10% breathing room, so it divides without boxing you in. A screen with a lower solid panel and an open lattice top blocks the direct view but keeps light moving through. Swap a woven screen for a slatted wood one and the same trick reads warm instead of airy.
16. Basket-and-bench landing strip in a studio corner
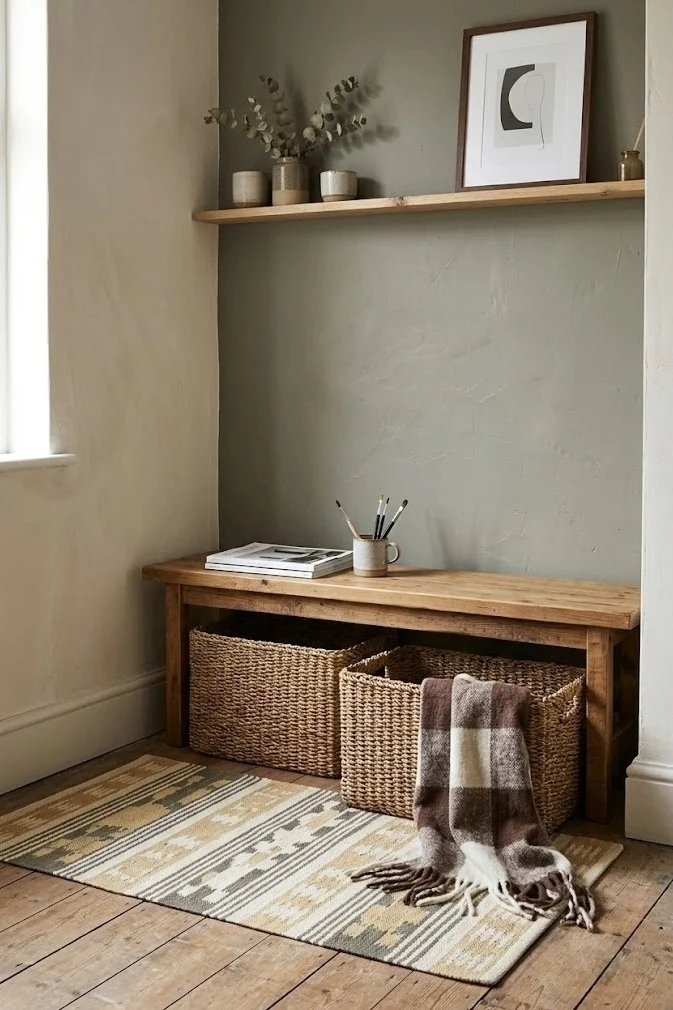
A bench with a couple of woven baskets underneath builds a complete landing strip in a studio corner for very little money: sit, drop, store, all in one line. Pair it with the runner from idea 14 to draw the boundary, and the corner suddenly reads as a deliberate entry rather than leftover floor. Baskets are the cheap hero here: one for shoes, one for gloves and dog-walking gear, and the clutter disappears without a single cabinet. Choose lidded or deep baskets so the contents don't spill into view every time you glance over. Keep the whole strip under about four feet wide so it stays a strip and not a pile. Everything here is freestanding, so the entire setup lifts and moves with you.
17. Peel-and-stick accent wall behind the console
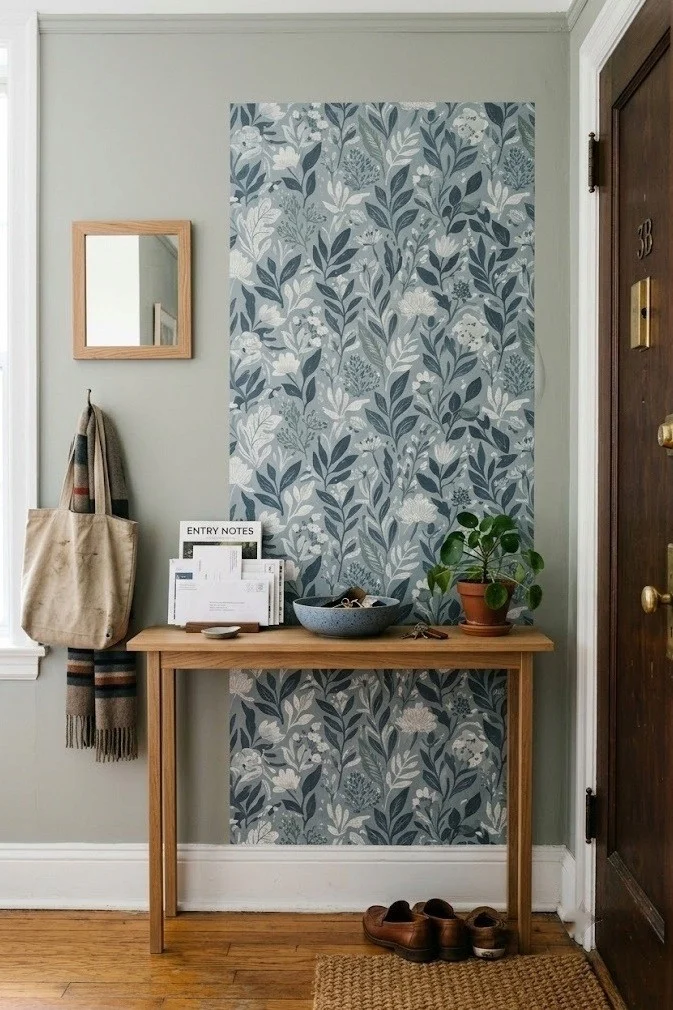
Peel-and-stick wallpaper behind the console turns a blank entry wall into a defined backdrop that signals this is the entryway, with no drilling and no permanent paint. A single panel or a half-wall behind the drop zone is enough; you don't need to paper the whole wall to get the effect. Removable wallpaper works best on smooth, flat, satin or semi-gloss walls, because on flat or textured paint it can pull the surface when it comes off, so test a small strip in a corner first. Line the pattern up plumb with a level, not with the ceiling, since ceilings in old apartments are rarely straight. Smooth from the center out to push air bubbles to the edges, then peel slowly and low when you eventually move.
18. Leaning floor mirror to bounce light and check your fit
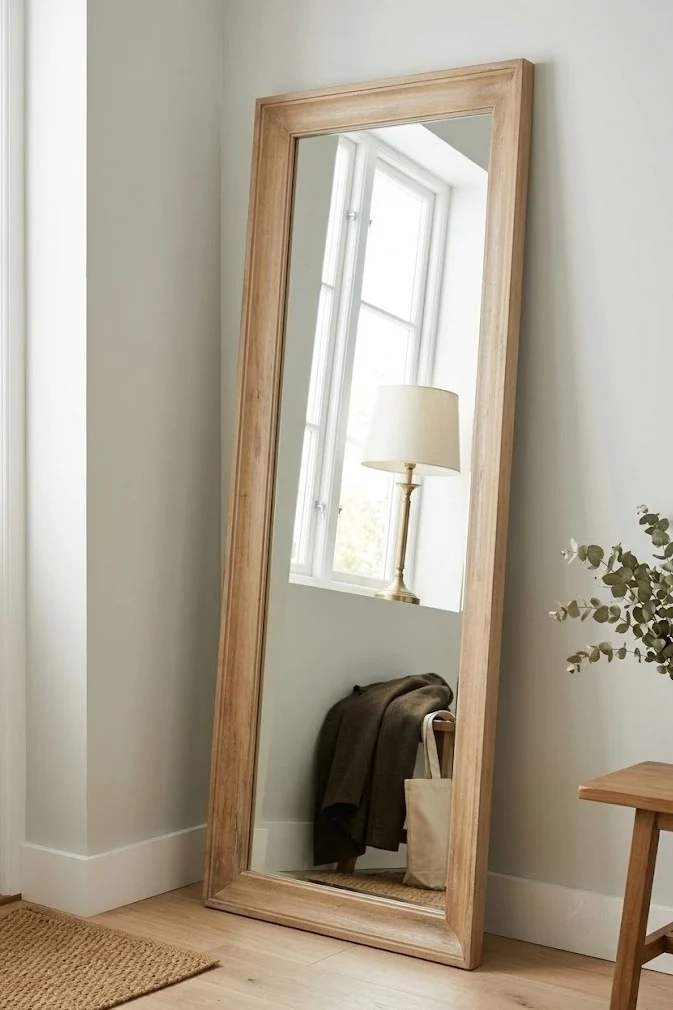
A leaning floor mirror does double duty in a no-closet entry: it bounces light into a usually dark corner and gives you a last-look check before you leave. The mistake that turns this from decor into a hazard is leaning it unsecured, because a tall mirror by a slamming front door will eventually walk forward and tip; use the anti-tip strap that comes with it, anchored to the mirror's own frame and a freestanding piece, not necessarily the wall. Size up rather than down, since a mirror at least 20 inches wide and floor-to-chest height actually reflects you and the light, where a small one just decorates. Angle it to catch a window or a lamp and the whole entry feels twice as bright. It leans, so nothing gets drilled.
19. Rechargeable or plug-in wall light, no hardwiring
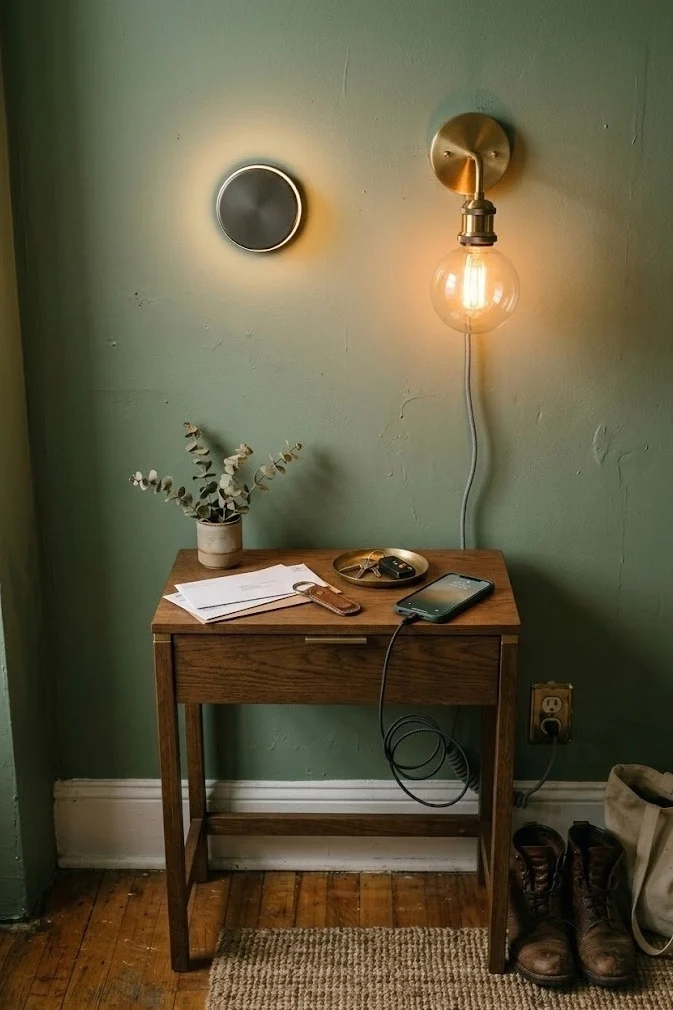
A rechargeable puck or plug-in sconce lights a dim entry without an electrician or a single hole in the wall. Stick-on rechargeable lights mount with the same adhesive pads as hooks and pop off a magnetic base to recharge, while a plug-in sconce hangs its cord down to the nearest outlet, less tidy but brighter and never needing a charge. The upkeep truth with rechargeables is that you will forget to charge them, so pick a model with a long runtime or motion activation, so it only burns power when you're actually there. Warm-white bulbs around 2700K make an entry feel welcoming, while cool white makes it feel like a parking garage. Keep a spare charged puck if the entry is your only light source at the door.
20. Small table lamp plus leaning mirror on the console
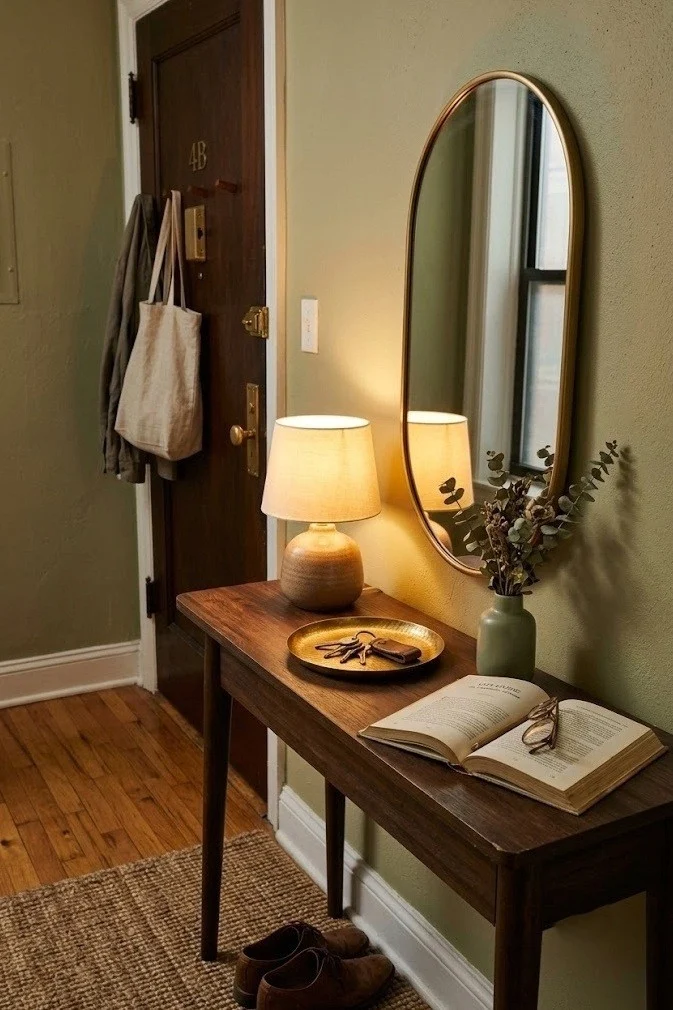
A small table lamp on the console paired with a leaning mirror is the finishing move that makes the whole entry feel designed rather than assembled. The lamp gives you a warm, low pool of light for the drop zone, and the mirror from idea 18 catches and doubles it. The proportion recipe: lamp taking up about a third of the console surface, a small tray and bowl filling another third, and the last third left clear as actual drop space, because a fully styled console with nowhere to set your keys defeats the point. Swap the lamp for a stack of books and a candle and the same surface reads calm instead of bright. Both pieces are plug-in or freestanding, so the finished look still leaves with you at move-out.
Final Thoughts
Everything on this list has one thing in common: it walks out the door with you and leaves the walls exactly as you found them. Start with the drop zone that fixes your daily friction, usually keys and shoes, then add coat storage that respects real weight limits, and finish with a mirror and some light so the corner reads as an actual entry. No closet required, no drill involved, no deposit at risk. Save this to Pinterest so it's waiting the next time you're staring at a bare entry wall in a new place.
Frequently Asked Questions
Where do you put coats in an apartment with no closet?
Use a freestanding coat rack for heavy and wet coats, since it holds real weight without touching a wall. Lighter jackets, hats, and bags can go on an adhesive peg rail or a wooden rail on adhesive mounts. A leaning ladder handles the coats you rotate through daily. Match the solution to the coat's weight.
Can adhesive hooks hold a heavy winter coat?
No. Most adhesive hooks fail past two to three pounds, and a wet wool coat easily exceeds that, taking a strip of paint with it. Reserve adhesive hooks for lightweight jackets, tote bags, hats, and keys. Send anything heavy or wet to a freestanding coat rack, which carries the load without any wall mounting at all.
How do you make an entryway in a studio with no foyer?
Define the zone with a washable runner rug and a freestanding piece, like a slim console or a bench, right where the door opens. A folding screen set a few feet in creates a visual boundary between the door and your living space. A rug plus one furniture piece is usually enough to signal entry.
What is the best no-drill way to store shoes by the door?
A freestanding storage bench with a lower shelf is the most useful option, giving you a seat plus shoe parking in one footprint. For wet or muddy shoes, add a boot tray with a raised lip to contain drips. A slim tilt-out shoe cabinet works where floor space is tightest, since it stays shallow.