Christmas coffee bar ideas for a small kitchen counter usually assume you can clear the whole counter and build a buffet. Mine cannot. My coffee maker lives on that counter every day of the year and it is not moving in December so a cocoa station can have the space. So every idea here works around a machine that stays put, inside the 18 to 24 inch strip most of us actually have left. They are ordered by how far the cocoa layer has to travel: flat tray first, then risers, then inside the cabinet, then onto a cart, then up the wall. Twenty-four setups, and you only need one of them. Save this to Pinterest so it is here when you set up in November.
1. A 12-Inch Wood Tray Tucked Beside the Coffee Maker
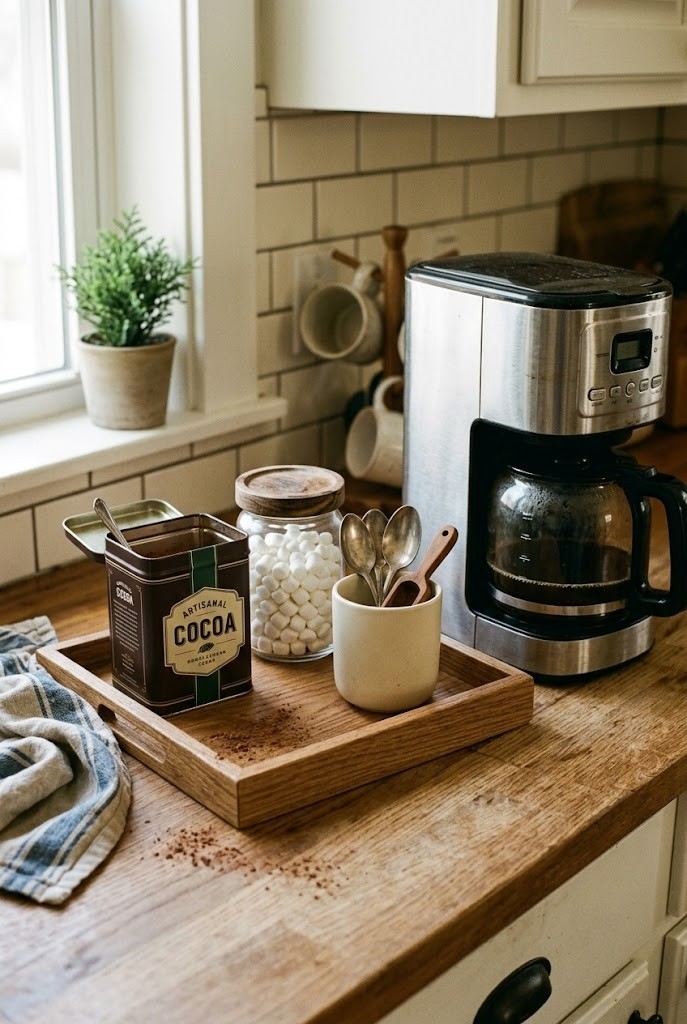
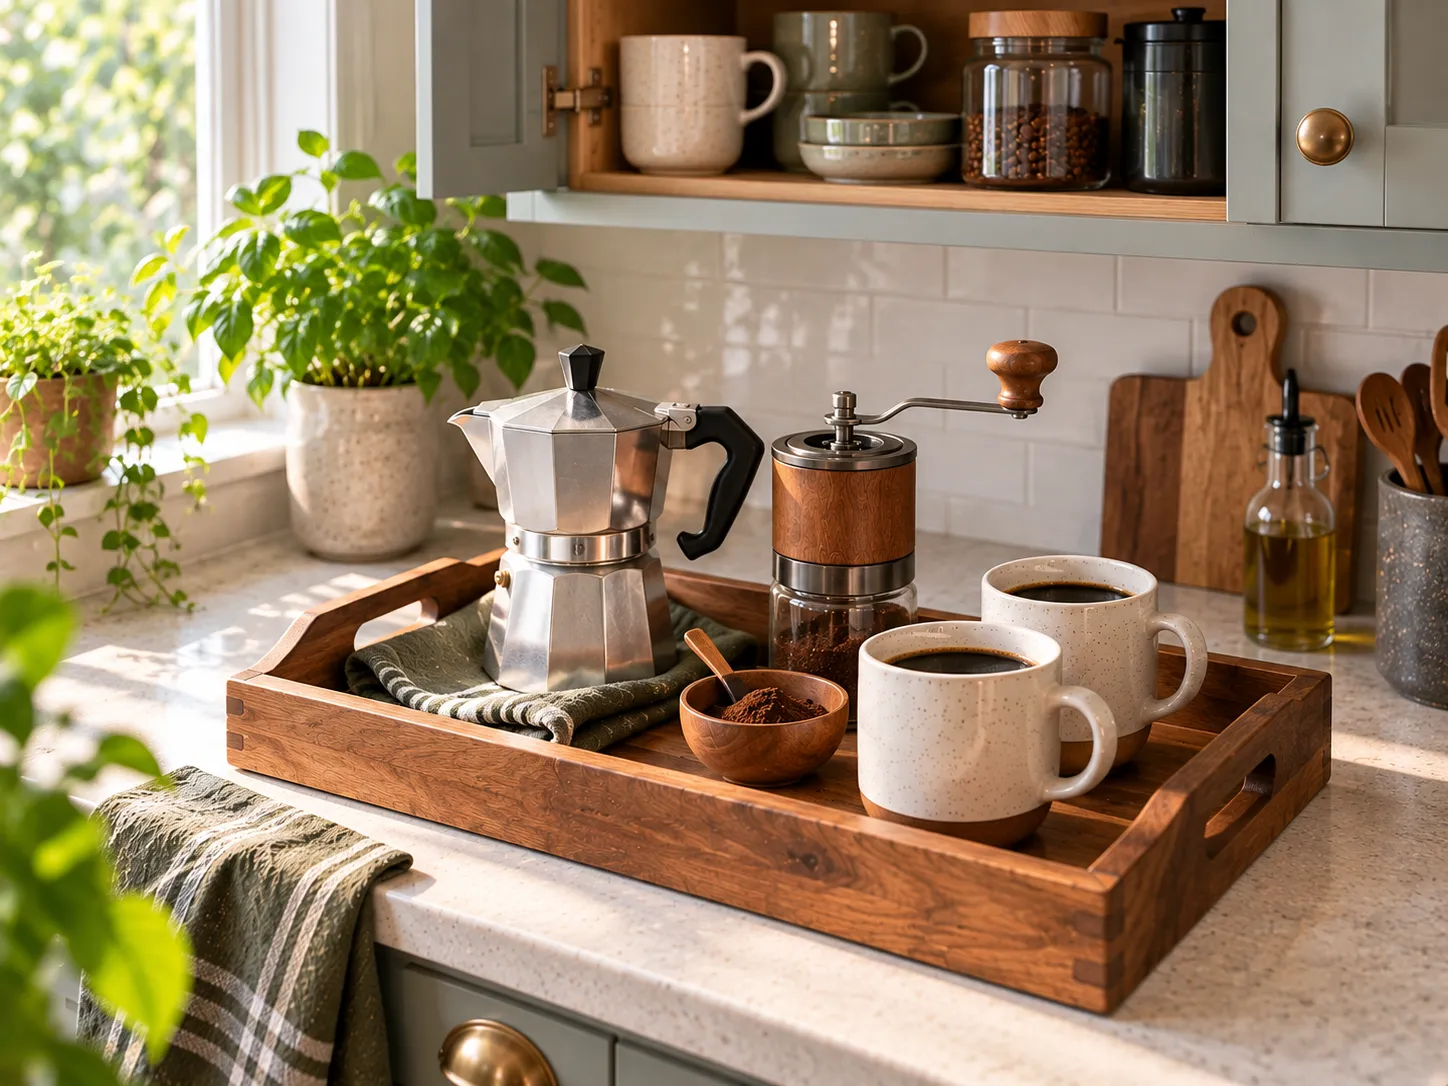
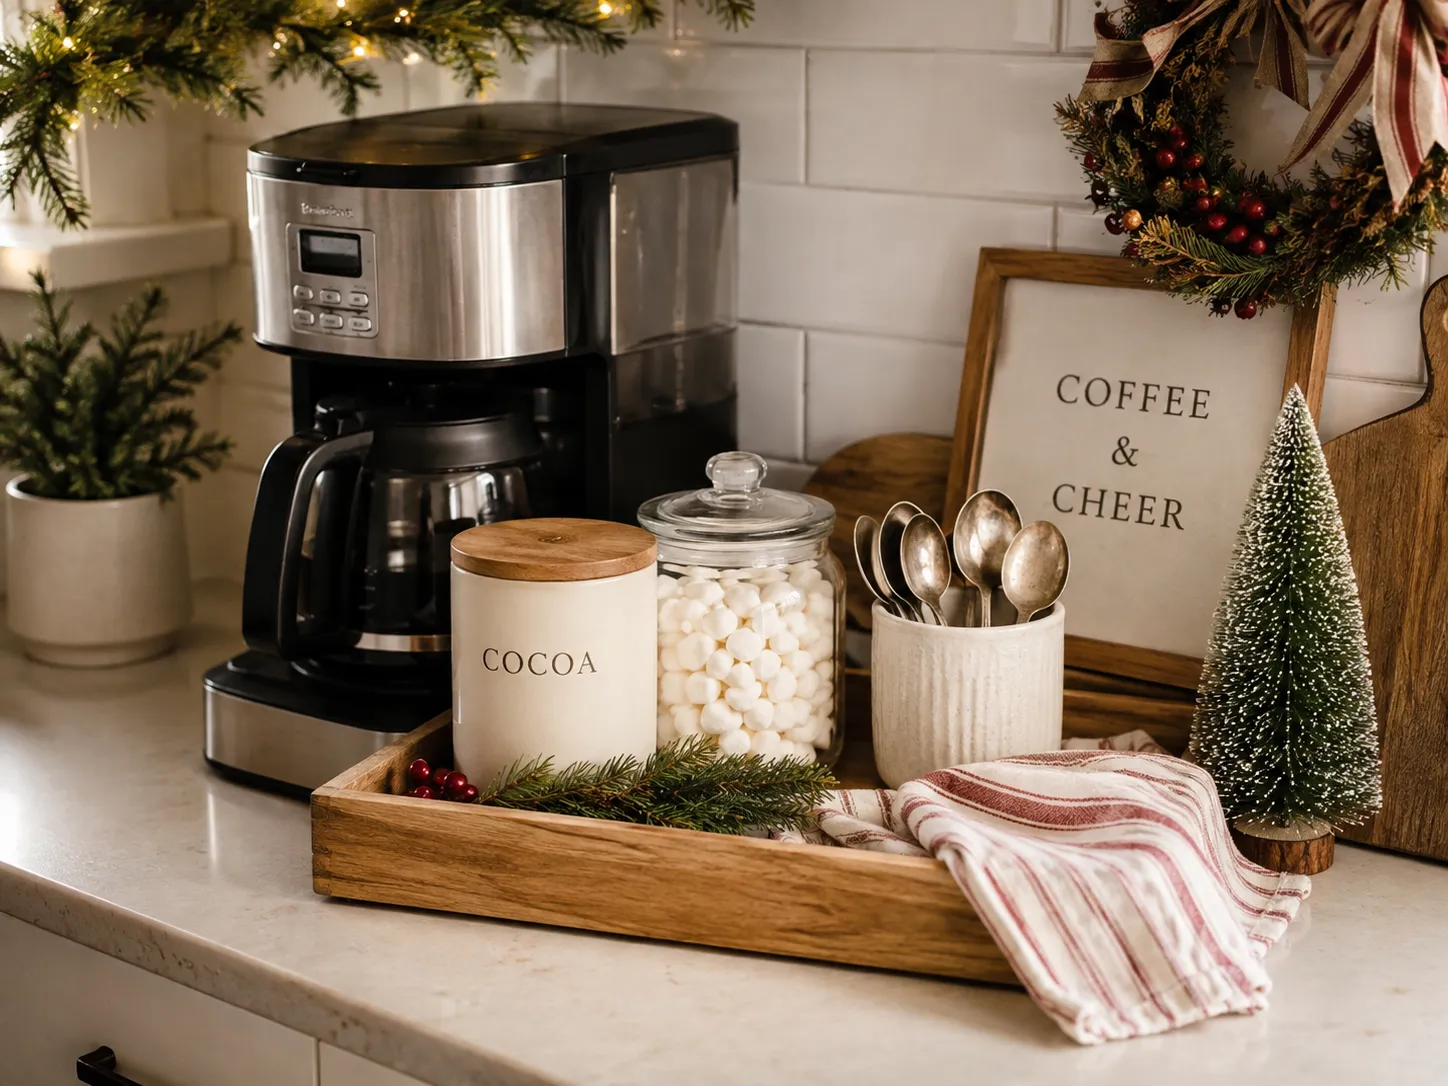
One small wood tray beside the coffee maker is the entire cocoa bar, and it works because a defined edge stops holiday clutter from creeping across the counter. Measure the free strip first: most drip machines leave 14 to 20 inches of usable width, so a 12 by 8 inch tray fits with breathing room on both sides. Load it with three things only, a cocoa tin, a marshmallow jar and a spoon cup. Anything past three items reads as mess in a narrow space. Keep the tray on the side away from the water tank lid so you are not lifting it every morning to refill. Plain oak holds up better near steam than lacquered finishes, which cloud.
2. Rimmed Enamel Tray Holding Cocoa, Marshmallows and Two Mugs
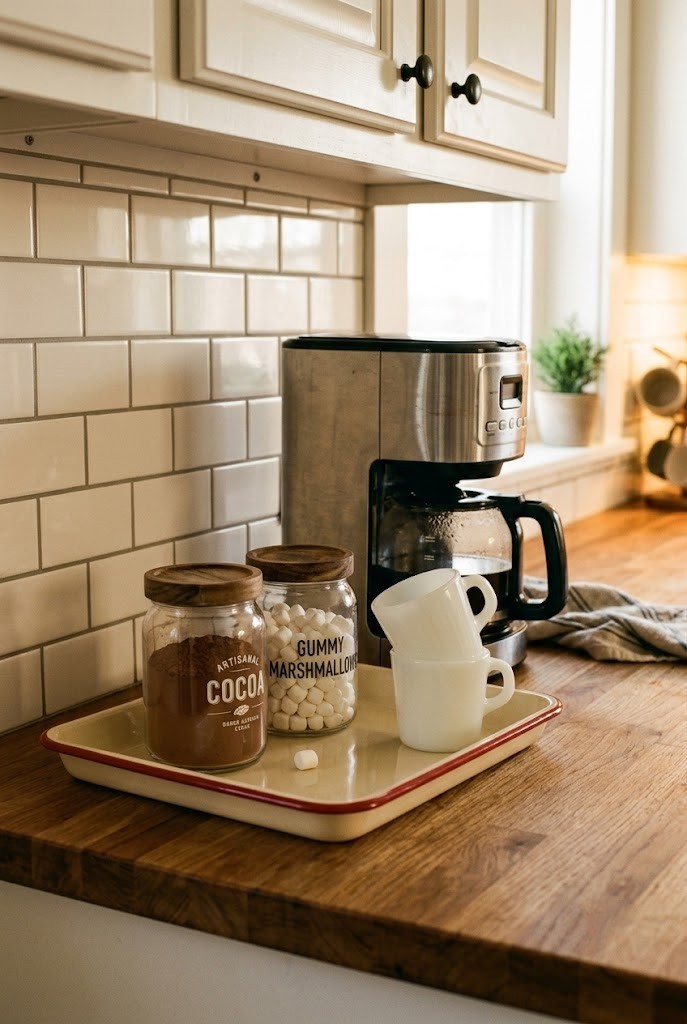
The rim is the whole point of this one. A half inch lip catches spilled cocoa powder and stray marshmallows, which matters when the tray sits eighteen inches from your daily brew and gets bumped every morning. Vintage style enamel in cream with a red edge costs less than most ceramic options and wipes clean with a damp cloth. Fill it with a small glass canister set, two mugs stacked rim down and a short spoon jar. Stacking mugs rim down keeps dust out and saves about two inches of height under a low cabinet. Skip deep enamel bowls on the same tray, because they tip when you slide it out to wipe underneath.
3. Slim Rectangular Tray Running the Length of the Counter Gap
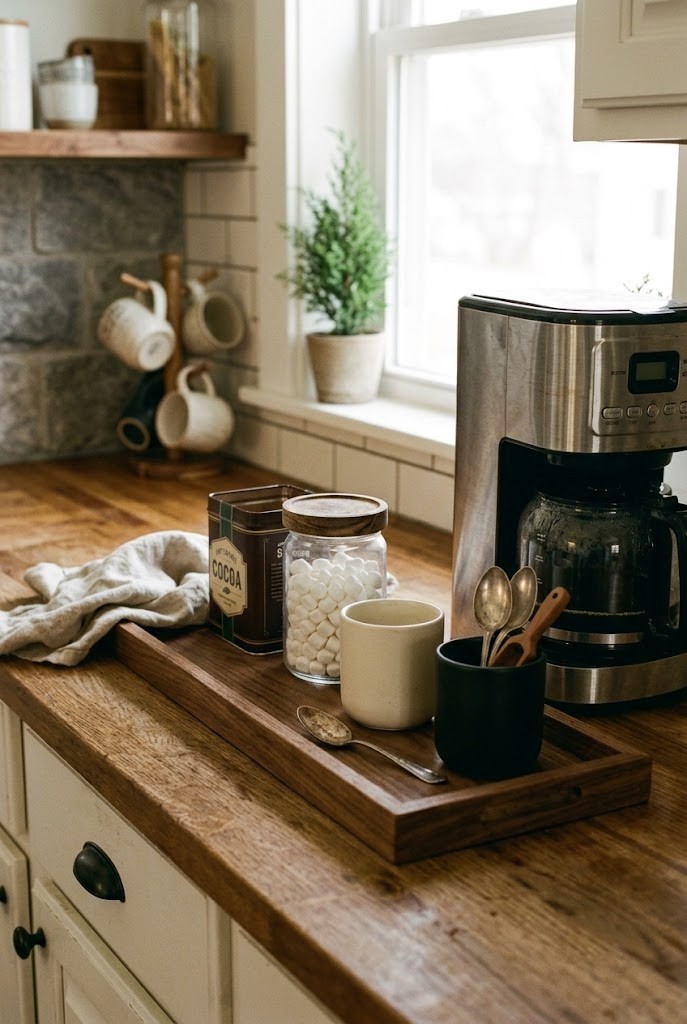
A long narrow tray, roughly 20 by 6 inches, uses the strip of counter most people write off as too thin to hold anything. It runs parallel to the counter edge instead of pushing out into your working space, and that is the difference between a cocoa bar you keep and one you clear away on December 28th. Line the items up single file: tin, jar, mug, spoon cup. Single file also photographs cleanly if you shoot it for Pinterest. This is the same footprint logic as the small wood tray in idea 1, stretched sideways rather than squared off. Check upper cabinet clearance before you buy anything taller than eight inches.
4. Vintage Silver Tray Under a Cocoa Canister Trio
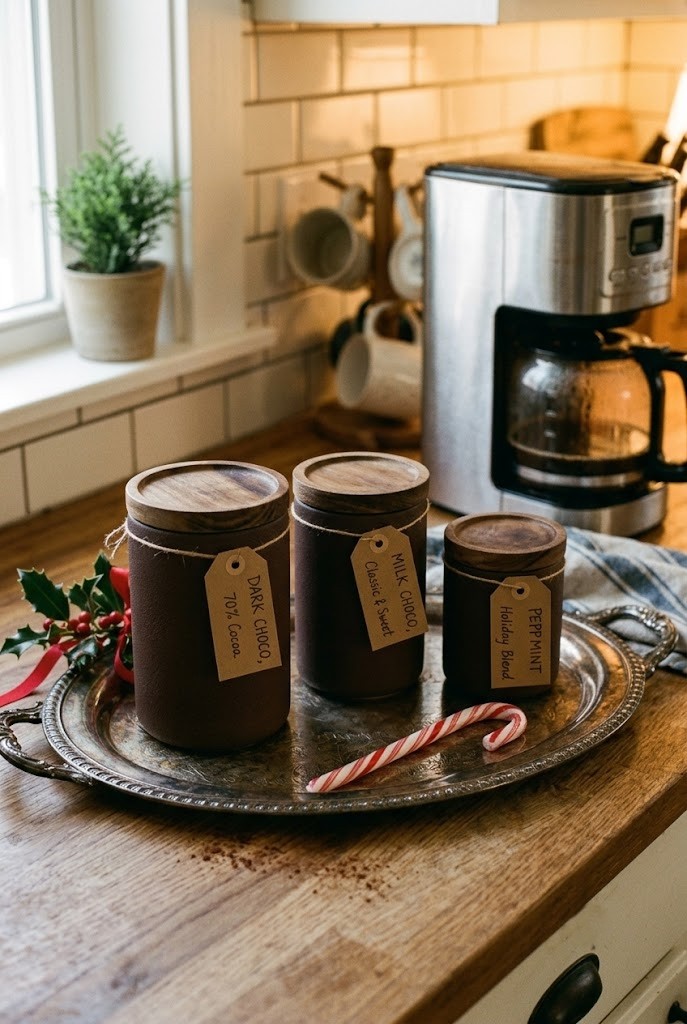
Polished silver against matte cocoa tins is the cheapest way to make a two item station look deliberate. Thrifted silver plate trays run three to eight dollars and turn up in every charity shop after October. Three canisters is the right number: cocoa powder, mini marshmallows and crushed candy cane. Label them with plain kraft tags instead of script vinyl, which dates fast and peels in kitchen humidity. Silver plate tarnishes near steam, so keep at least six inches between the tray and the coffee maker vent, or accept polishing it every few weeks. Pull the tray forward when you brew and push it back after, which takes two seconds and saves the finish.
5. Woven Rattan Tray With a Small Bottle Brush Tree in the Corner
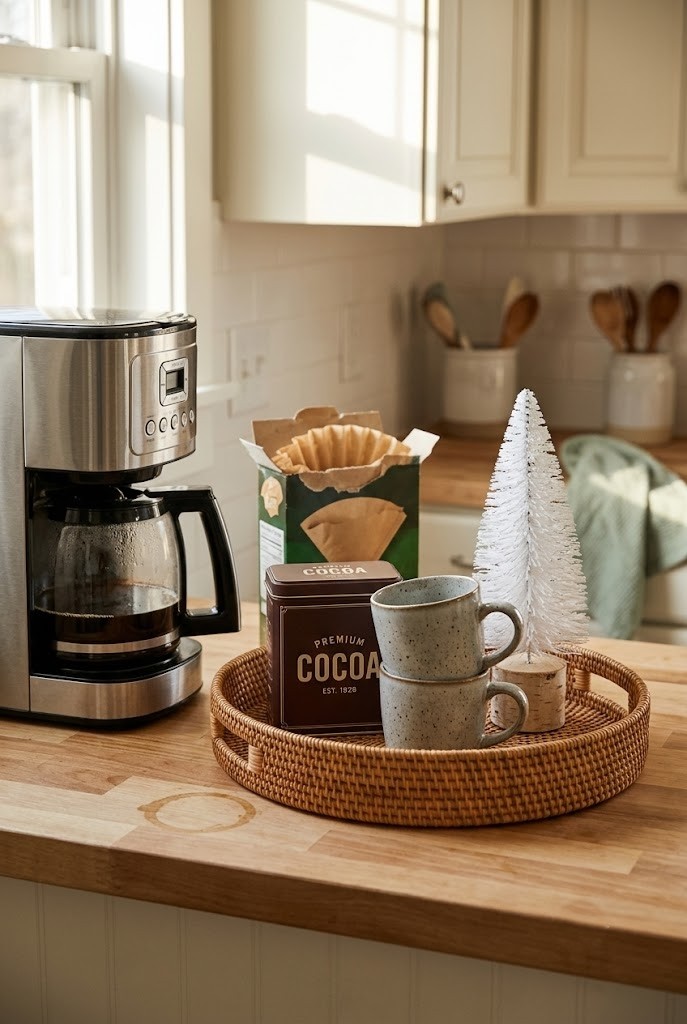
Rattan warms up a counter that is otherwise stainless steel and white laminate, and it hides crumbs better than any pale surface will. Keep the tree small, four to six inches, and set it in the back corner of the tray where the carafe cannot knock it. One tree, not three. Rattan absorbs moisture, so this is the wrong tray for the spot directly beside a kettle or under a cabinet where steam collects. If your machine vents upward, shift the tray a hand width to the side. A raised, chunky weave will trap cocoa powder in the pattern, so choose a flat tight weave you can actually wipe.
6. Marble Tray Doing Double Duty as a Spoon Rest and Cocoa Base
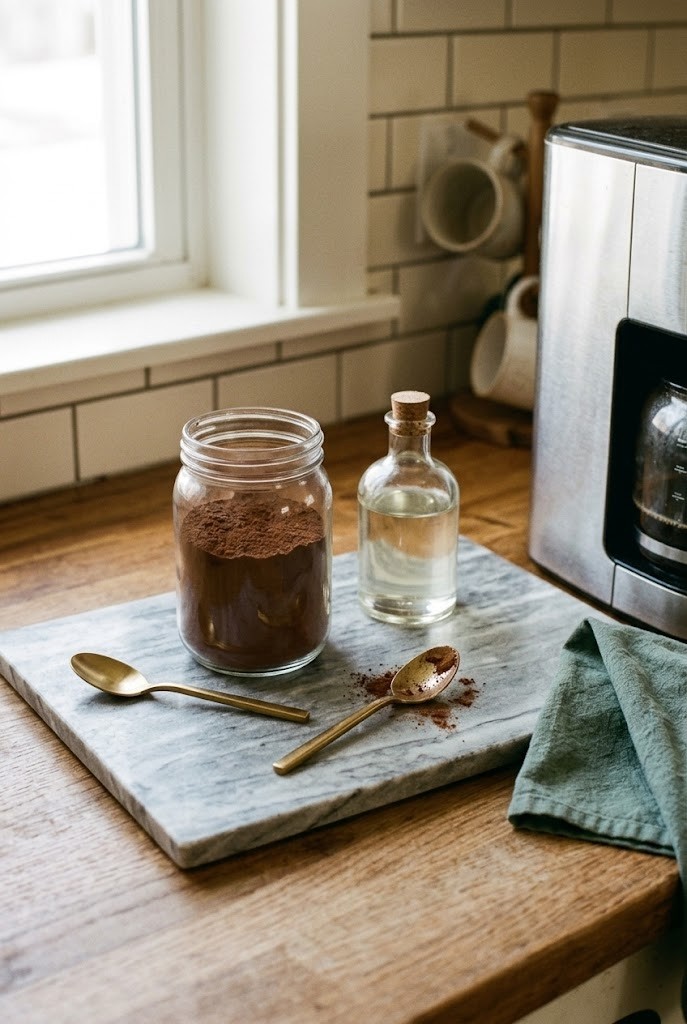
Marble takes heat and drips, which makes it the one tray that still earns its counter space in January. A 9 by 12 inch slab handles a hot spoon straight out of a mug without scorching and wipes clean of syrup in a single pass. It is heavy, and that is the feature, because it will not slide when you tug a mug off it half asleep. Seal it once a year with a stone sealer or cocoa and coffee will stain the surface permanently within one winter. Skip white Carrara if you drink dark roast daily. Grey or green marble hides the ring marks you are definitely going to leave.
7. Two-Tier Tray Stacked Right Behind the Coffee Maker
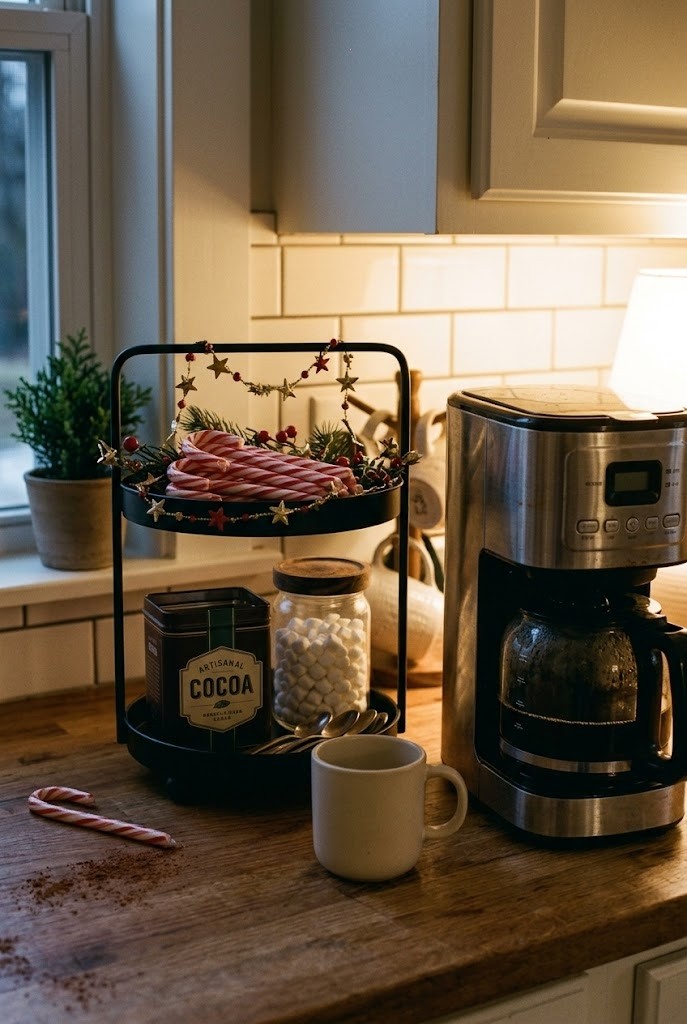
Going vertical doubles the station without taking another inch of counter. A tiered tray sits behind the machine in the dead zone against the backsplash, where the counter is usually eight to ten inches deep and doing nothing at all. Put daily items on the bottom tier and holiday extras on top, so nothing you need at 7am sits above your reach. Check upper cabinet height first, because most two-tier trays run 12 to 15 inches tall and you need clearance to lift the lid off the top jar. Where the single file tray in idea 3 spreads sideways, this one stacks upward inside the same eighteen inch strip.
8. Cake Stand Turned Cocoa Riser With Mugs Underneath
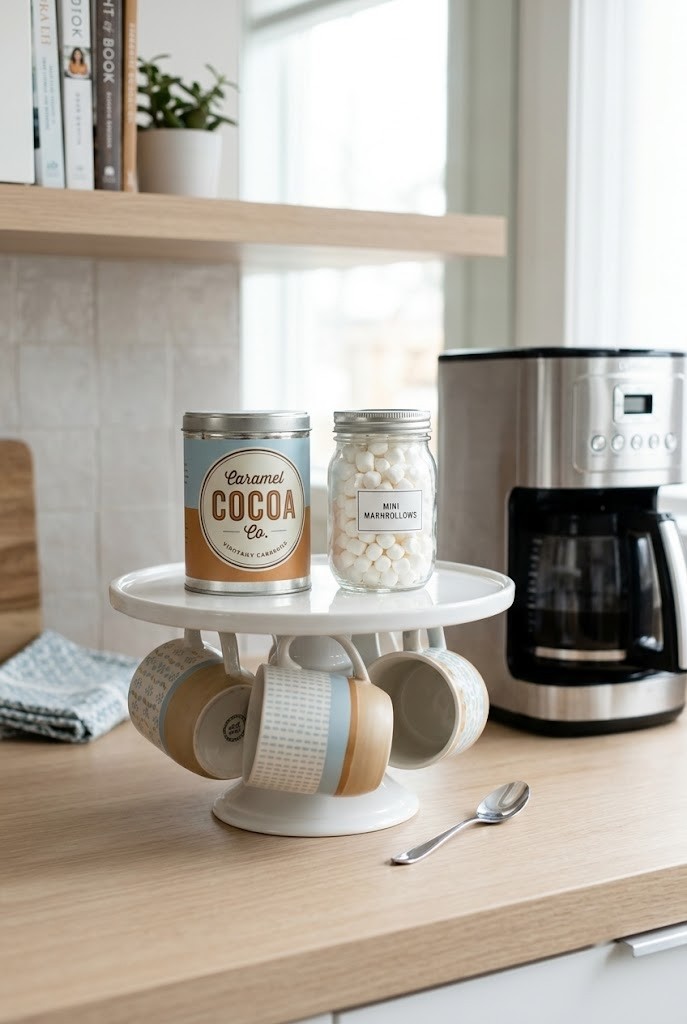
A cake stand you already own is a riser with a shelf underneath, which is exactly what a crowded counter needs. Mugs live in the gap below the plate, cocoa tin and marshmallows sit on top, and the total footprint is only the diameter of the base, usually eight to ten inches. Pick a stand at least five inches tall or your mugs will not clear the underside. Glass domes look good in photos and are a nuisance in daily use, so leave the dome in the cupboard until you shoot. Test the pedestal loaded before you trust it, because a wobbly stand next to a hot carafe is a genuine hazard.
9. Wooden Riser Lifting Syrups Over the Coffee Maker's Water Tank
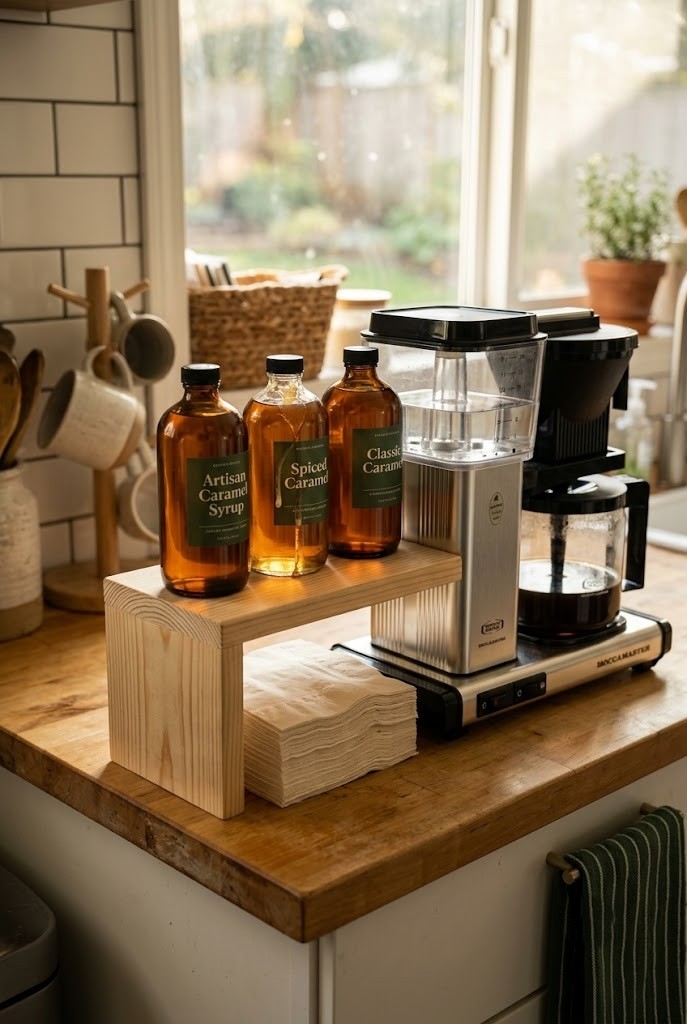
Syrup bottles are tall and awkward, and a low wooden riser gets them clear of the water tank lid. Height matters more than width here, so measure how far your tank lid swings back and set the riser so the bottles clear that arc. Two to three inches of lift is usually enough. The riser also lets you slide a slim tin or a stack of napkins underneath, which is free storage you did not have before. Unfinished pine stains from syrup drips within weeks, so rub it with mineral oil before the first bottle goes on and again in spring.
10. Three-Tier Stand in the Dead Corner Where Two Counters Meet
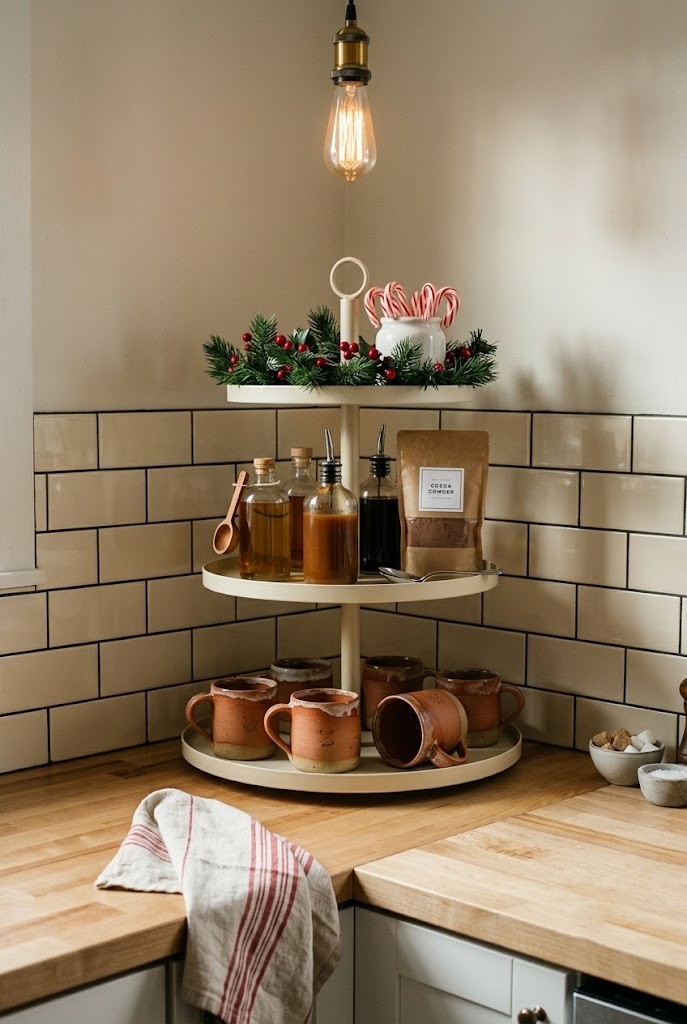
Corners are the most wasted square footage in a small kitchen, and a three-tier stand is built for exactly that awkward square. Bottom tier takes mugs, middle takes cocoa and syrups, and the top stays light with candy canes or a small garland so the stand does not go top heavy. Push it into both walls of the corner rather than centering it, which buys back a few inches of usable counter in front. Three tiers is the ceiling for most kitchens. Four starts to look like a dessert display and blocks the light from a window, which you notice fast in December.
11. Stacked Riser Shelf With Glass Canisters on Top, Pods Below
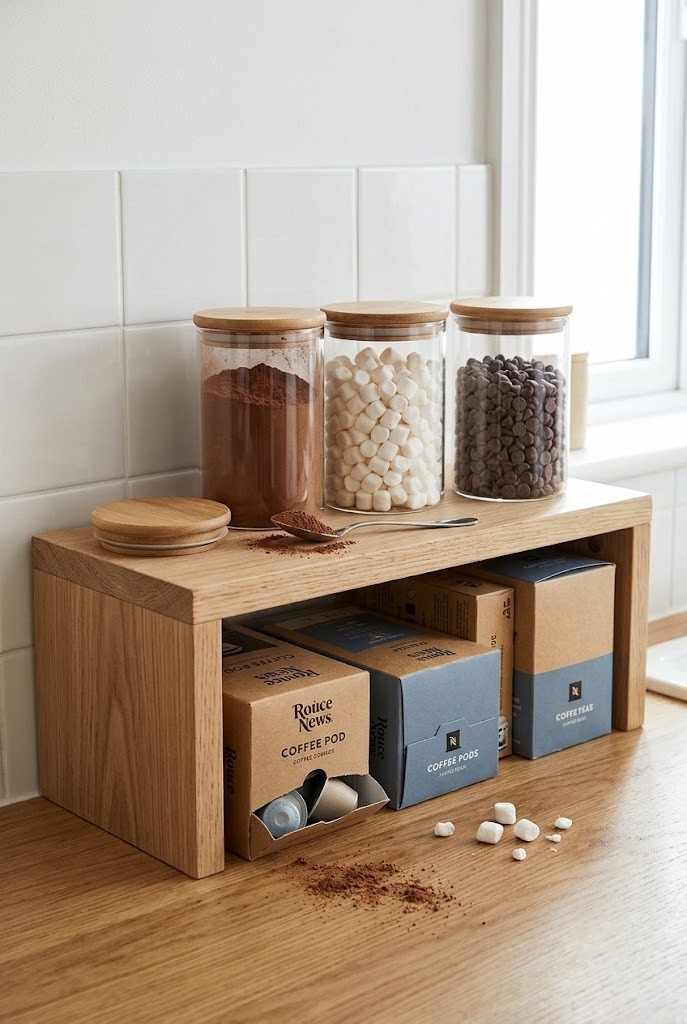
A flat counter riser with legs turns one strip of counter into two working levels. Pods, filters and sugar go underneath in their own boxes, and a glass canister set holding cocoa, marshmallows and chocolate chips lines up on top where you can see the levels at a glance. Seeing the levels is the practical part, because you restock before you run out mid December. Look for a shelf 16 to 20 inches wide and no deeper than seven inches so it tucks against the backsplash. Unlike the two-tier tray in idea 7, this one leaves the lower level completely open for tall boxes.
12. Mug Tree Beside a Single Riser to Free Up Tray Space
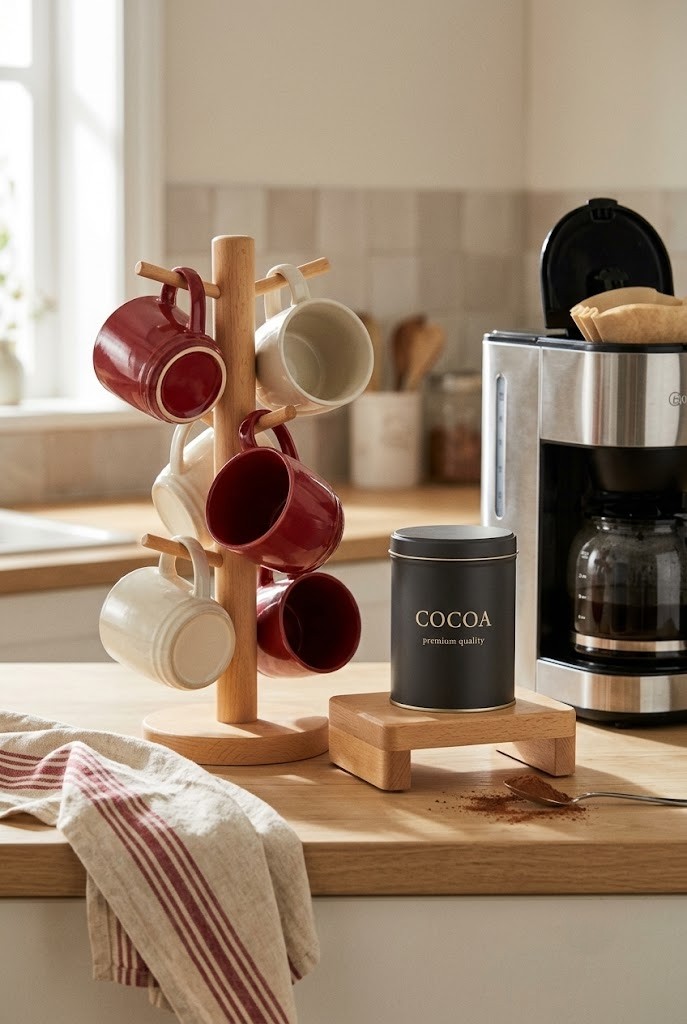
Mugs eat more counter than anything else on a cocoa station, and a vertical mug tree lifts four to six of them off the tray entirely. Hanging mugs takes roughly a six inch square of counter, against the twelve or more inches the same mugs need sitting flat. Hang the seasonal ones at the top and keep your daily mug on the lowest hook where you can grab it one handed. Weight the base or fix it down if the tree sits near a counter edge, because a loaded one tips easily. Wooden pegs hold thick handles better than thin metal hooks, which chip glaze over a few seasons.
13. Cocoa Station Living Inside the Cabinet Above the Coffee Maker
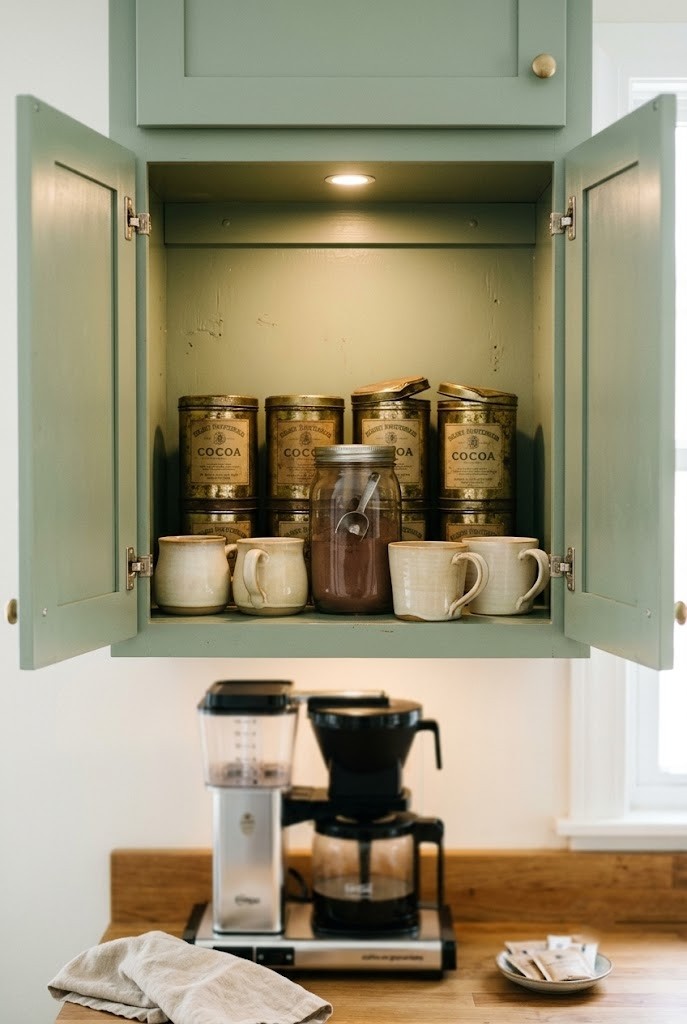
Moving the whole station into the cabinet above the machine keeps the counter clear and still puts everything inside one reach. Clear one shelf, not the entire cabinet, and treat that shelf exactly like a tray: tins at the back, mugs at the front, nothing stacked more than two deep. The shelf directly above a coffee maker is usually the least useful one anyway because steam gets into it, so use short jars with tight lids there. Leave the door open while you are actually making cocoa and closed the rest of December. This is the version that survives in a kitchen where every inch of counter is already working.
14. Pull-Out Drawer Fitted as a Christmas Cocoa Drawer
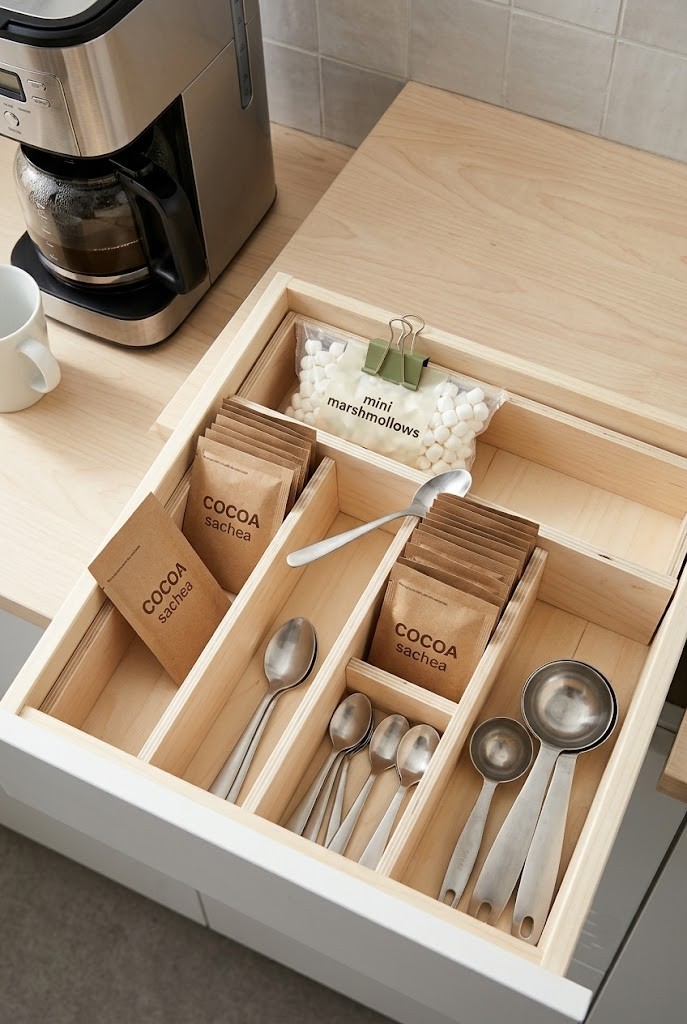
A drawer beats a cabinet for anyone who hates reaching overhead every morning. Use a shallow drawer near the coffee maker, add two cheap dividers and give every item a lane: sachets upright in one, spoons and scoops in the second, the marshmallow bag clipped shut in the third. Upright storage is the trick, because sachets lying flat slide to the back and get forgotten until February. A drawer also keeps cocoa away from the steam problem that makes the overhead cabinet in idea 13 tricky. Measure interior depth before buying dividers, since most kitchen drawers are two to three inches shallower inside than the front suggests.
15. Cabinet Door With a Hanging Rack for Cocoa Packets
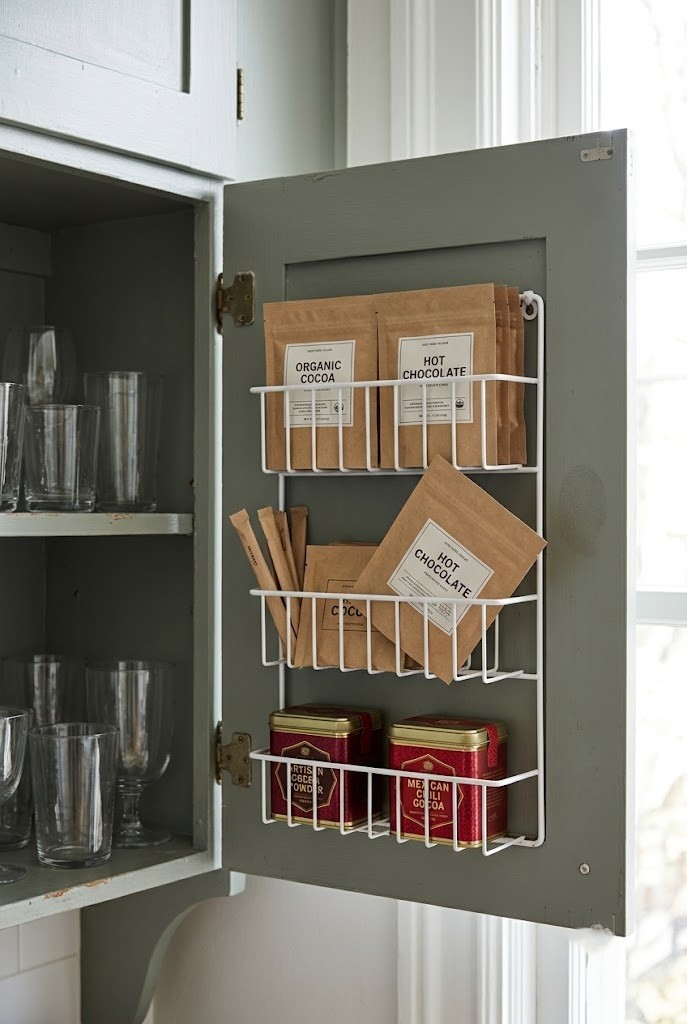
An over the door wire rack turns the inside of a cabinet door into cocoa storage for almost nothing. Packets, stirrers and flat tins ride in the rack while the shelf behind stays free for glasses you use daily. Check clearance carefully, because you need roughly three inches between the closed door and whatever sits on the shelf or the door will not shut. Screw-in racks hold considerably more than adhesive ones, and two small holes fill with putty at move out. Mount the rack near the top of the door rather than the bottom, so it does not swing into a dish rack or a kettle below.
16. Open Shelf Inside a Glass-Front Cabinet Lit With Battery Lights
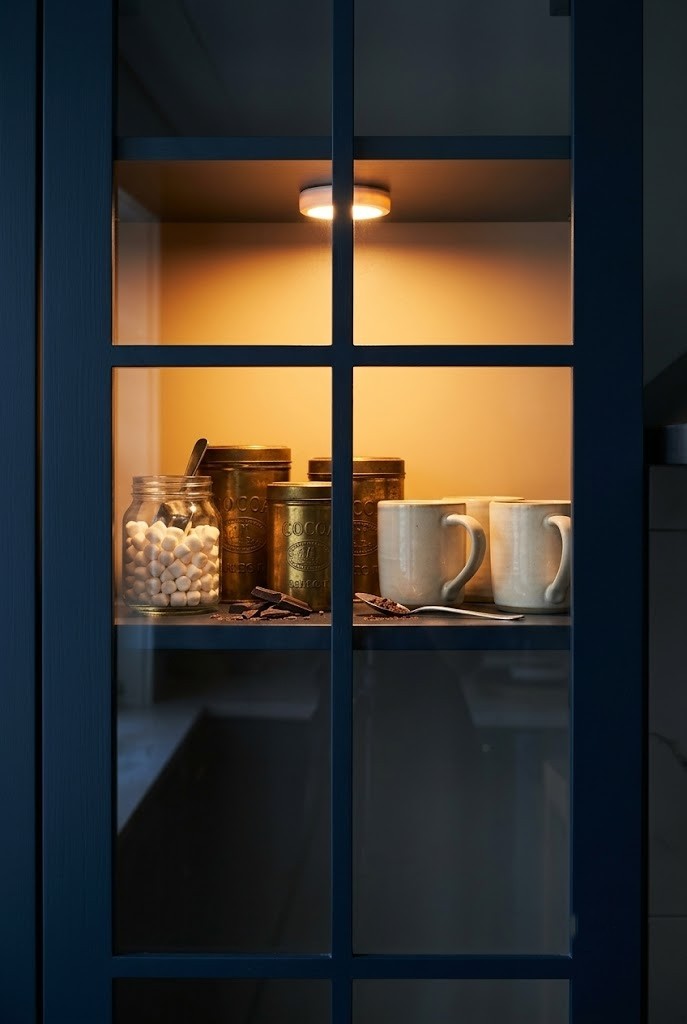
Glass front cabinets do the display work for you, so a cocoa station can be seen without occupying any counter at all. Style one shelf only, at eye level, and light it with a battery puck stuck to the underside of the shelf above. Use warm white, not cool white, or the cocoa tins read grey through the glass and the whole thing looks clinical. Keep the arrangement to odd numbers and leave about a third of the shelf empty, since a packed glass cabinet looks like a pantry rather than a display. Pucks with a built in timer save you opening the door twice a day.
17. Narrow Rolling Cart Parked at the End of the Counter Run
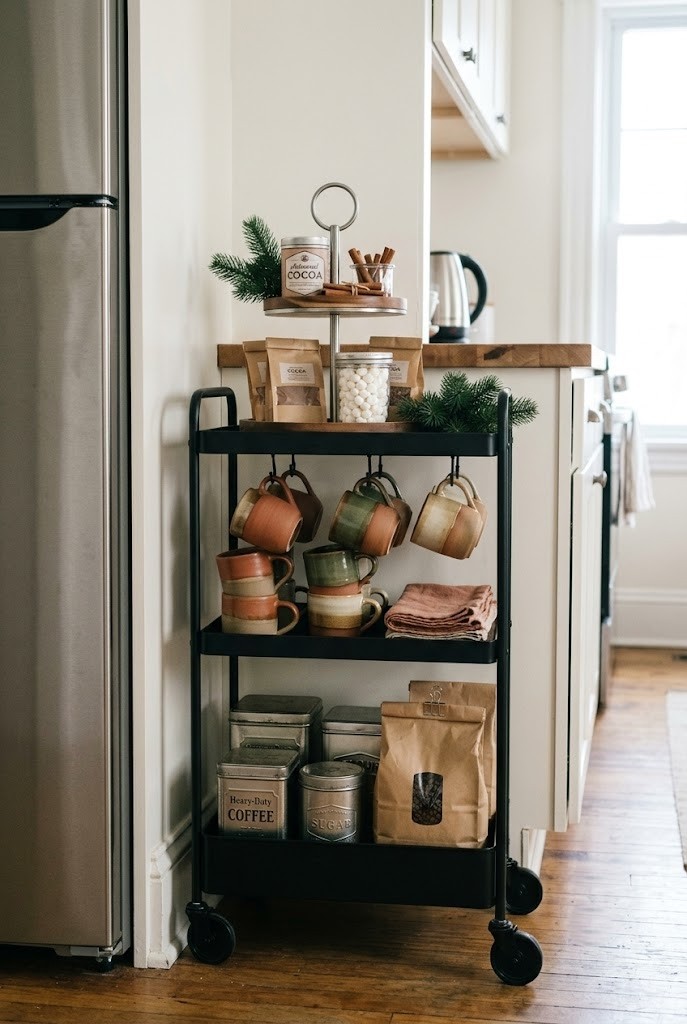
A 12 inch wide rolling cart at the end of the counter adds three shelves of cocoa storage without touching your work zone. Slim carts fit the gaps most people ignore, the eleven or twelve inches beside a fridge or at the end of a run of cabinets. Park it where the wheels lock so it does not drift into the walkway, and keep at least 30 inches of clear floor in front if your kitchen is a galley. Put a small tiered tray on the top shelf so the cart still reads as a station instead of shelving. Heavy tins and the bulk marshmallow bag belong on the bottom.
18. Bar Cart Wheeled In Only on Baking Weekends
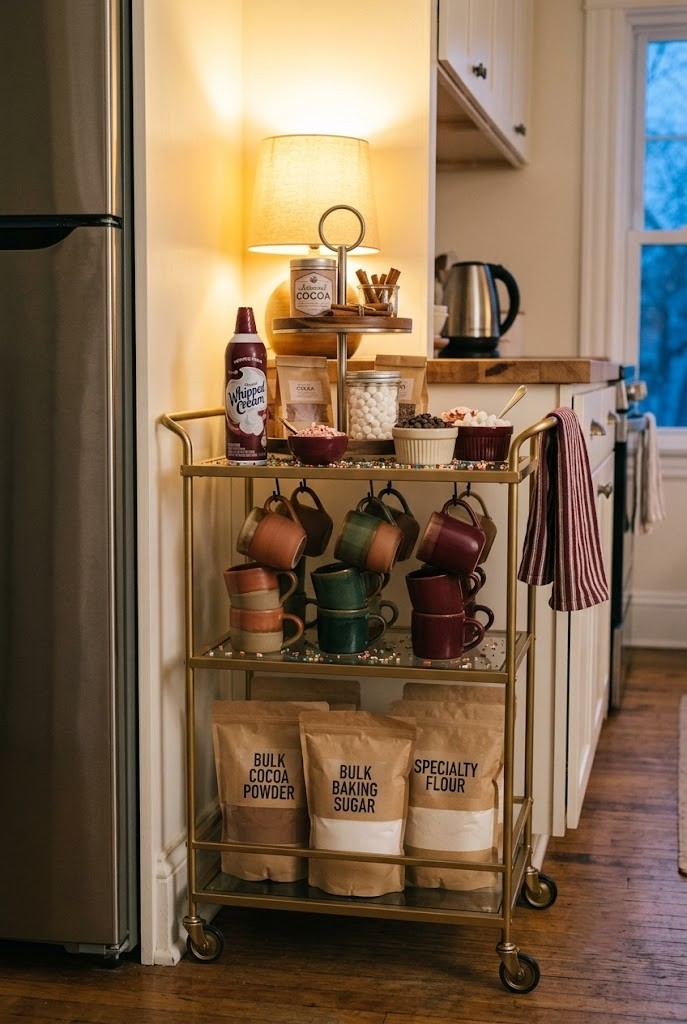
Not every station needs to live in the kitchen. A bar cart parked in the dining room or hallway rolls in for a baking afternoon and rolls straight back out, which is the honest answer for kitchens under roughly 70 square feet. Load it the night before with mugs, cocoa, whipped cream and toppings so setup is one trip rather than six. Unlike the slim cart in idea 17 that stays parked all season, this one moves, so weight matters more than looks. Keep the heaviest items on the bottom shelf or it tips crossing a door threshold. Rubber wheels roll over tile grout lines; hard plastic ones catch.
19. Slim Pull-Out Cart in the Gap Between Fridge and Counter
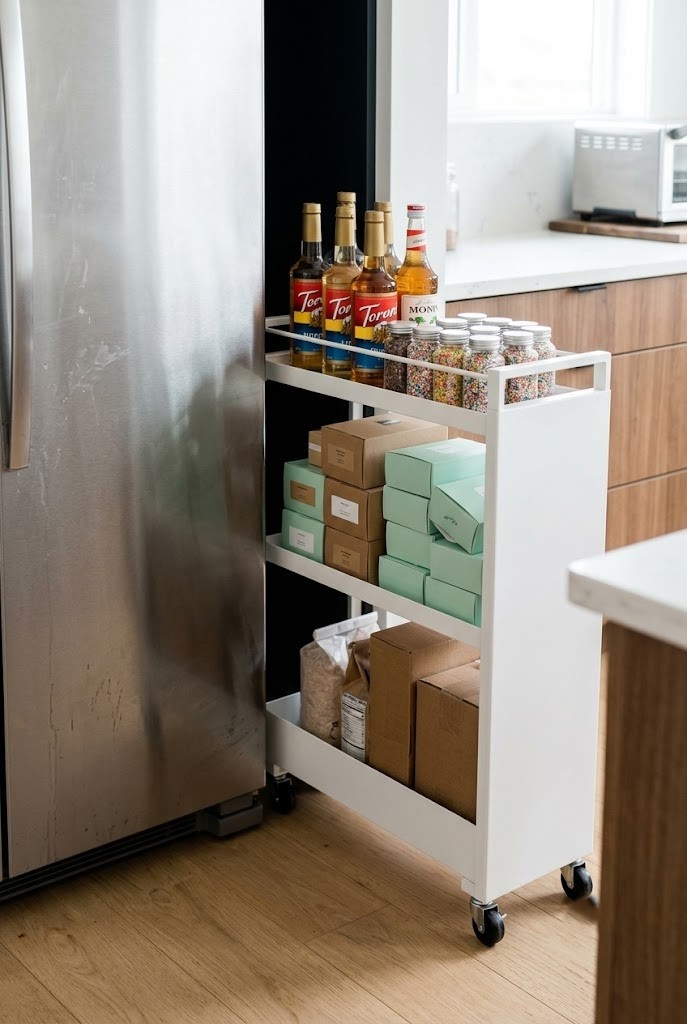
The six to nine inch gap beside most fridges fits a pull-out cart on castors, and right now that gap is holding nothing but dust. Measure it at the narrowest point, then subtract half an inch for the handle. Load it with tall thin things: syrup bottles, sprinkle jars, stacked sachet boxes. It is the wrong home for mugs, which need width you do not have. Fridges vent heat from the side or the back, so keep chocolate and anything with a low melting point off the shelf closest to the fridge wall. A handle at the top decides whether you use it daily or forget it exists.
20. Rolling Cart Holding the Overflow, Mugs, Tins and Whipped Cream
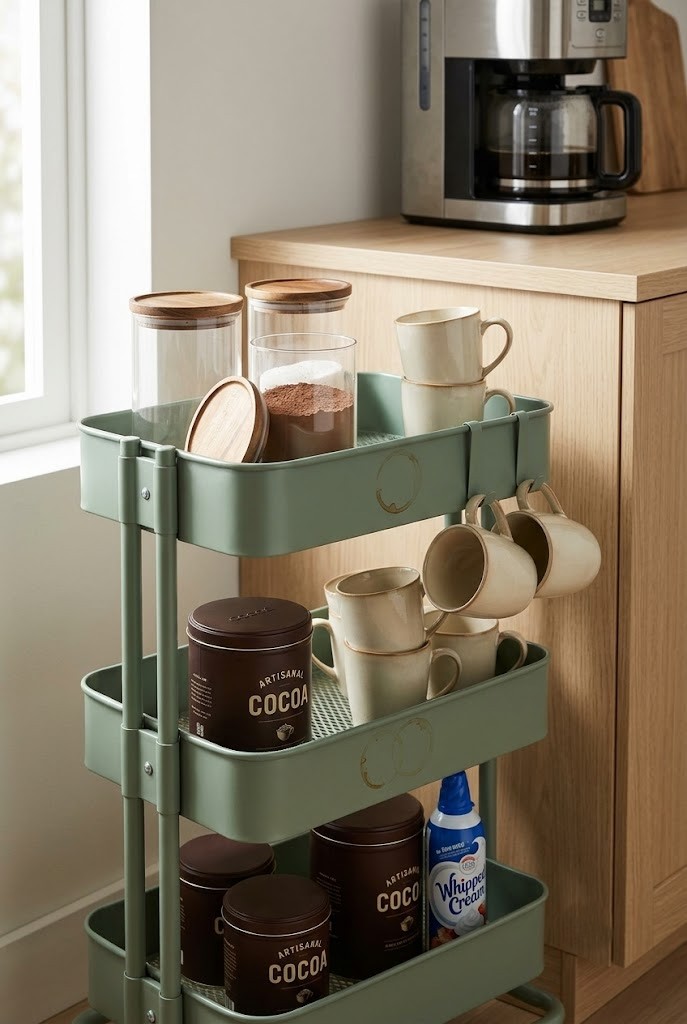
The best use of a cart is not display, it is overflow. Everything that would crowd your eighteen inch counter strip lives here instead: spare mugs, the backup cocoa tin, the sprinkles you use twice all winter. What stays on the counter is one tray with today's essentials and nothing else. Use matching glass canisters on the cart so the visual clutter drops even when the volume goes up. A cart parked beside the counter also gives you a landing spot for hot mugs while you pour. Choose one with a lipped top shelf, because flat topped carts send mugs sliding every time you wheel them.
21. Peel-and-Stick Rail Above the Backsplash Holding Mugs
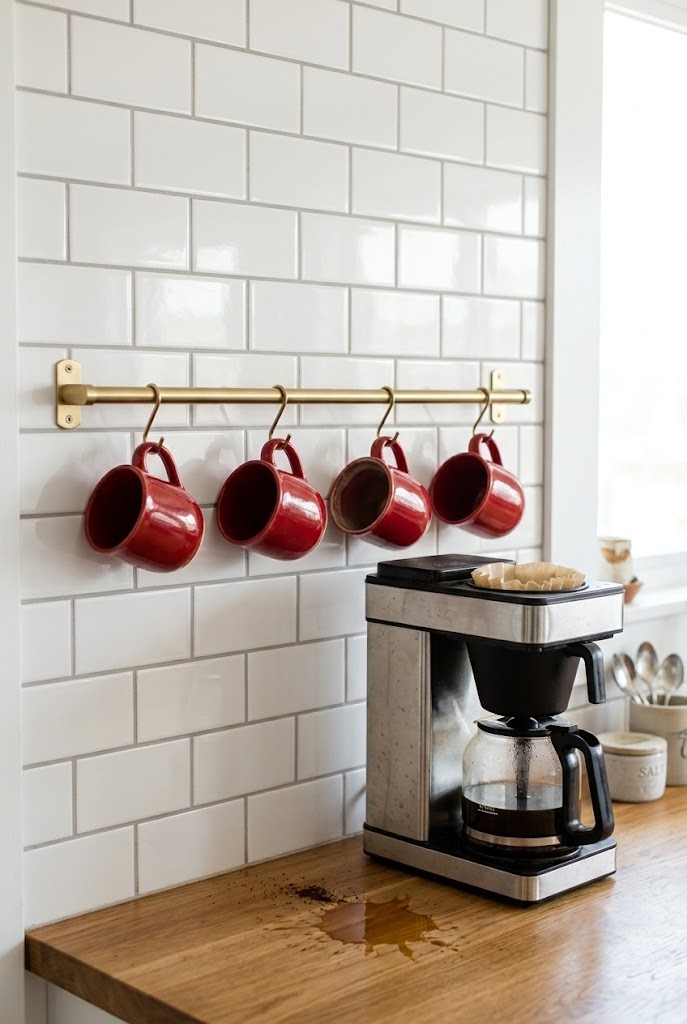
A rail mounted on the backsplash gets mugs into the air and off the counter completely. Adhesive rails hold well on sealed tile, which matters for renters who can't put a single hole in the wall. Mount it at least 14 inches above the counter so mugs clear the coffee maker lid, and hang no more than four, since the limit on most adhesive rails sits around ten pounds. Wipe the tile with rubbing alcohol before mounting or the strip fails within a week. Grout lines are the enemy here, because the adhesive needs a flat continuous surface, so span a tile rather than crossing a deep seam.
22. Floating Shelf Set Just High Enough to Clear the Coffee Maker
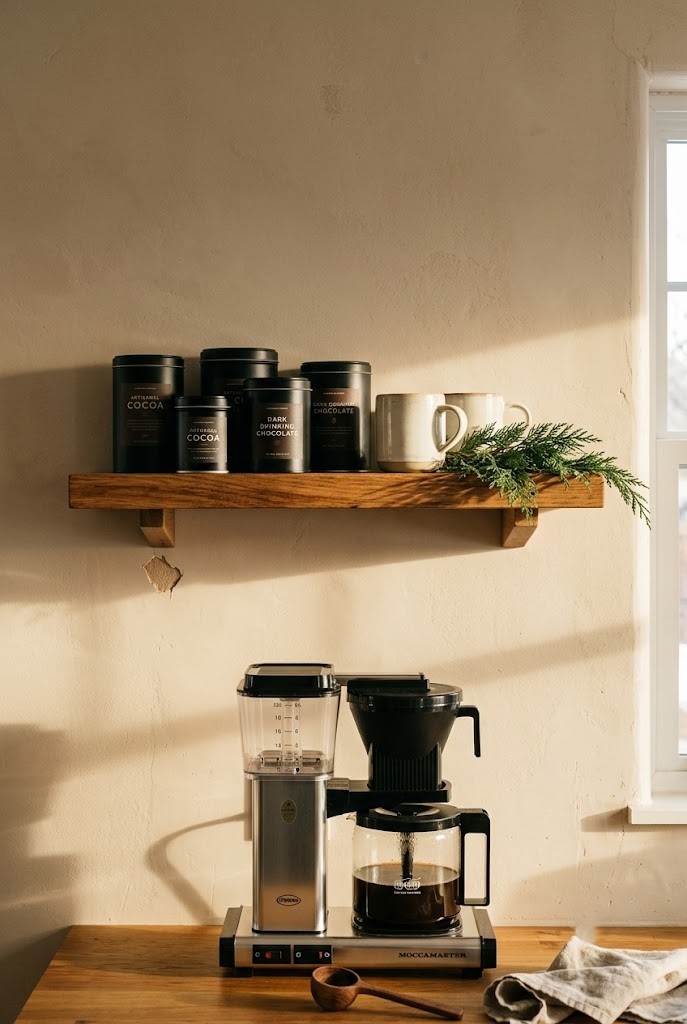
One shelf above the machine gives you cabinet style storage in a kitchen that has no cabinet there. Height is the entire calculation: measure the coffee maker with the lid fully open, add three inches, and mount at that line. Most drip machines end up needing the shelf 18 to 20 inches off the counter. Keep the shelf depth to six inches so it does not loom over your head while you pour. Steam rises, so this shelf takes tins and mugs, not paper packets or anything that warps. It solves the same problem as the cabinet in idea 13 for anyone whose wall is bare.
23. Pegboard Panel With Hooks, Tins and a Small Wreath
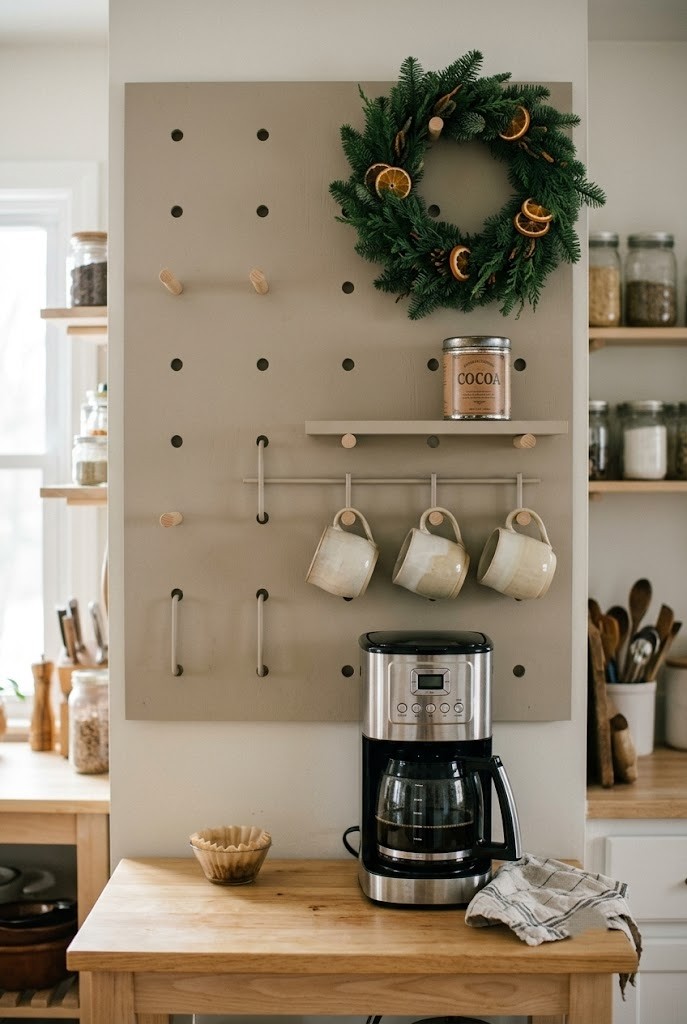
A pegboard panel above the counter holds mugs, tins and a small wreath on a system you can rearrange in five minutes. Cut the board to the width of your counter strip, roughly 24 inches, and paint it to match the cabinets so it disappears when it is empty in January. Hooks carry the mugs, a shelf peg holds one tin, and the wreath sits in the top corner where nothing else hangs anyway. I keep the board in the neutral browns and creams I run through fall, then add red only in December. Use two wall anchors, since adhesive strips will not hold a loaded board.
24. Magnetic Strip Holding Tins and Spoons on the Fridge Side Panel
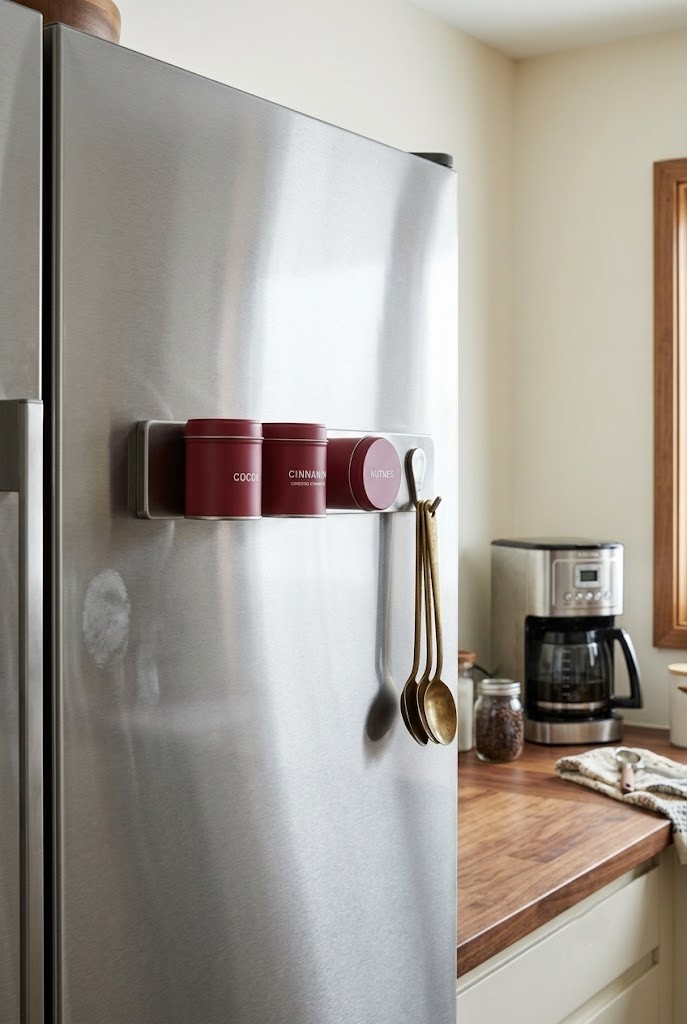
The side of the fridge is a free vertical surface, and a magnetic strip turns it into cocoa storage without touching the counter or the wall. Small steel tins with magnetic bases hold cocoa, cinnamon and sprinkles, while a magnetic hook takes the long spoons. Use the side panel rather than the door, because the door swings and everything mounted on it eventually rattles loose. Test the finish with one magnet first, since some stainless doors are non magnetic while the side panels still hold fine. Keep the strip above counter height so nothing catches your arm as you reach across for the machine.
Final Thoughts
The strip beside your coffee maker is enough. Pick one tray or one riser, hold it to three or four items, and let a cart or a cabinet take everything else. The setups that survive past New Year are the ones that leave room to actually cook, which is the same rule I use in every other season too. Start flat with a tray, and only go vertical when the tray genuinely runs out of room. Save this post to Pinterest so you can pull it back up when the boxes come down.
Frequently Asked Questions
how do I make a Christmas coffee bar if I can't move my coffee maker?
Build the cocoa layer around the machine instead of replacing it. Use the 18 to 24 inch strip beside it for one tray, the dead space behind it for a riser, and the cabinet, a cart or the wall for everything that does not fit. The machine stays plugged in and in place all December.
how much counter space do you need for a coffee bar?
About 18 inches of width is enough for a working cocoa station beside a coffee maker. That fits one 12 inch tray with clearance on both sides, or a two-tier tray in the eight to ten inches of dead counter between the machine and the backsplash. Under 18 inches, move the extras to a cart or a shelf.
what should I put on a Christmas hot cocoa bar?
Four things carry it: cocoa mix, a topping like marshmallows or whipped cream, a stirrer or spoon, and mugs. Add one seasonal extra such as crushed candy cane or a small sprig. Anything past six items on a small counter looks cluttered and slows you down on a weekday morning.
when should I set up a Christmas coffee bar?
The week after Thanksgiving is the practical window, since it uses the station for a full month before you pack it away. If you decorate earlier, set up the tray in mid November and keep the seasonal layer light, then add candy canes and greenery once December starts.