Renter friendly coffee bar ideas for a small kitchen counter usually collapse the moment you read them properly: half the list turns out to be floating shelves and wall-mounted racks, and one popular guide even walks you through drill spacing. Nothing here touches a wall with anything sharper than an adhesive strip. The other thing most posts skip is size. They hand you a look without saying how much counter it eats, so you buy the cart and then find it does not fit. This list is organised by footprint instead: 12 inches, 18 inches, 24 inches and up, and finally no free counter at all. Save it to Pinterest before your next lease starts.
1. A 12-Inch Tray That Turns a Sliver of Counter Into a Coffee Zone
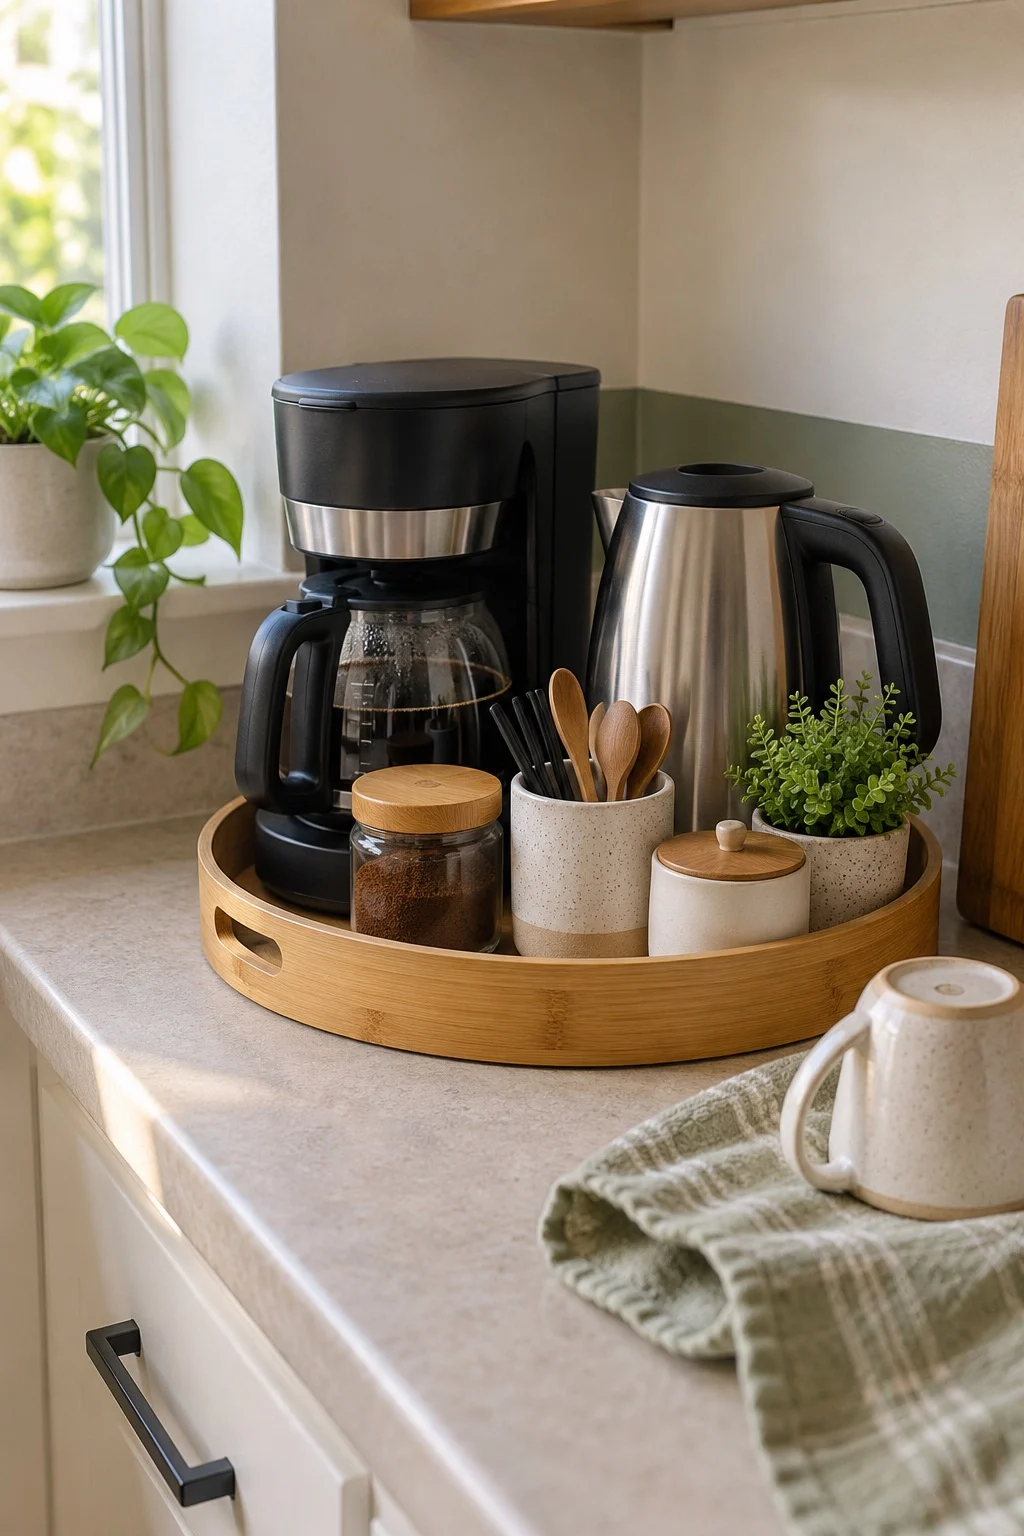
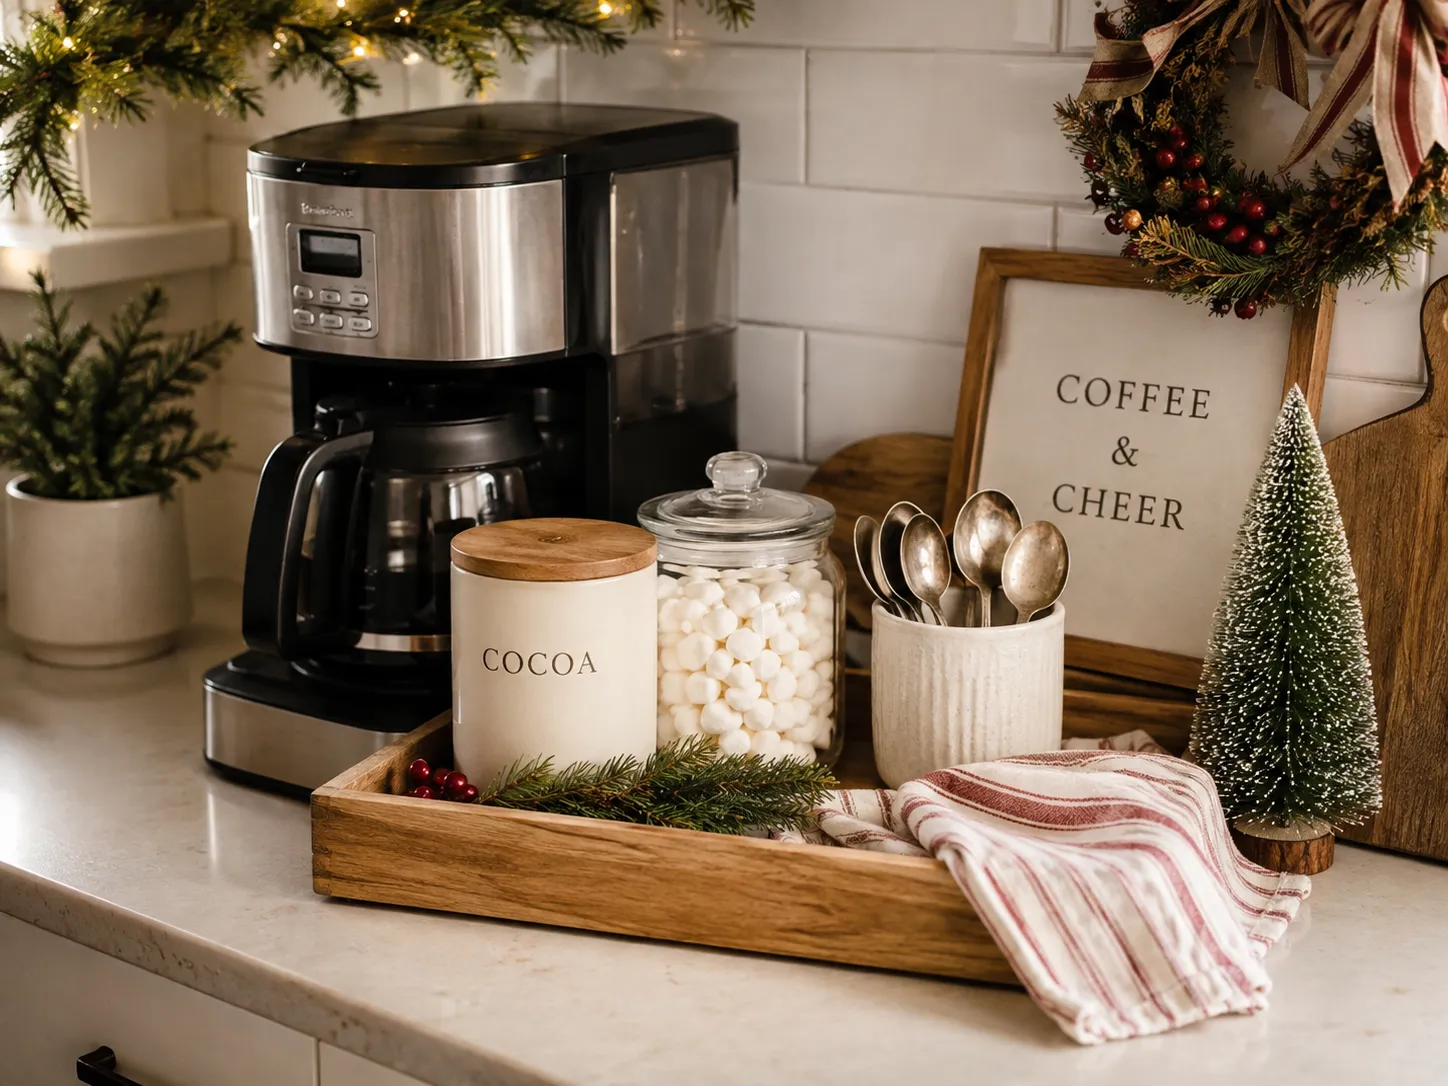
One tray does the whole job: everything coffee-related sits on it, so the bar gets a visible edge and the rest of the counter stays free for cooking. Rental kitchens almost never give you a dedicated corner, so the boundary has to be visual rather than built. Pick a tray with a raised lip, because spilled grounds stay on the tray instead of migrating under the toaster. Bamboo and wood hide scratches far better than lacquer. Measure before you buy: most drip machines are 9 to 11 inches wide at the base, so a 12-inch tray plus a kettle beside it will overhang. On moving day the whole thing lifts into a box in one motion, and you get back the counter space you actually cook on.
2. Shelf Riser That Doubles a One-Foot Footprint Without Touching the Wall
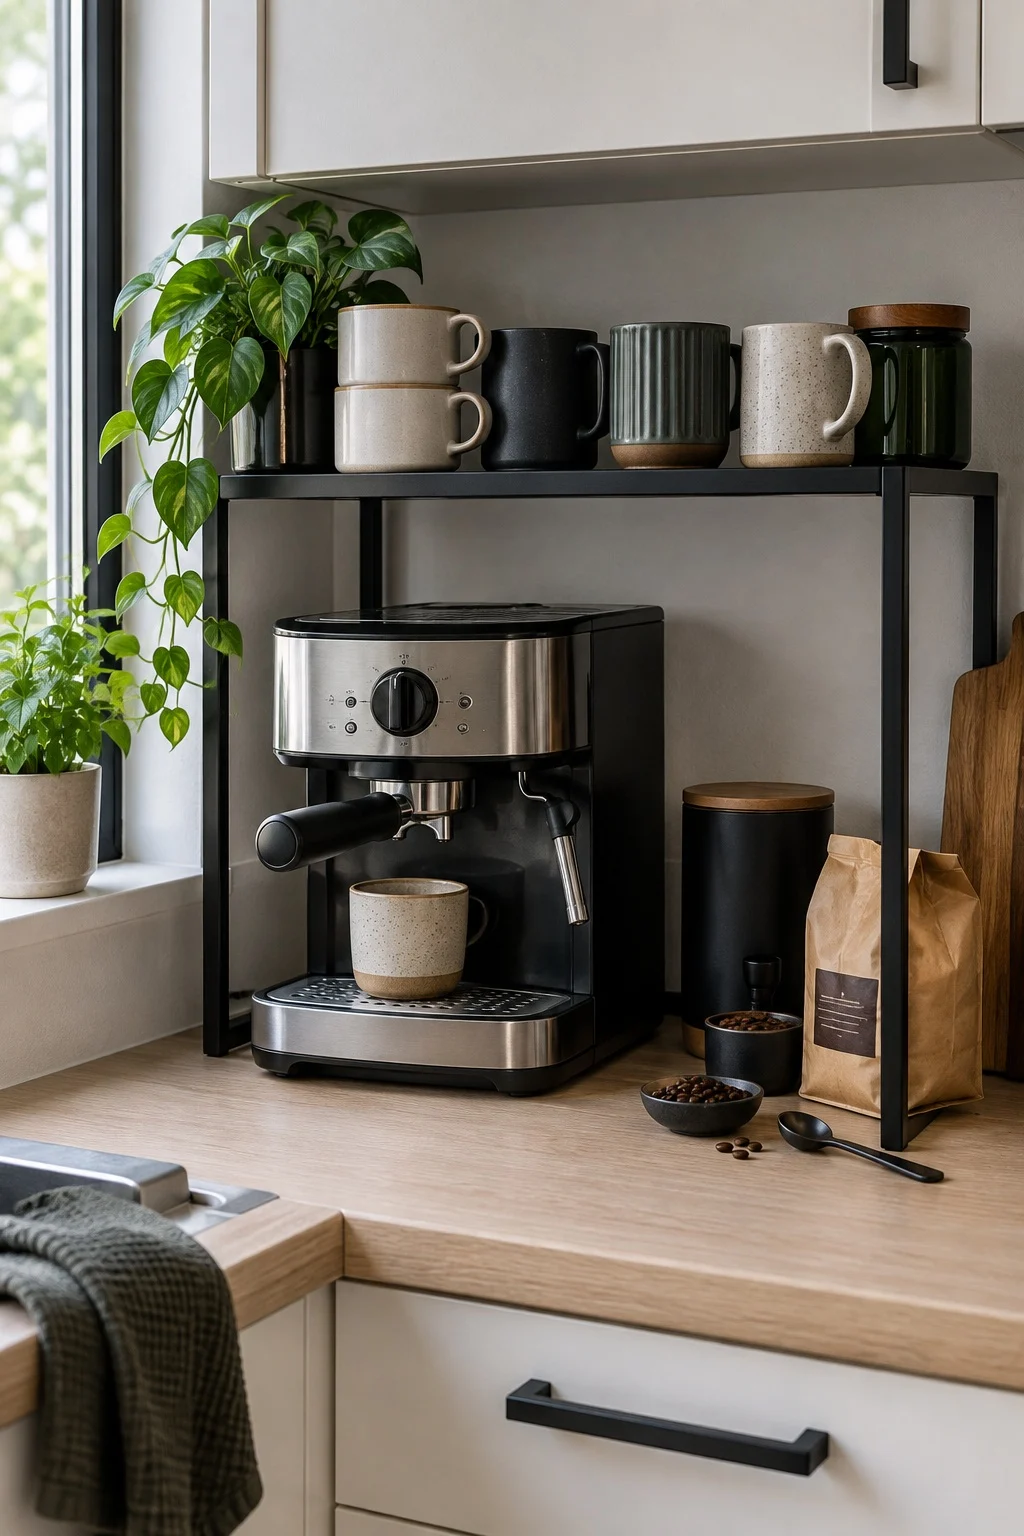
Going up is the only extra square footage a 12-inch strip will ever give you, and a countertop shelf riser buys a second level for the price of a takeaway lunch. The machine lives underneath, mugs and a small sugar jar live on top. Height matters more than width here. Measure from the counter to the underside of your upper cabinet, then subtract at least two inches so you can still lift the water tank lid without dragging the machine out. Most rental kitchens leave 16 to 18 inches of clearance, which fits a 6-inch riser over a 10-inch machine with a little room spare. Metal risers stop wobbling once loaded; acrylic ones flex under four mugs and start creaking.
3. Slim Pour-Over Stand Wedged in the Gap Beside the Fridge
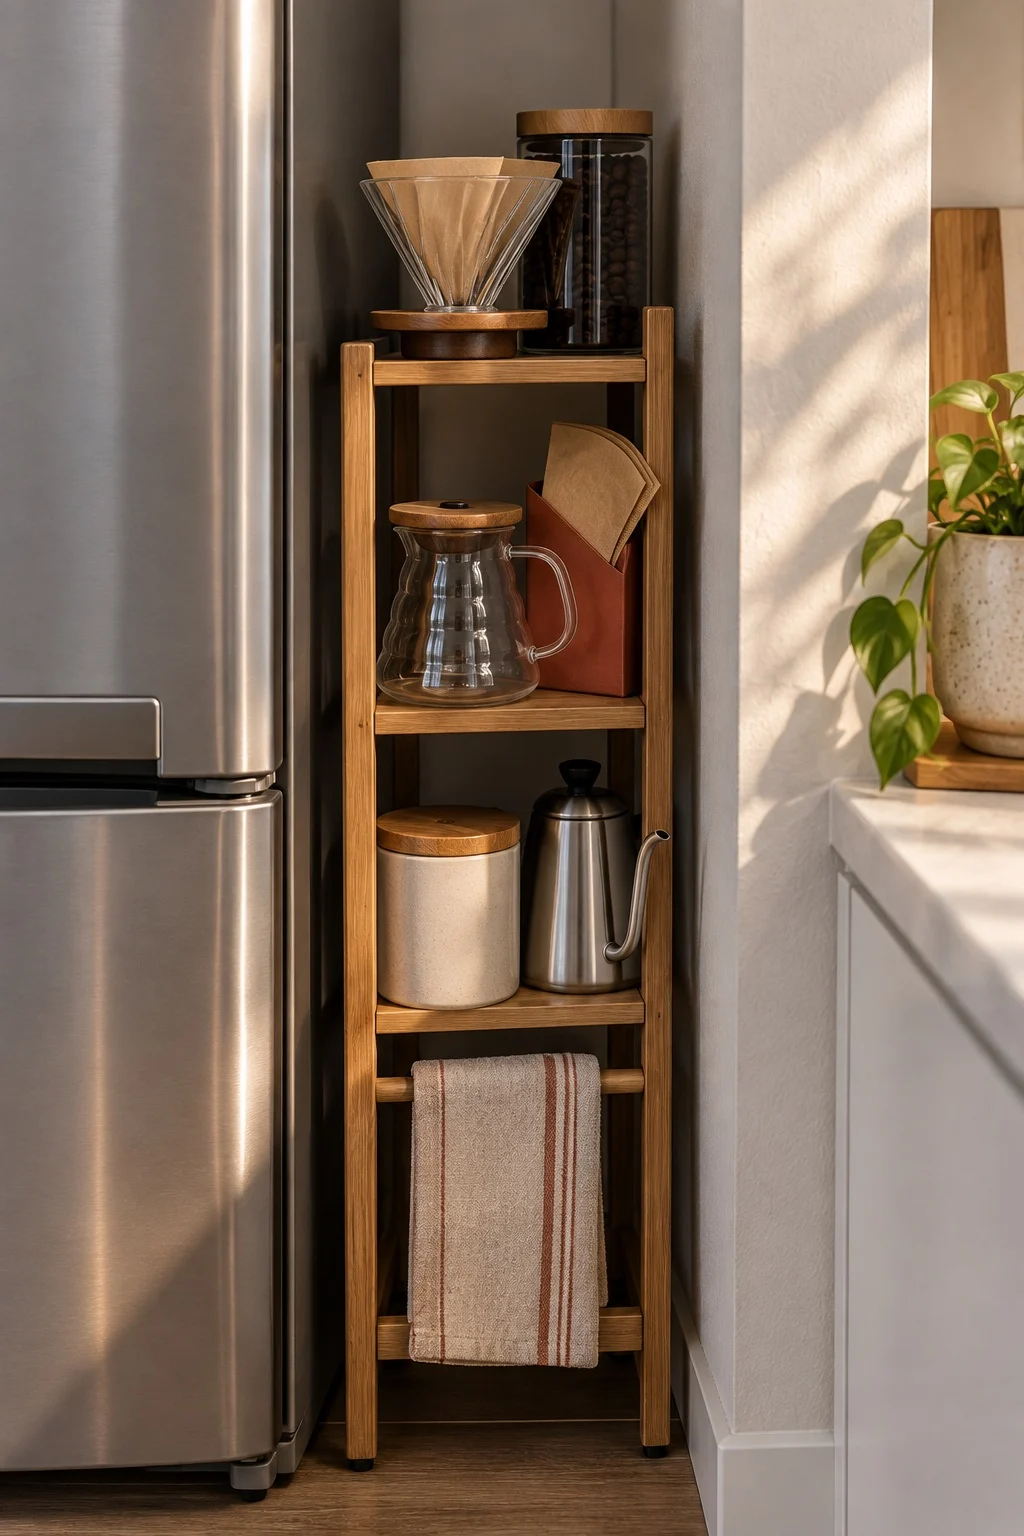
The dead 4 to 6 inch gap next to the fridge will hold a narrow vertical stand with a pour-over cone on top and filters below, which makes it the entire brewing setup when your counter strip is genuinely full. This is the answer when the machine already owns every inch of laminate you have. Look for a stand under 5 inches deep so the fridge door still swings clear, and put your hand on the fridge side panel first: if it runs warm, beans stored there go stale quickly. Keep whole beans in a cupboard and let the stand carry only filters, a scoop and a folded cloth. Nothing is fixed to anything, so the deposit stays untouched.
4. Adhesive Mug Hooks Under the Cabinet Instead of Screws
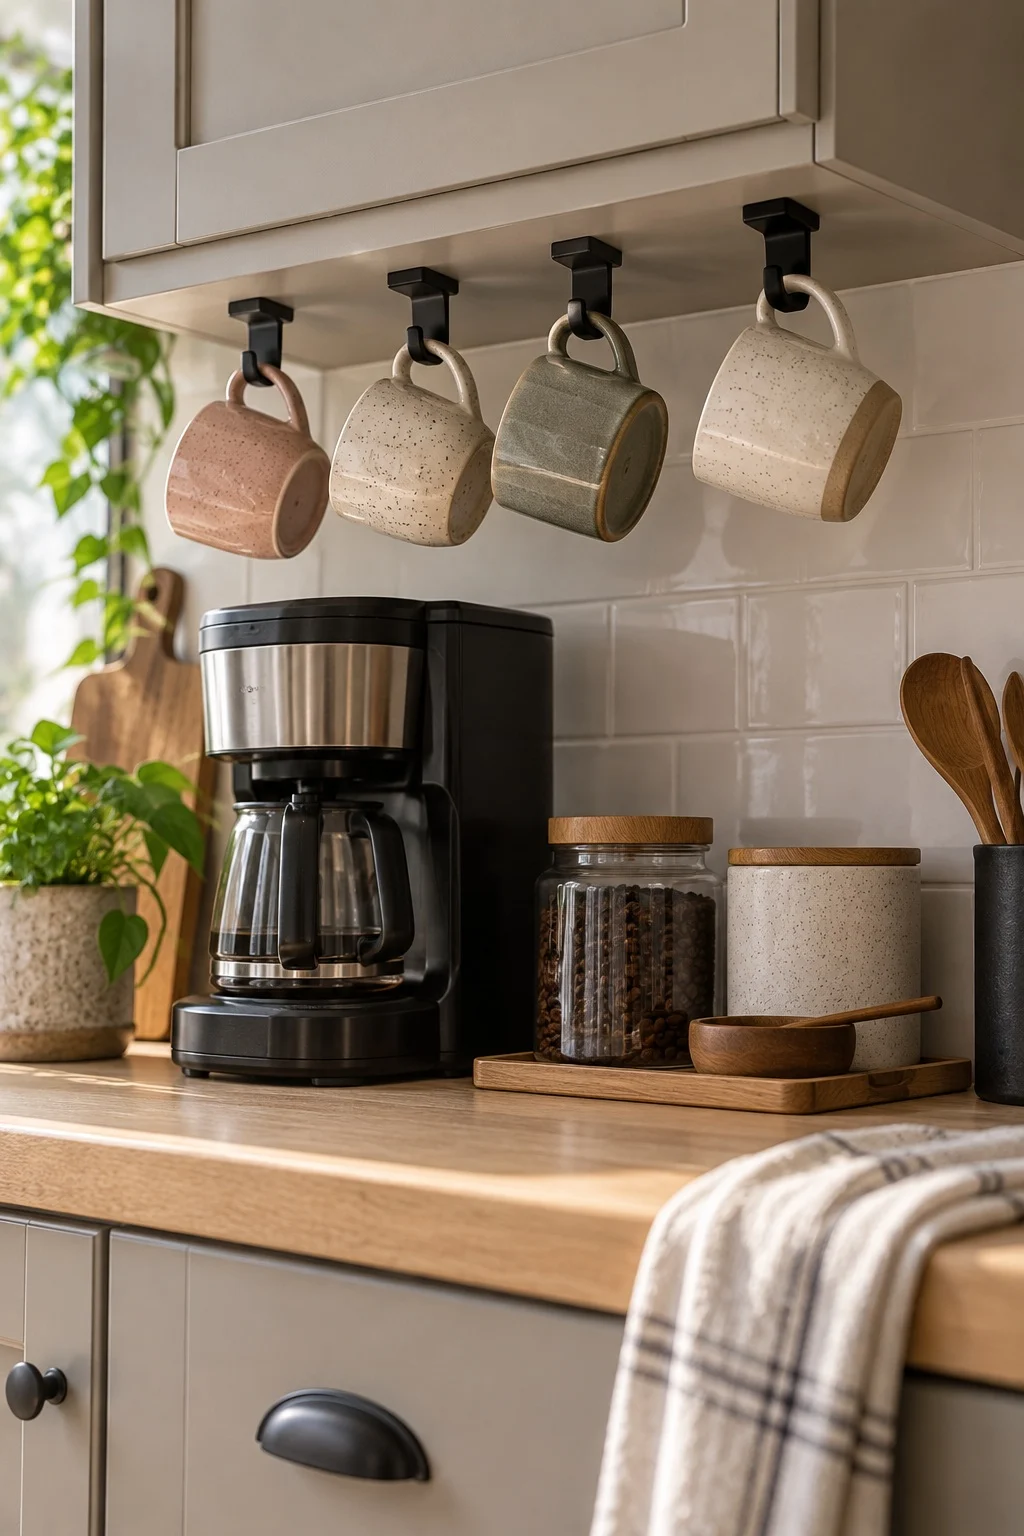
Four mugs hanging under the upper cabinet frees roughly a third of a 12-inch strip, and modern adhesive hooks hold them fine as long as you respect the weight rating. Rated capacity assumes a clean, dry, flat surface, so wipe the cabinet underside with rubbing alcohol and let it dry fully before pressing. Mount hooks 4 inches apart so handles do not clash, and only hang light stoneware, never a heavy diner mug full of pens. Wait the full 60 minutes the packet asks for before loading. When you leave, pull the tab slowly and straight down rather than yanking outward, which is what tears the finish and costs you money.
5. Stacking Canister Tower Holding Beans, Sugar and Pods in a One-Foot Square
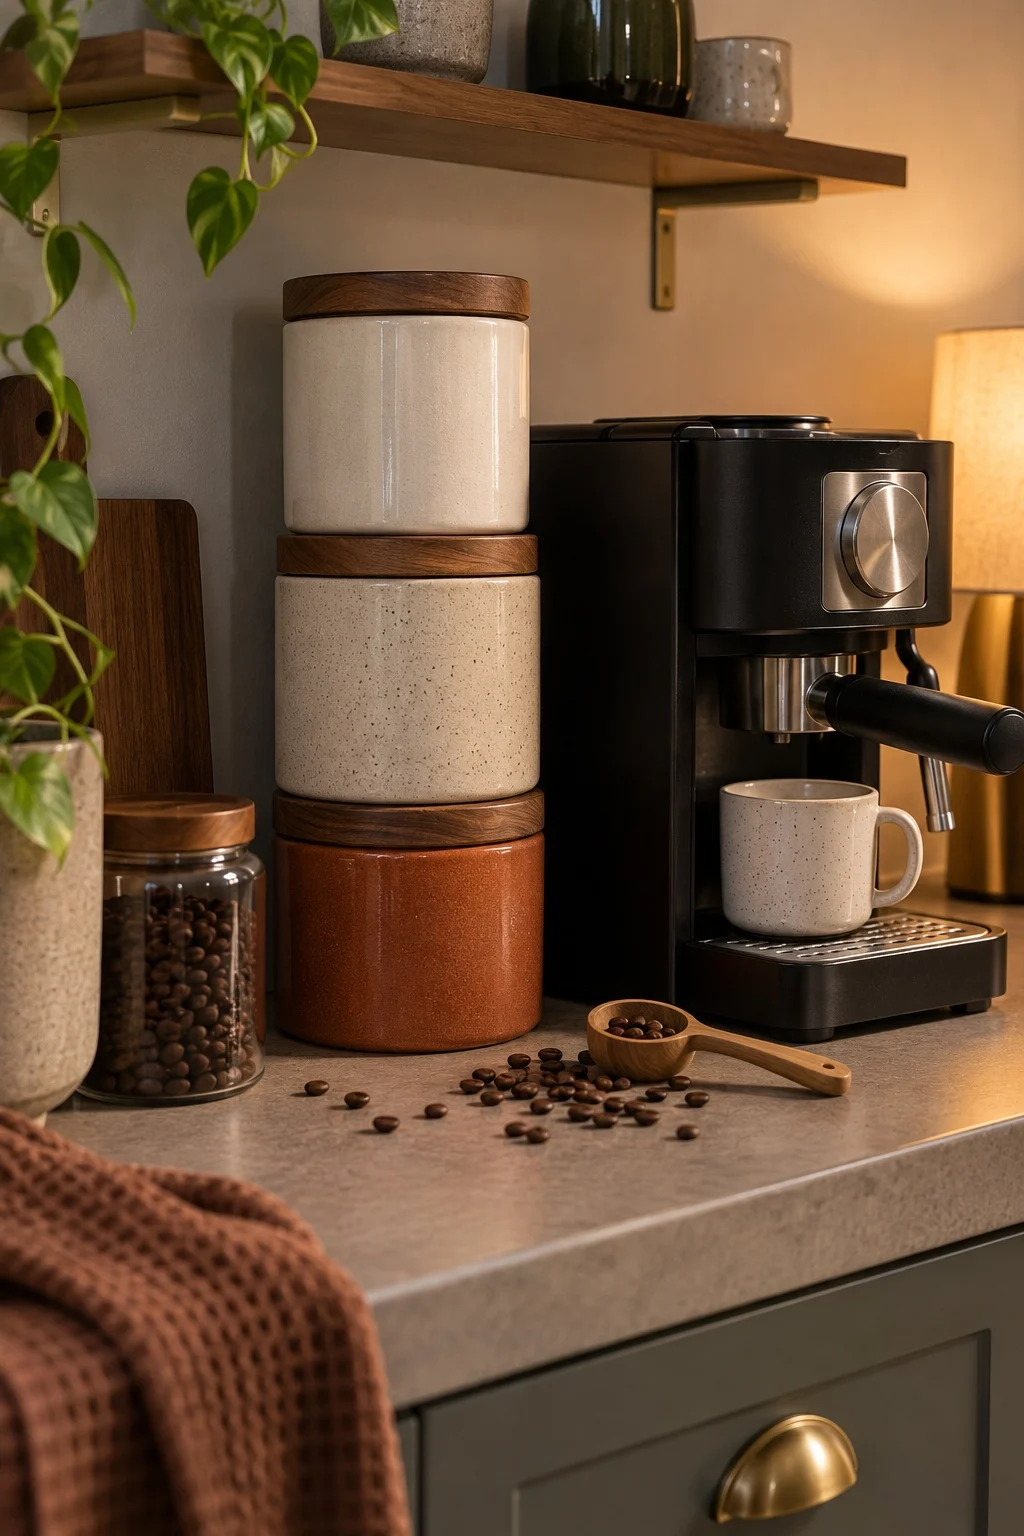
Three stacking canisters occupy the same footprint as one, which is the difference between a 12-inch bar that works and one you give up on by week three. Interlocking lids are the feature to check; smooth-topped jars slide off each other the first time you knock the counter. Glass looks better but shows every fingerprint, and clear containers leave beans exposed to light, which dulls the flavour faster than most people expect. Opaque ceramic or stainless is the practical call, with a small chalk label so you are not opening two lids before breakfast. Keep the tower to shoulder height at most, since anything taller becomes a tipping hazard when you reach past it for a pan.
6. Magnetic Rail on the Fridge Side Carrying the Whole Coffee Kit
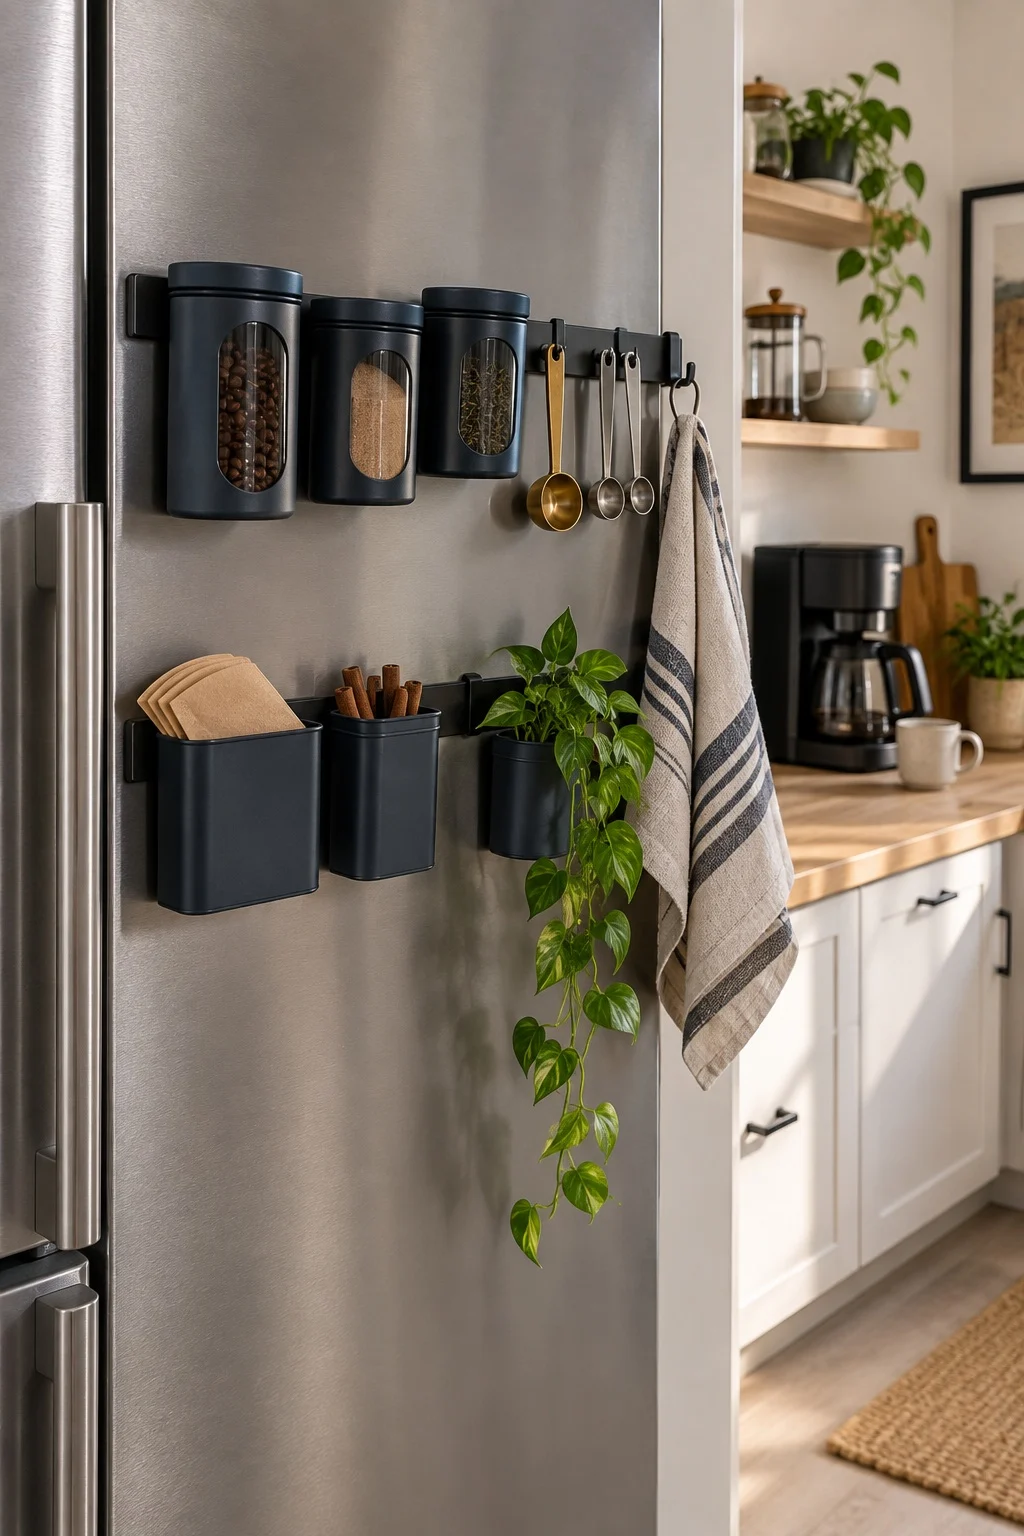
The flat side of the fridge is free vertical storage that no lease clause covers, and a magnetic rail or magnetic tin set moves spoons, filters and small tins off the counter entirely. Test the panel with a fridge magnet first, because many newer stainless fronts are non-magnetic while the side panel still works. Load light: a magnetic strip holds a handful of metal tins comfortably but sags under a glass jar of beans. Keep the rail above knee height so it does not catch a hip in a narrow galley. Everything unclips in a minute at move-out and leaves nothing behind, not even a scuff, provided you slide rather than drag the magnets across the paint.
7. Two-Tier Wire Organizer With the Machine Below and Mugs Above
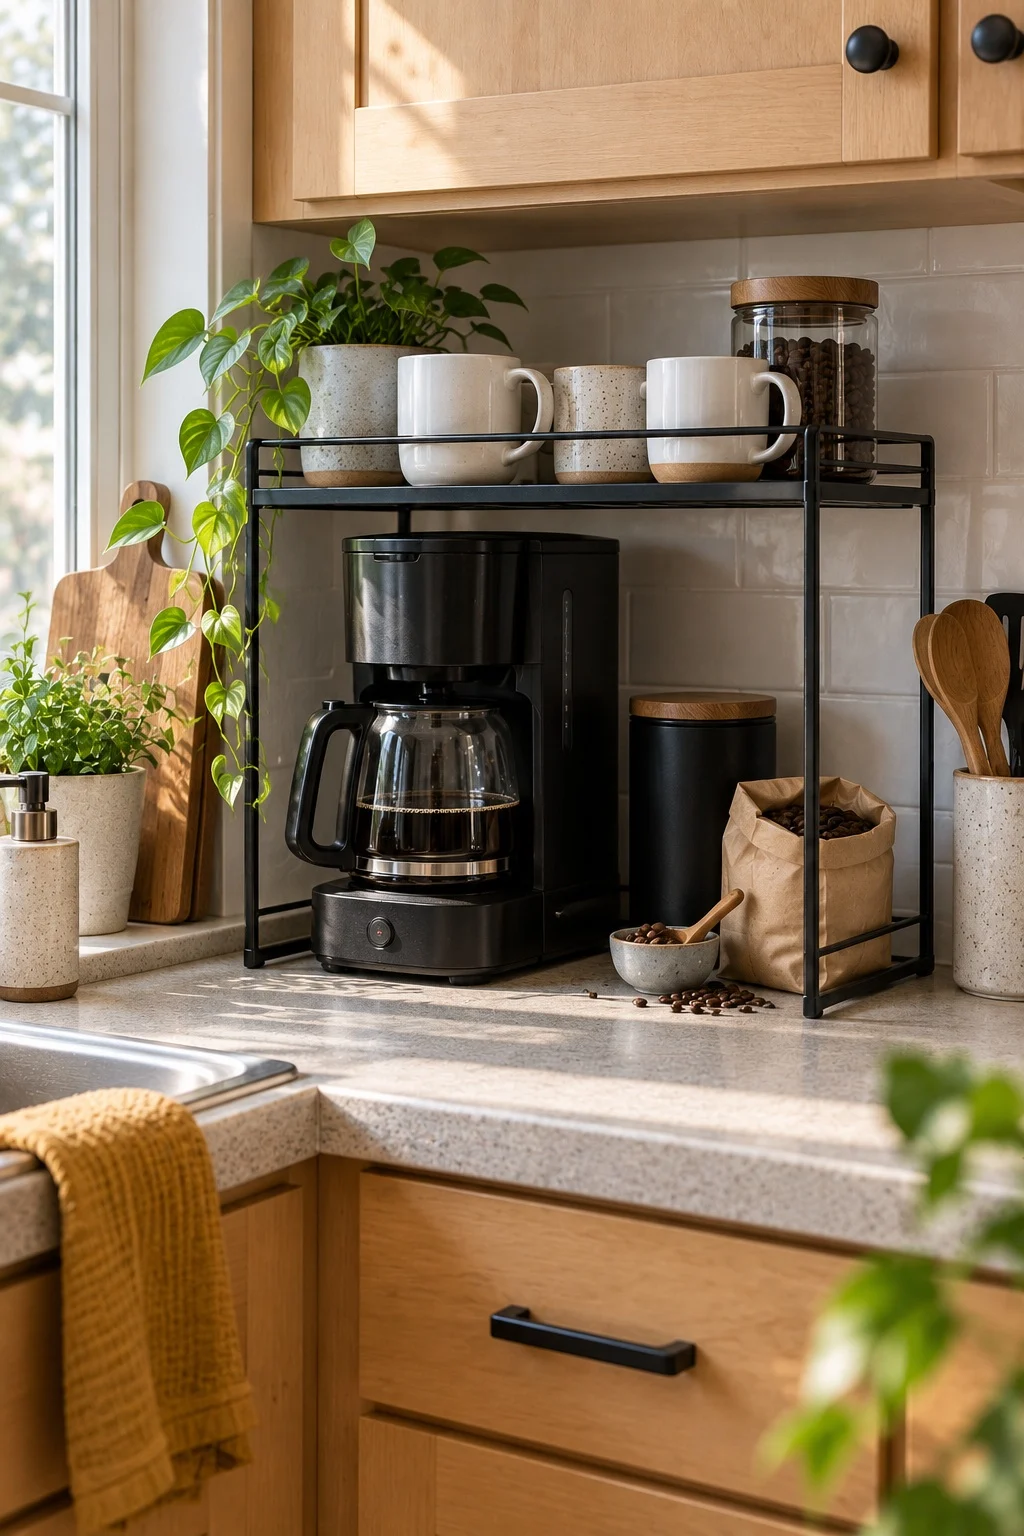
At 18 inches you can finally give the bar two working levels side by side, and a tiered countertop organizer is the cheapest way to buy that second surface without hardware. Wire versions cost less than wood and let steam escape, which matters when a kettle sits underneath. Depth is the number people forget: standard counters run 24 to 25 inches deep, so an organizer deeper than 12 inches leaves no room to actually set a mug down while pouring. This is a sturdier version of the riser in idea 2, and worth the upgrade if you own a grinder. Load heavy items on the bottom tier only; top-heavy wire racks tip when you drag them forward to clean behind.
8. Over-the-Sink Board That Becomes a Pull-Out Coffee Ledge
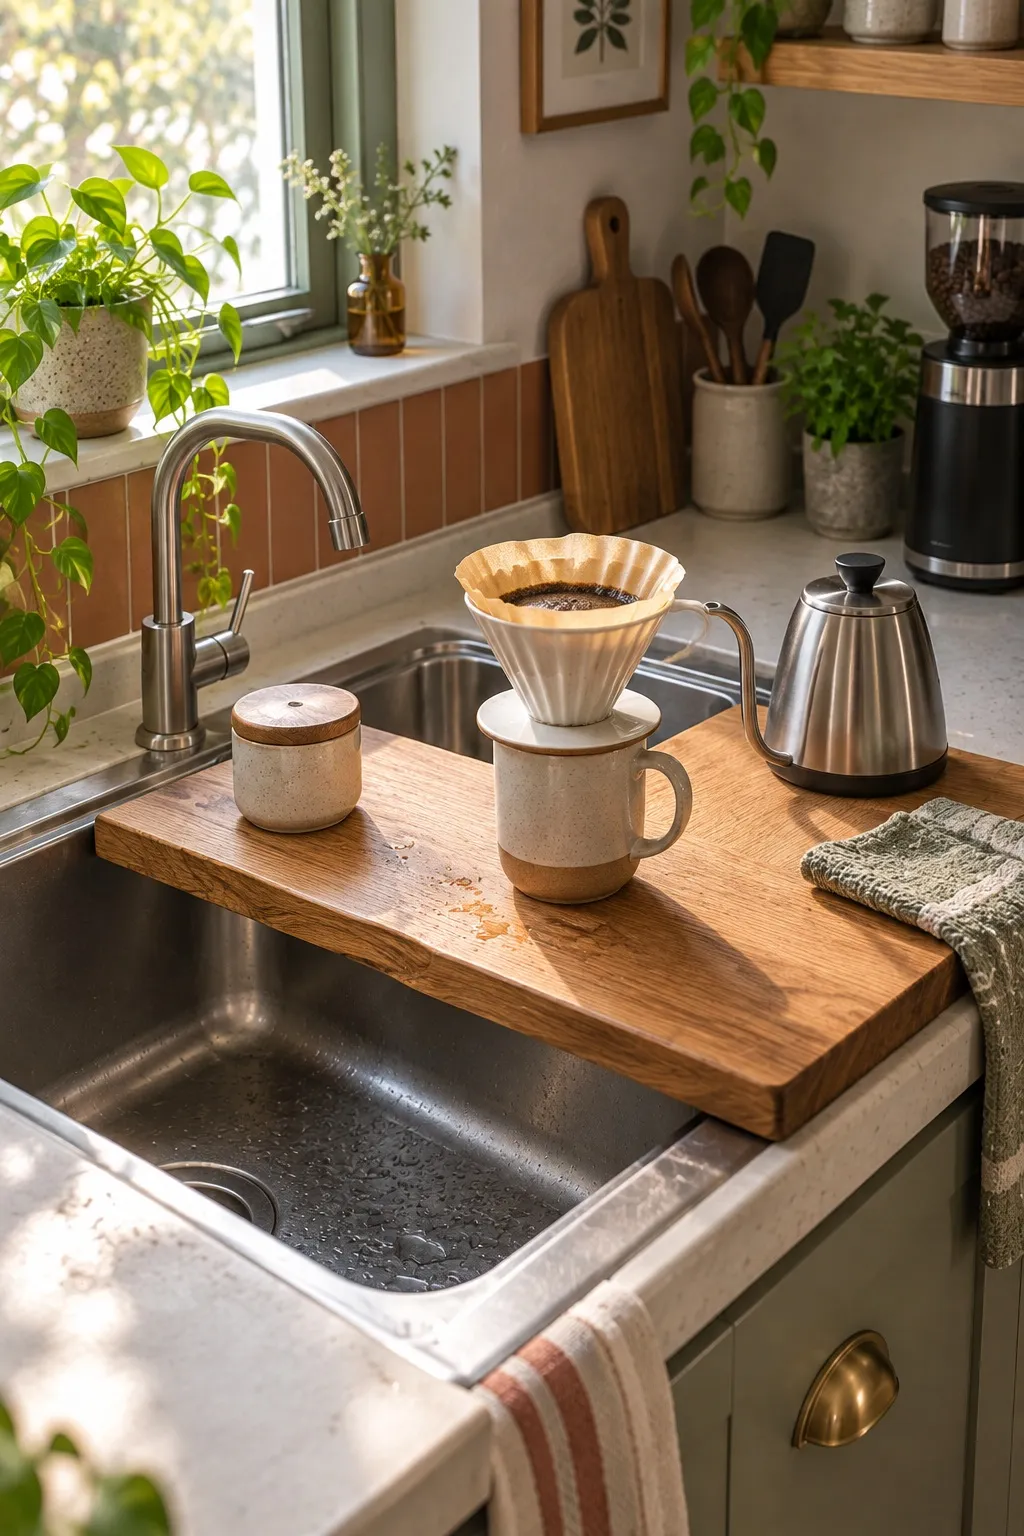
A hardwood board sized to span your sink adds about 18 inches of temporary counter that disappears when you need to wash up, which is the closest a rental galley gets to extra surface. Measure the sink lip to lip, not the basin, and take half an inch off so the board drops in without binding. Use it as the pour-over station in the morning, then lift it off and lean it behind the tap. Oiled hardwood handles water far better than laminate-faced board, which swells at the edges within a month. Keep the kettle off it while brewing; a full kettle on an unsupported span is how boards crack down the grain.
9. Corner Turntable Putting Syrups and Tins Within an 18-Inch Reach
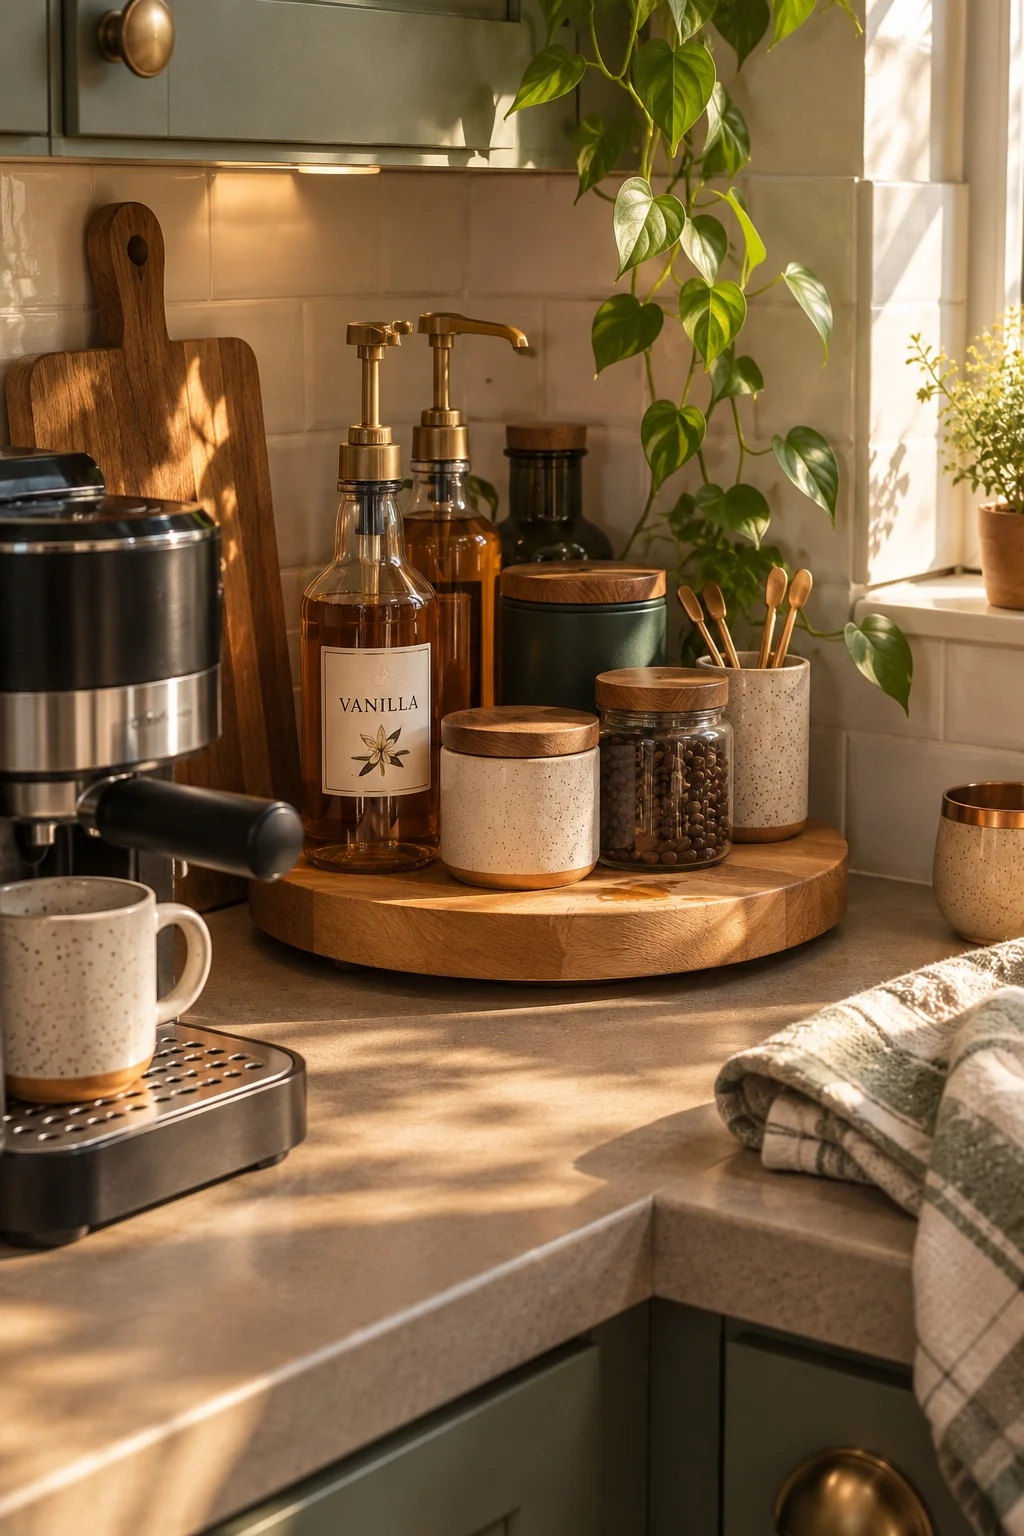
Corners waste more counter than any other spot because the back half is unreachable, and a 10 to 12 inch turntable makes that back half spin forward to you instead. Syrups, tins and the sugar all live on it, and one hand turn beats moving four jars every morning. Choose one with a raised rim so bottles do not walk off when it spins fast. Bearing quality is worth paying a few dollars more for; cheap plastic bases grind and stick once syrup drips into them. Wipe under the base monthly, because the sticky ring that forms there is what eventually seizes the whole thing and gets it thrown out.
10. Rubber Drip Mat Keeping an 18-Inch Bar Off the Laminate
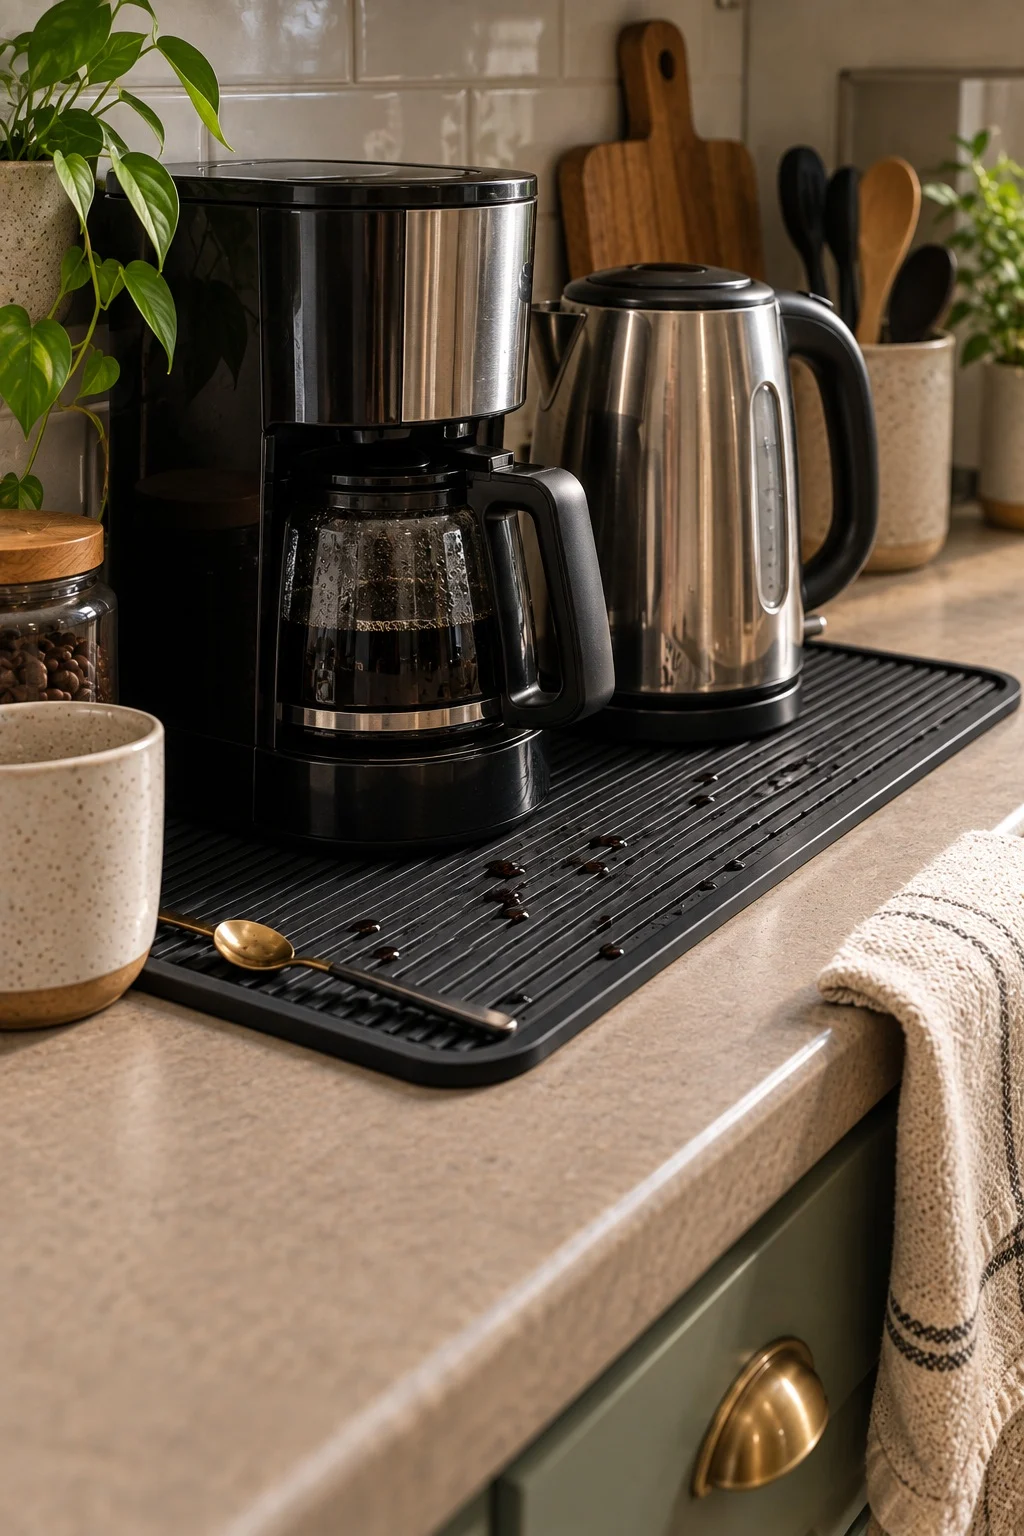
Coffee stains are one of the most common deposit deductions in rentals, and a silicone or rubber drip mat under the machine is a five dollar insurance policy against it. Cheap laminate absorbs through the seams rather than the surface, so a puddle that sits overnight leaves a dark halo you cannot sand out. Pick a mat with a lipped edge and enough length to catch the drip tray and the kettle base together. This works alongside the tray in idea 1 rather than replacing it, since the tray defines the zone and the mat protects underneath. Lift and rinse the mat weekly; trapped moisture under rubber grows a mildew ring on the counter it was meant to save.
11. Tension Rod Under the Upper Cabinet Holding S-Hook Mugs
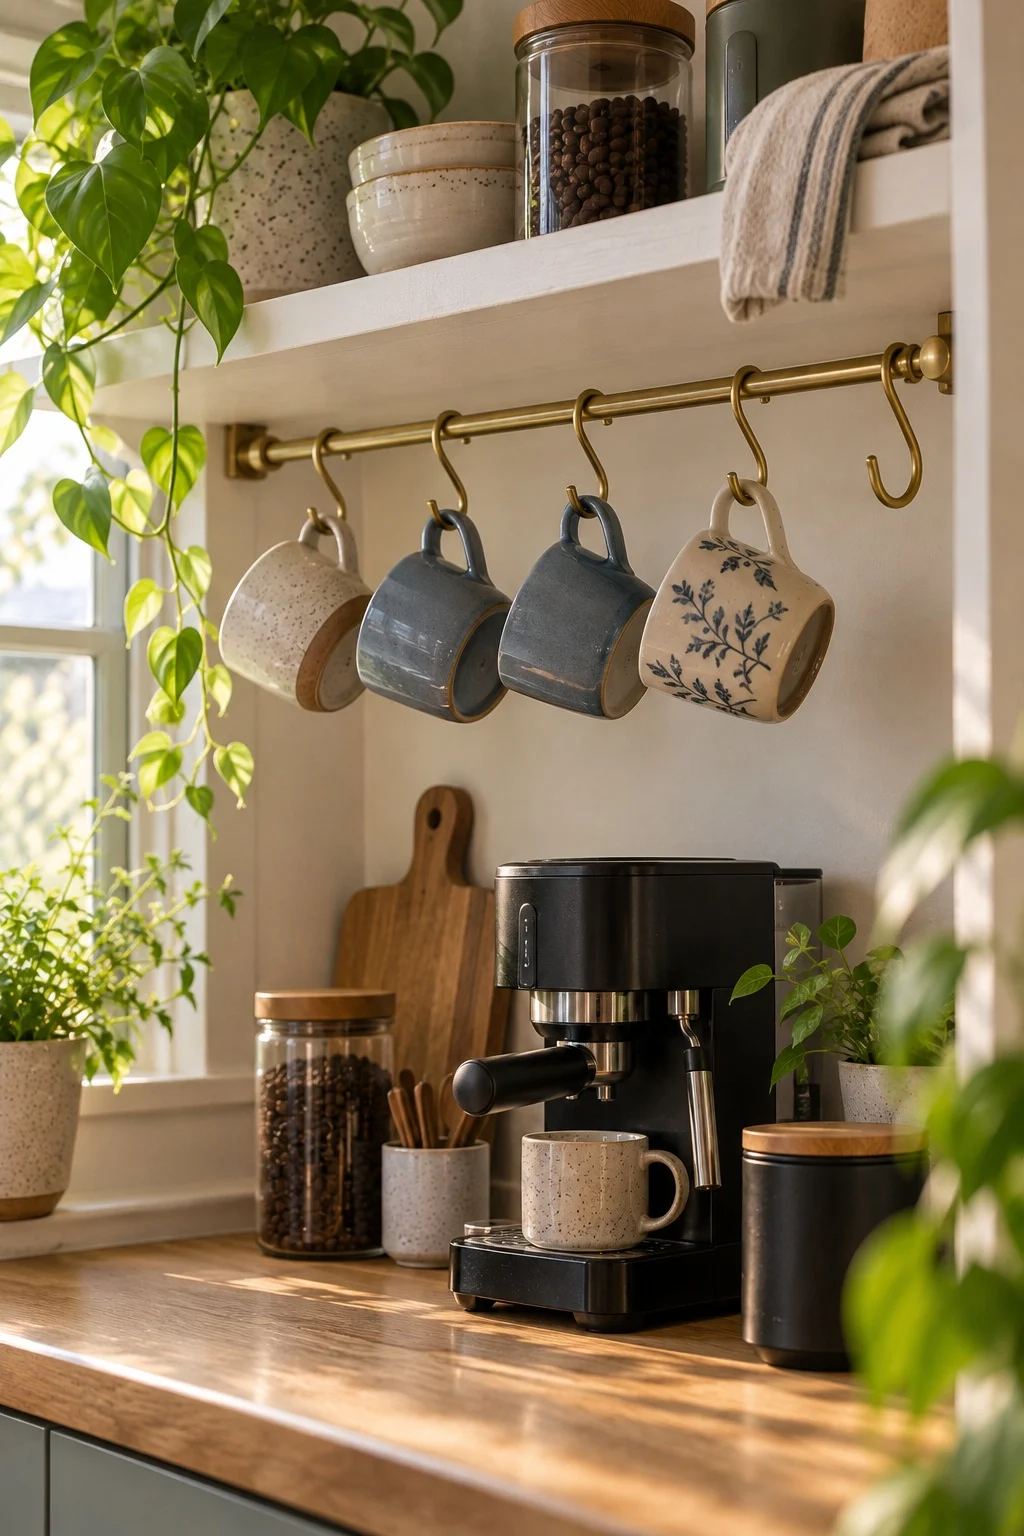
A short tension rod sprung between the two side walls of an open shelf or between cabinet sides carries four or five mugs on S-hooks and never puts a hole anywhere. Tension only works across a rigid span, so this needs solid vertical surfaces on both sides, not a single cabinet edge. Size the rod so it compresses at least an inch beyond its resting length, then twist until it holds firm and test it hard with your hand before hanging anything. Rubber end caps stop the rod polishing two shiny circles into the paint. Load light mugs only, and if the rod drops even once, move down to hooks rather than trying again with more force.
12. A Propped Print and a Small Lamp Instead of Anything on the Wall
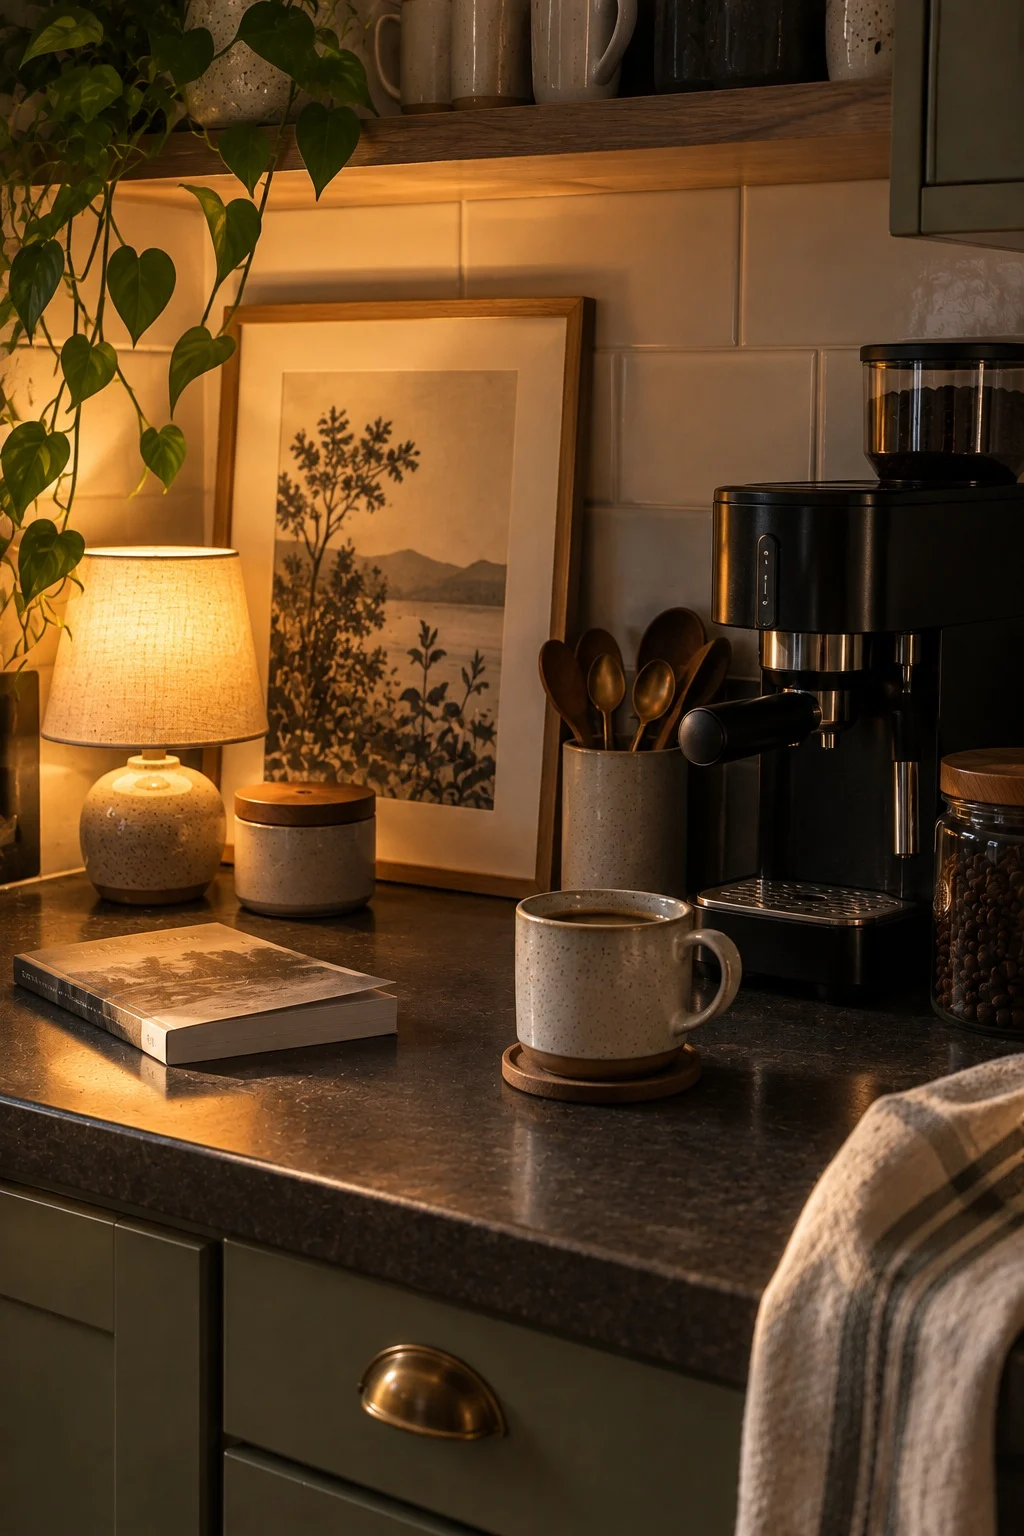
Leaning a framed print against the backsplash gives the bar a finished back wall with zero fixings, and a small plug-in lamp beside it is what makes the corner read as a room feature rather than an appliance. Keep the frame under 12 inches wide so it does not steal brewing space, and put a strip of felt or a rubber bumper on the bottom edge so it stops sliding forward every time the counter gets wiped. A warm bulb around 2700K flatters wood and ceramic; cool white makes the same corner look clinical. Run the cord behind the machine rather than across the counter, where it catches sleeves.
13. A Full 24-Inch Bar Split Left to Right: Machine, Grinder, Mugs
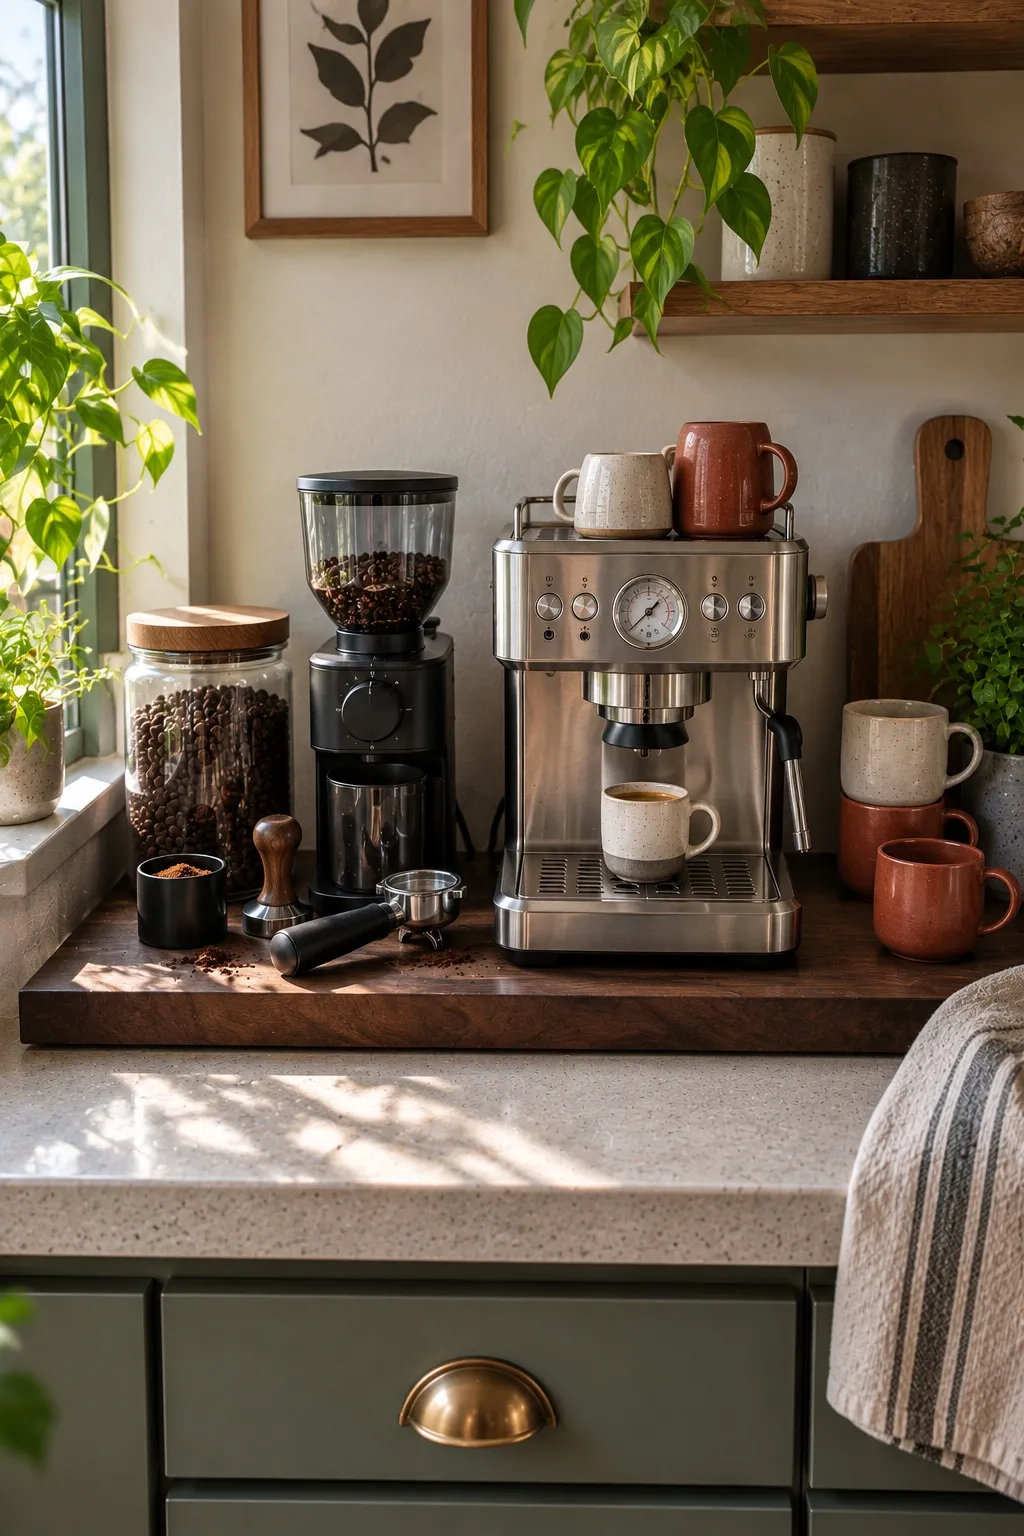
Two feet of counter is enough for a proper three-zone bar, and the order matters more than the styling: beans on the left, grinder and machine in the middle, mugs and finishing on the right, so your hands move one direction and never cross. This is the workflow version of the stacked organizer in idea 7, spread horizontally instead of vertically. Leave 3 inches of clear counter at the far right as landing space, because a bar with no empty spot forces you to set the hot cup on top of something. Check plug positions before committing to a side; extension leads trailing across a coffee bar are both ugly and a genuine hazard.
14. Butcher Block Slab Laid Over the Counter to Zone the Bar
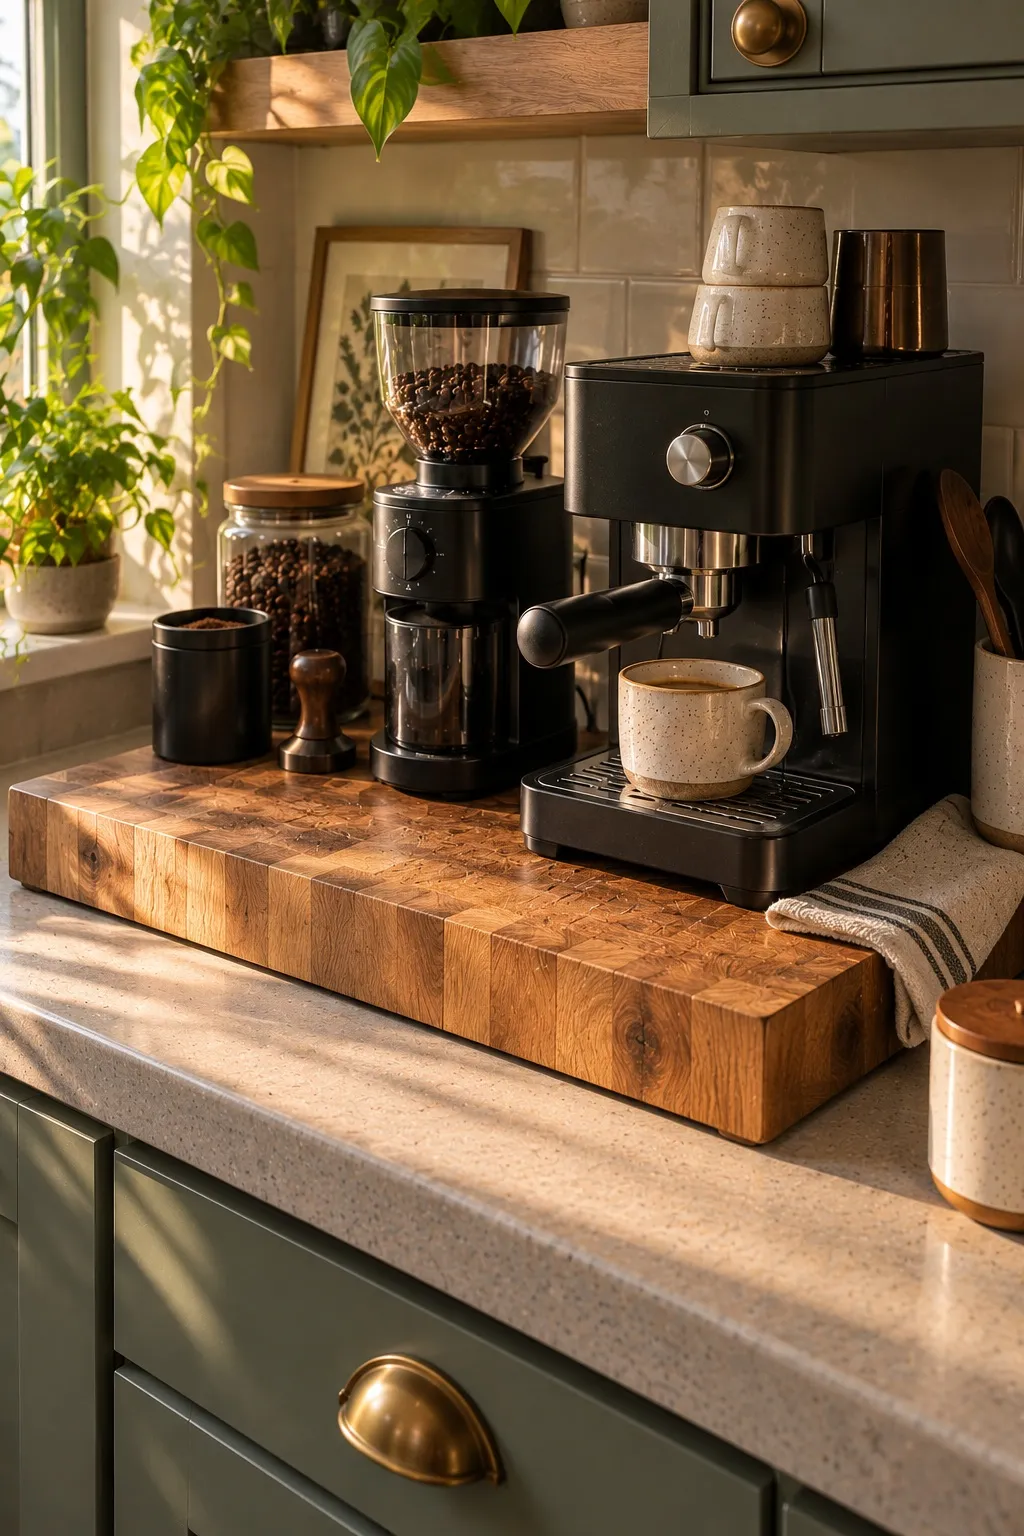
A loose butcher block slab sitting on top of the existing counter gives the bar its own visible surface and covers whatever dated laminate the landlord chose, all without a single fixing. Thickness sells the effect: anything under an inch reads as a chopping board, while an inch and a half looks built in. Weight is the trade-off, since a 24 by 18 inch slab in solid oak runs 20 pounds or more and needs two hands to move. Put felt pads underneath so it does not scratch the counter it is protecting, and never let water pool at the back edge where you cannot see it drying.
15. Three-Step Wooden Riser Holding Syrups, Sweeteners and Small Tins
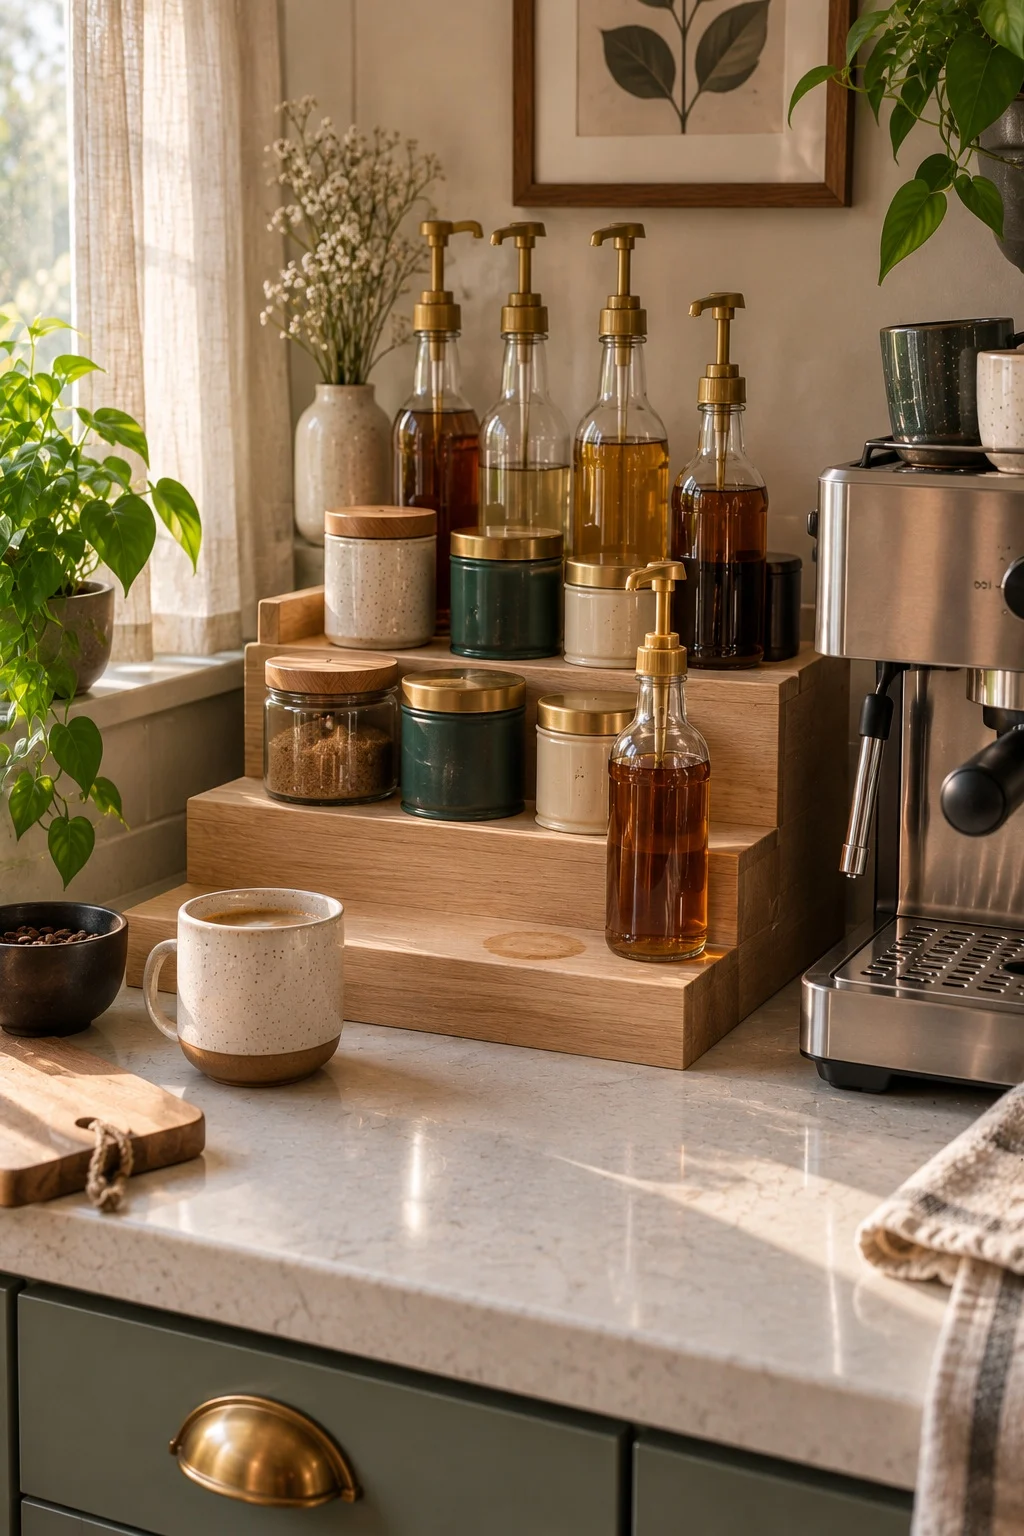
Stepped risers exist because you cannot see the back row of a flat shelf, and a three-tier organizer stacks 12 to 15 small bottles into the footprint of about four. Each step needs roughly 3 inches of rise to clear standard syrup bottle caps, so check the step height rather than only the overall width. Wood versions look warmer than acrylic and hide sticky rings better between cleans. Put the things you use daily on the bottom step, not the top, because reaching over the front row is how bottles get knocked. This is the one accessory worth spending a bit more on, since flimsy ones bow in the middle under glass.
16. Woven Basket Bar That Packs Straight Into a Moving Box
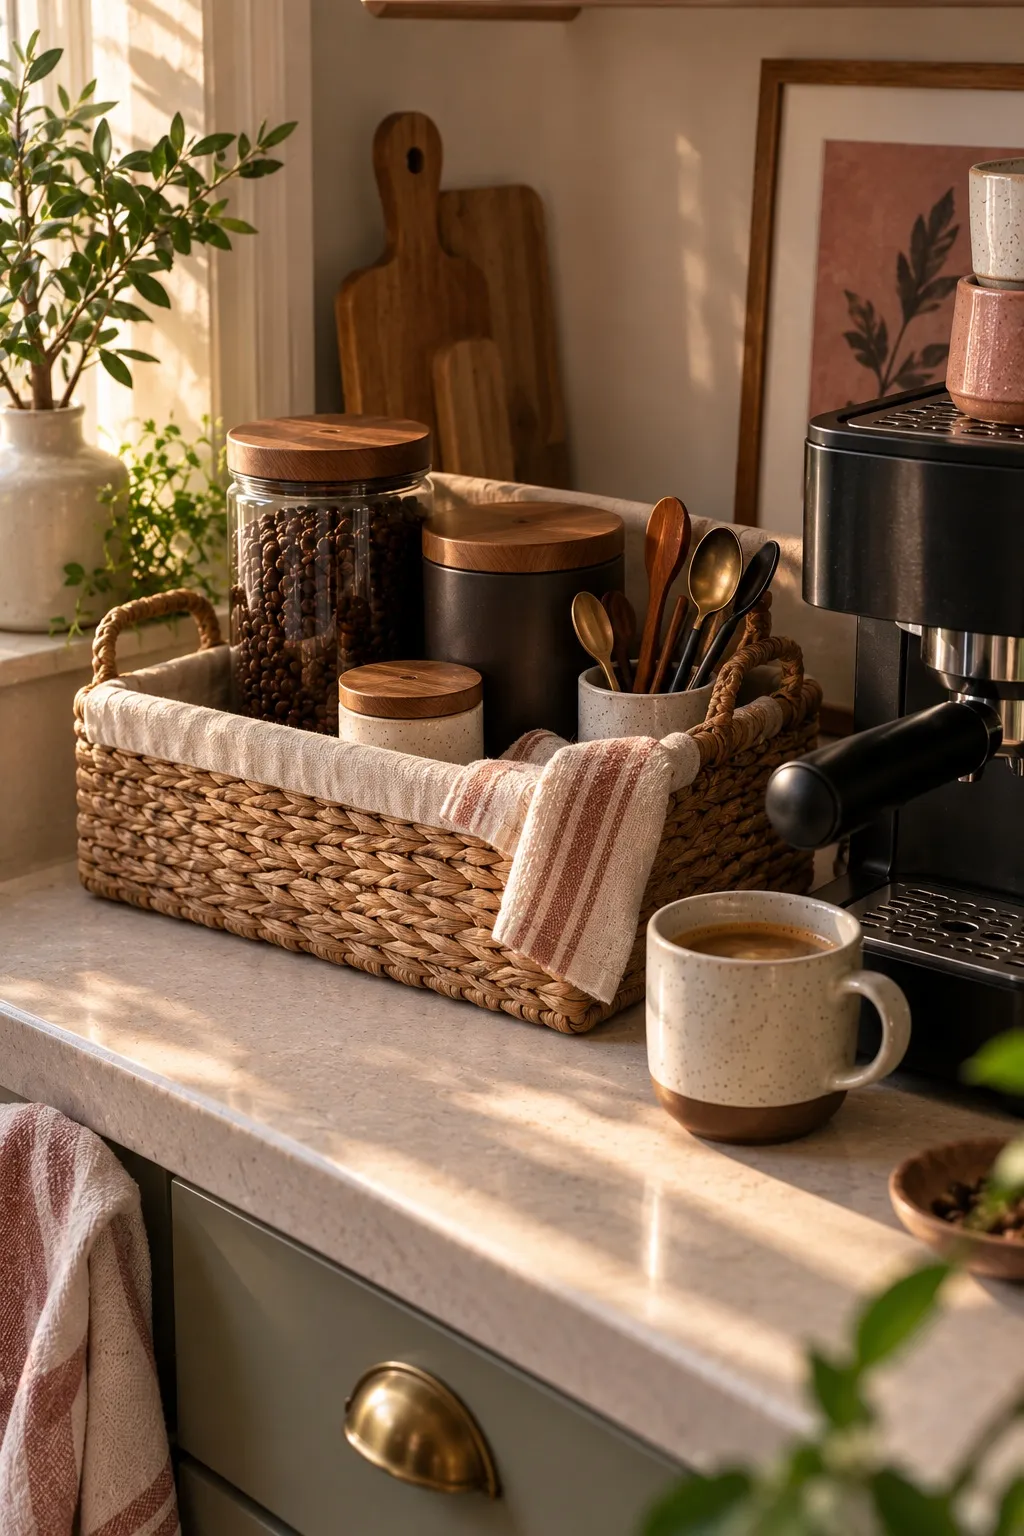
Everything except the machine goes into one shallow woven basket, which makes the bar a single object you can lift off the counter in one motion when you need the surface for chopping. Depth is what makes or breaks this: over 5 inches and you are digging blindly for the sugar. Look for a rigid rim rather than a floppy seagrass one, since soft baskets collapse inward as they empty and start looking untidy. Line it with a plain cloth so grounds do not settle into the weave permanently. Same packing logic as the tray in idea 1, with more visual softness against hard laminate and stainless.
17. Peel-and-Stick Tile Behind a 24-Inch Coffee Bar
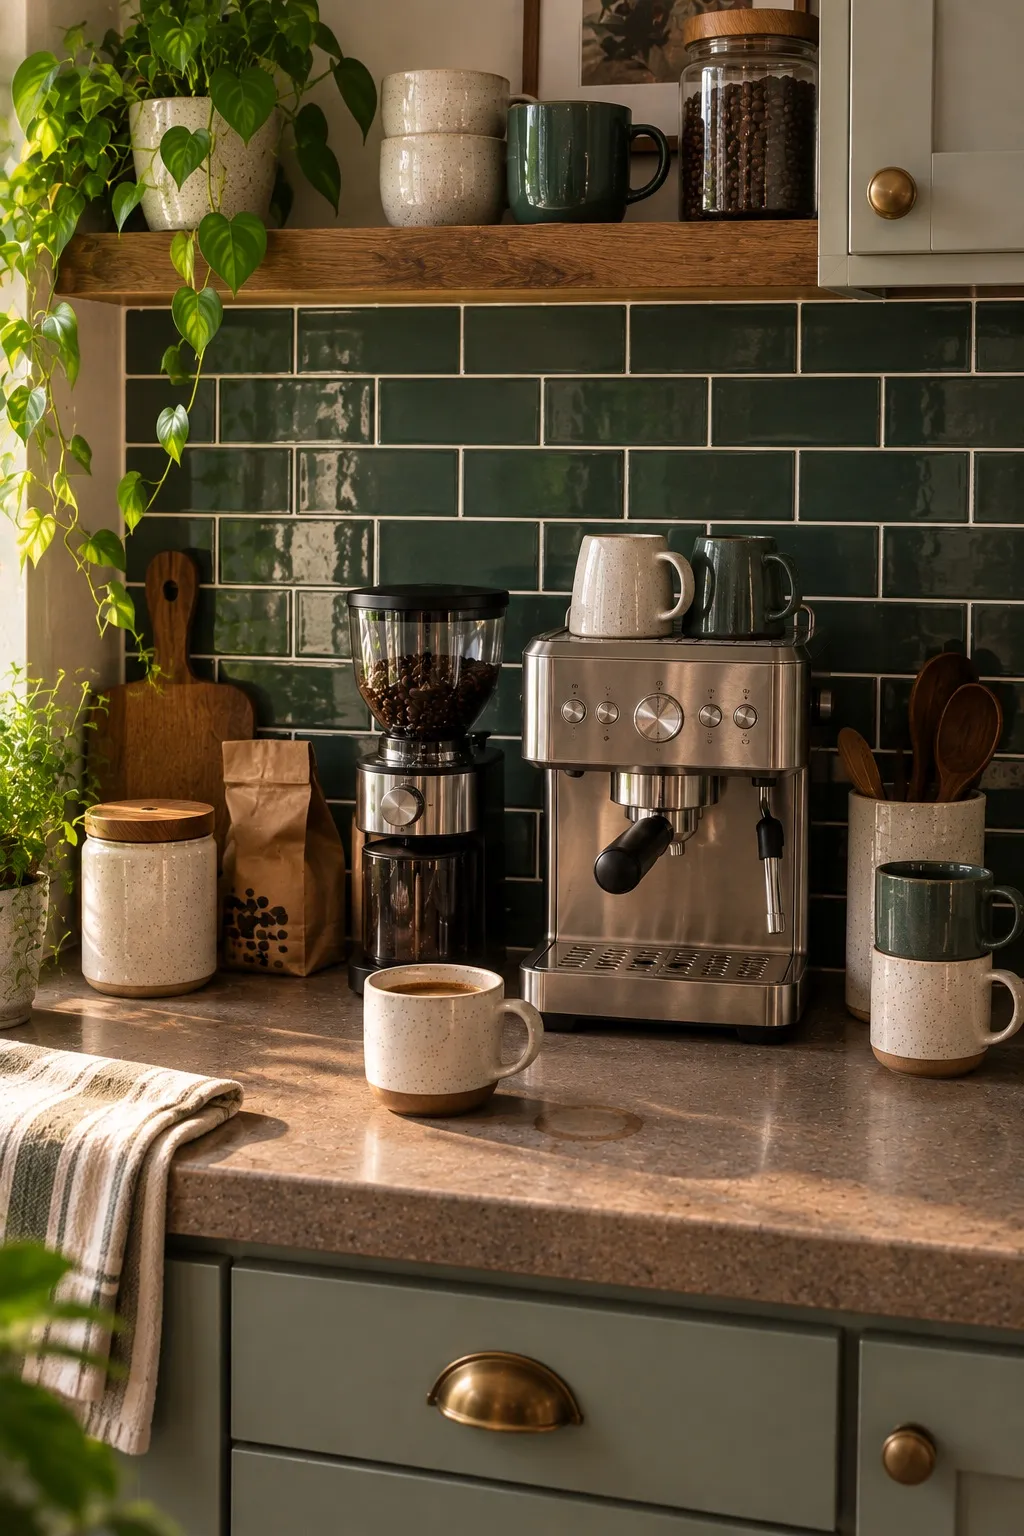
Two square feet of peel-and-stick tile behind the machine reads as a real backsplash and turns a generic counter into a defined station for around 20 dollars. Removability depends almost entirely on the wall it goes onto: it lifts cleanly from gloss or satin paint and tile, and it tears matt emulsion off in patches. Test one tile in the corner behind the machine and pull it after 48 hours before committing to the rest. Peel-and-stick is also the fastest route to a moodier renter kitchen without touching paint. Keep it above the counter splash line, and never run it behind a gas hob where heat will lift the edges.
18. Narrow Rolling Cart Parked in the Gap Beside the Fridge
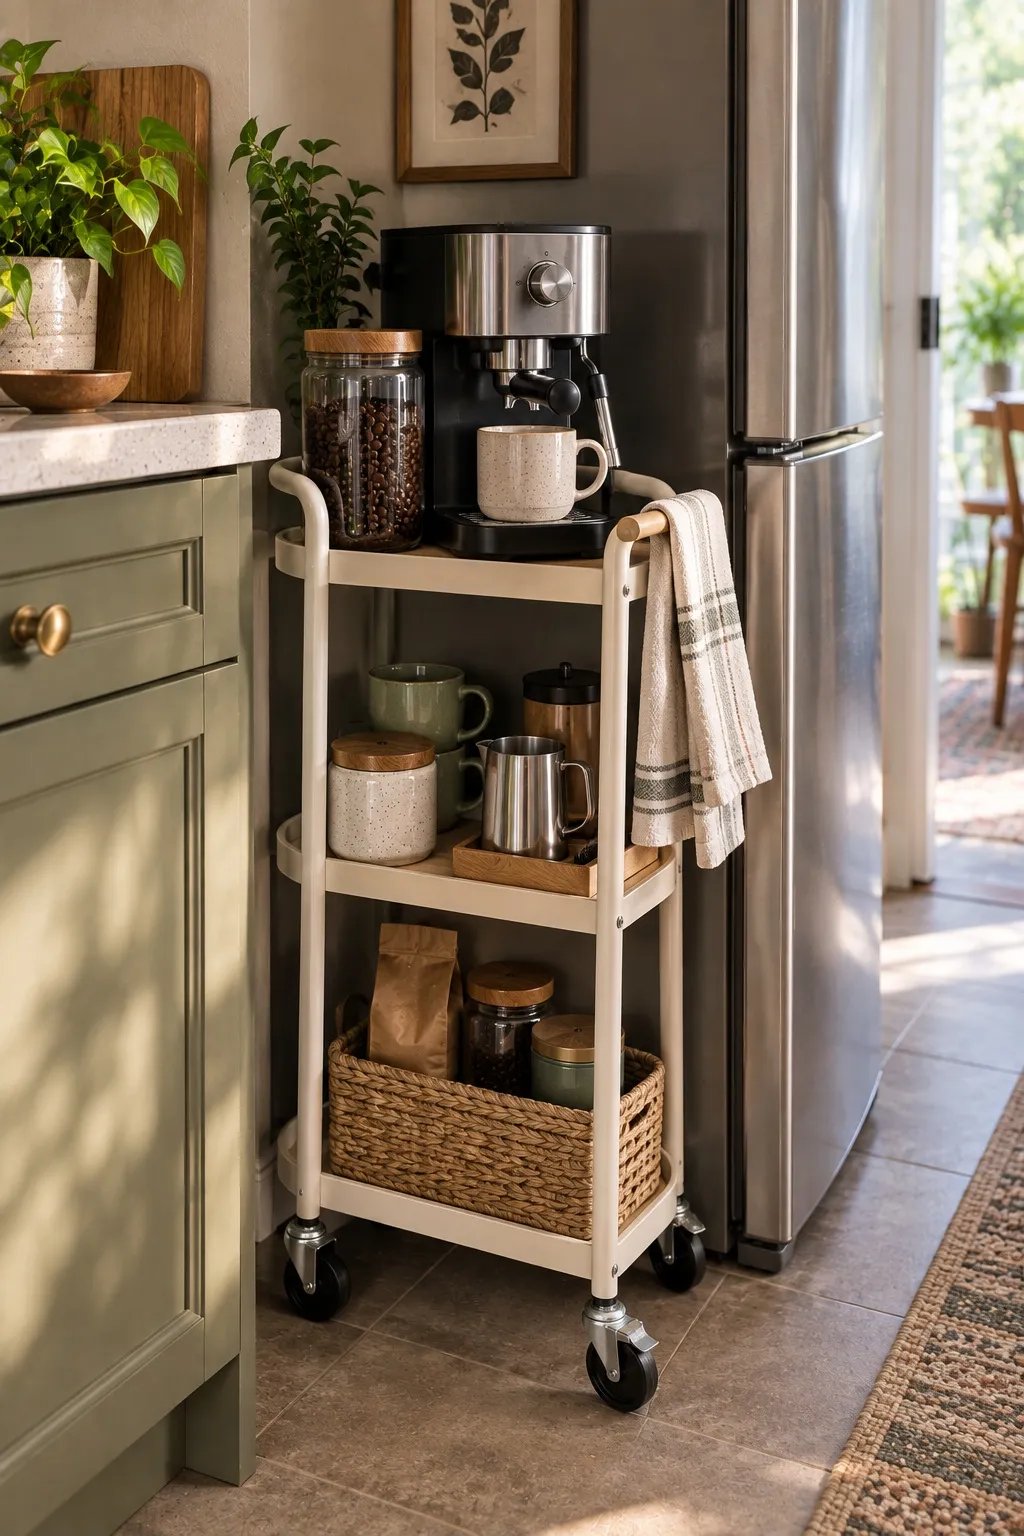
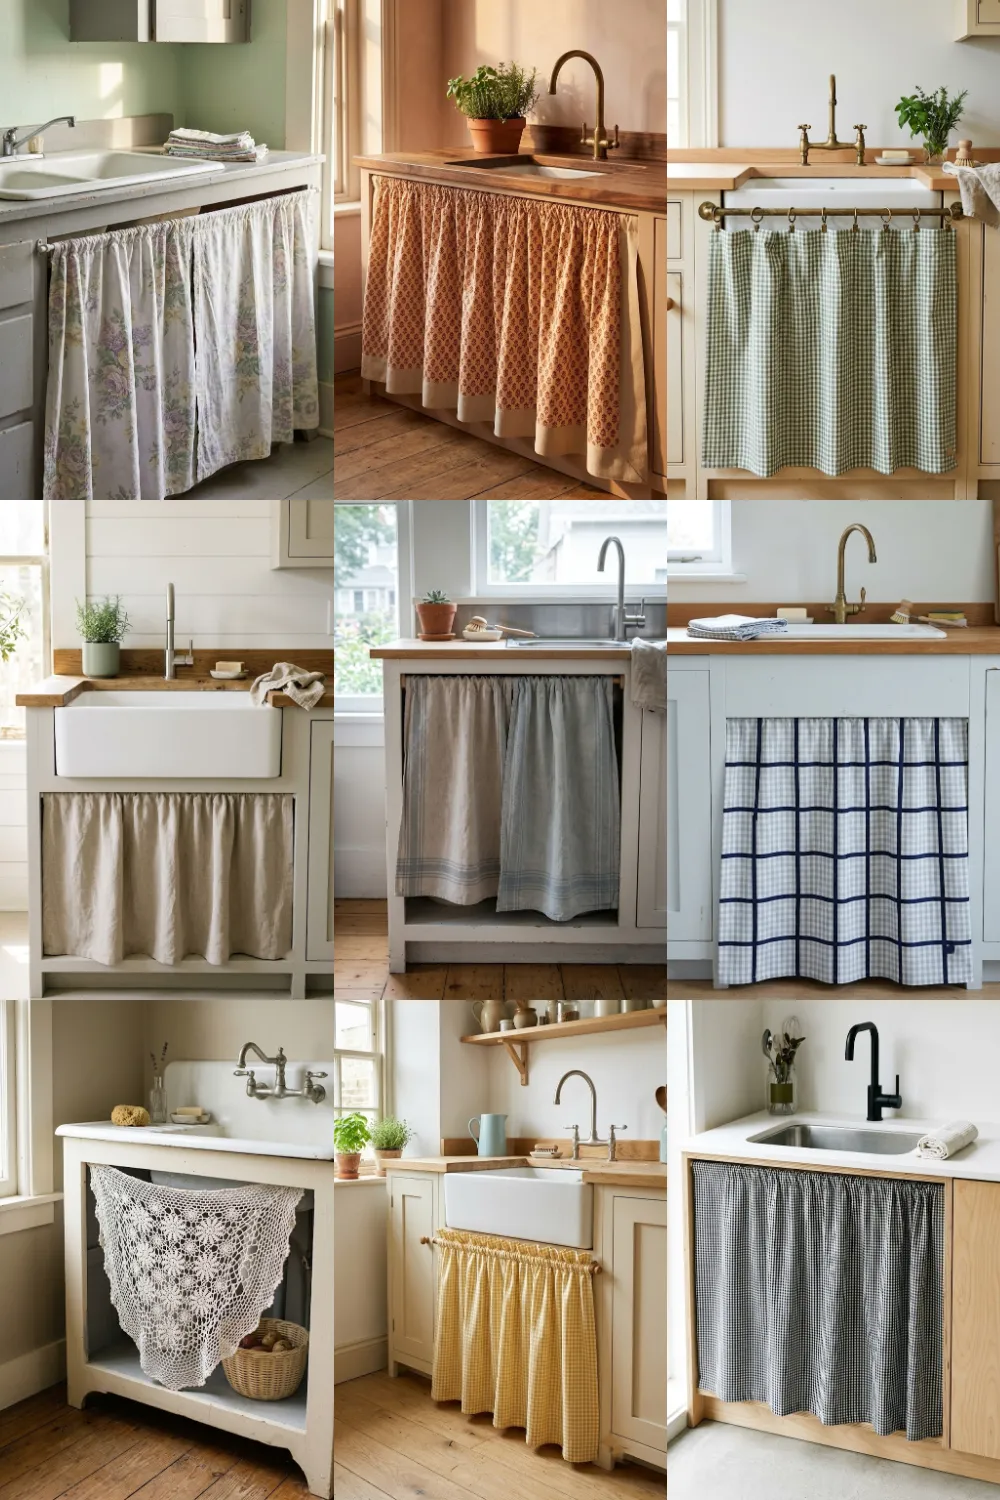
When the counter is genuinely full, a narrow rolling cart between 10 and 14 inches wide slides into the gap beside the fridge and becomes the coffee bar outright. Measure the gap at its tightest point, usually the skirting or the fridge door hinge, and subtract an inch for knuckles. Locking casters matter on old apartment floors that slope more than you would guess. Run the machine on the top shelf only, keep the cord short, and never plug a heating appliance into a cart that rolls while switched on. If the cart parks beside the sink, a fabric skirt across the sink base hides the recycling and keeps that whole corner reading tidy.
19. Three-Tier Bar Cart Standing In as the Entire Coffee Station
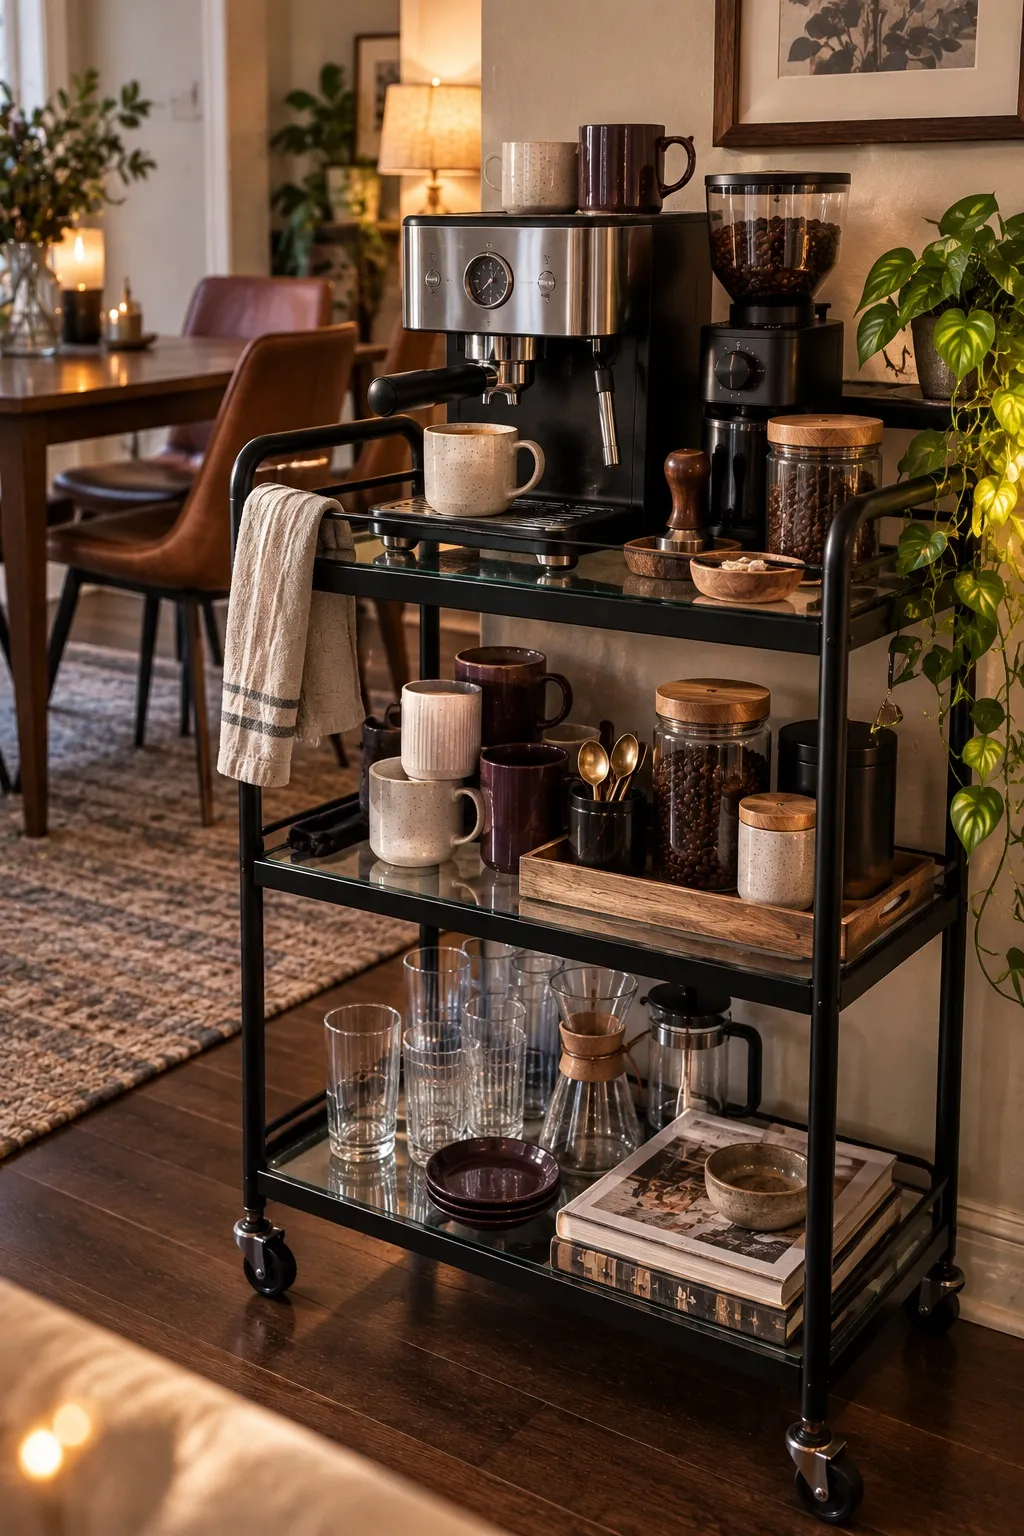
A standard rolling bar cart holds a machine, a grinder, mugs, beans and glassware with room left over, which makes it the only real answer when the kitchen offers no free counter at all. Width is the catch: most run 30 to 34 inches, so measure the wall you plan to park it against and the doorway you will wheel it through. Metal frames take appliance weight better than bamboo, which flexes at the shelf centre. Unlike the narrow cart in idea 18, this one is furniture, so it can live at the edge of the dining area instead of the kitchen. Keep the top shelf for hot things and glass low, where a knock does less damage.
20. Freestanding Shelf Unit Turned Coffee Corner in the Dining Nook
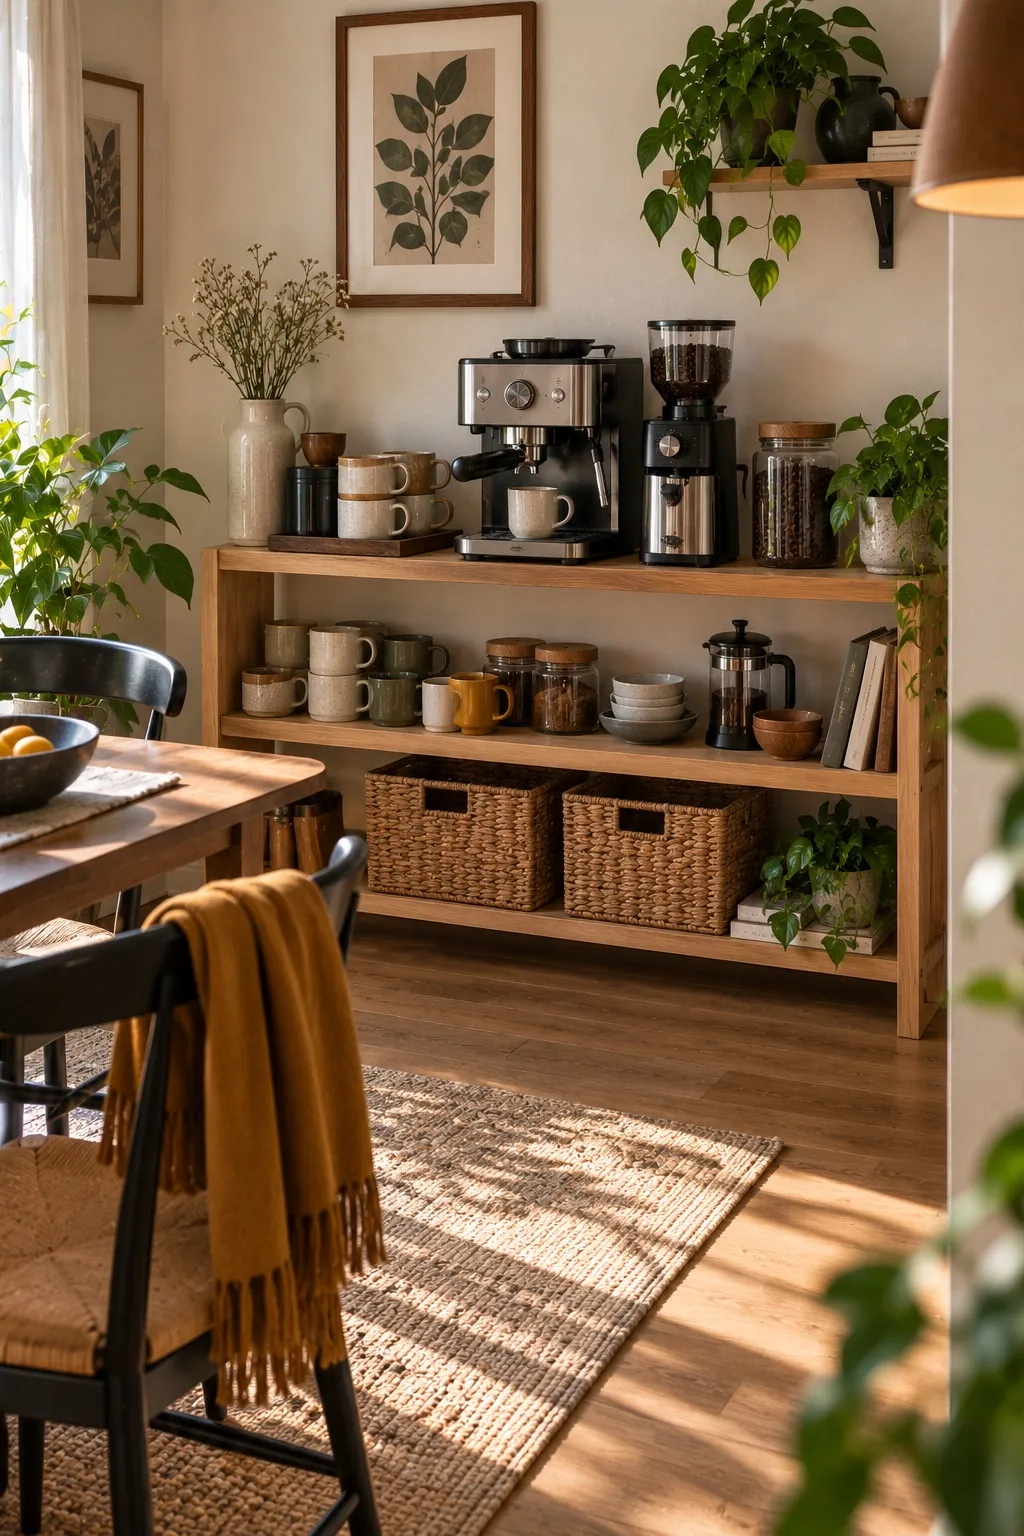
A short freestanding shelf unit standing against the wall gives you counter, storage and display in one object without a single anchor point, and it works in the dining nook when the kitchen has nothing left to offer. Depth is the decision: 12 inches is enough for a machine and mugs, while 16 inches starts eating walkway in a small apartment. Put the machine at roughly waist height, around 34 to 36 inches, so you are not lifting a full carafe above your chest. Anti-tip straps are usually a screw into the wall, so a low, wide unit that does not need one is the renter-safe choice.
21. Cupboard Coffee Kit You Lift Out Only at Breakfast
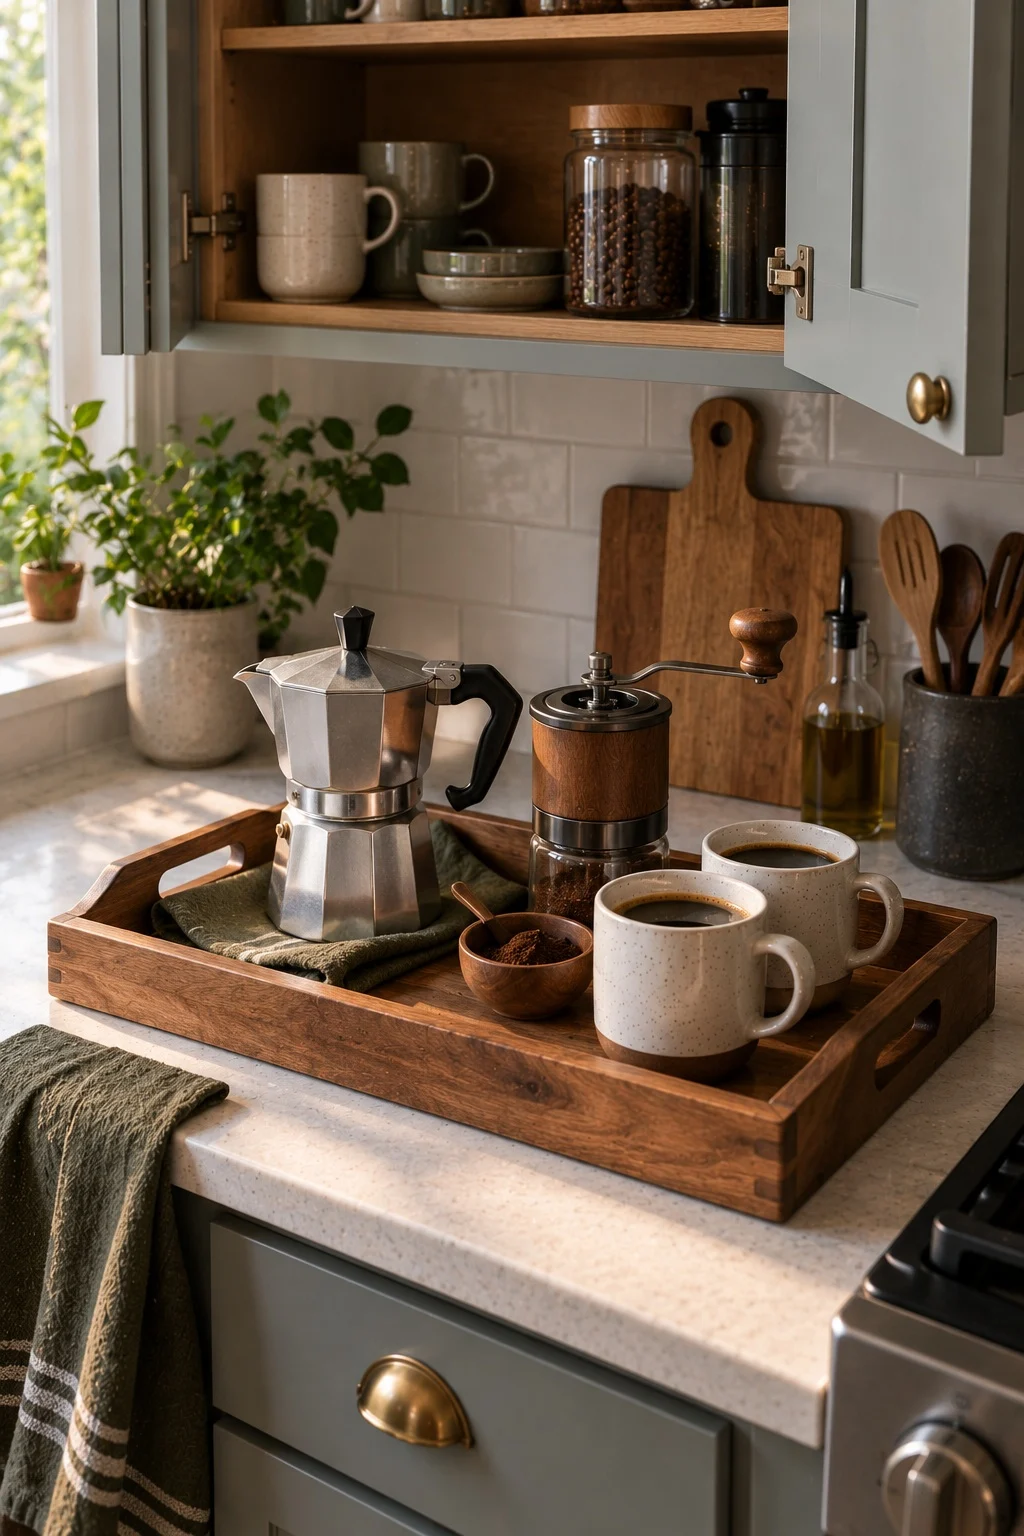
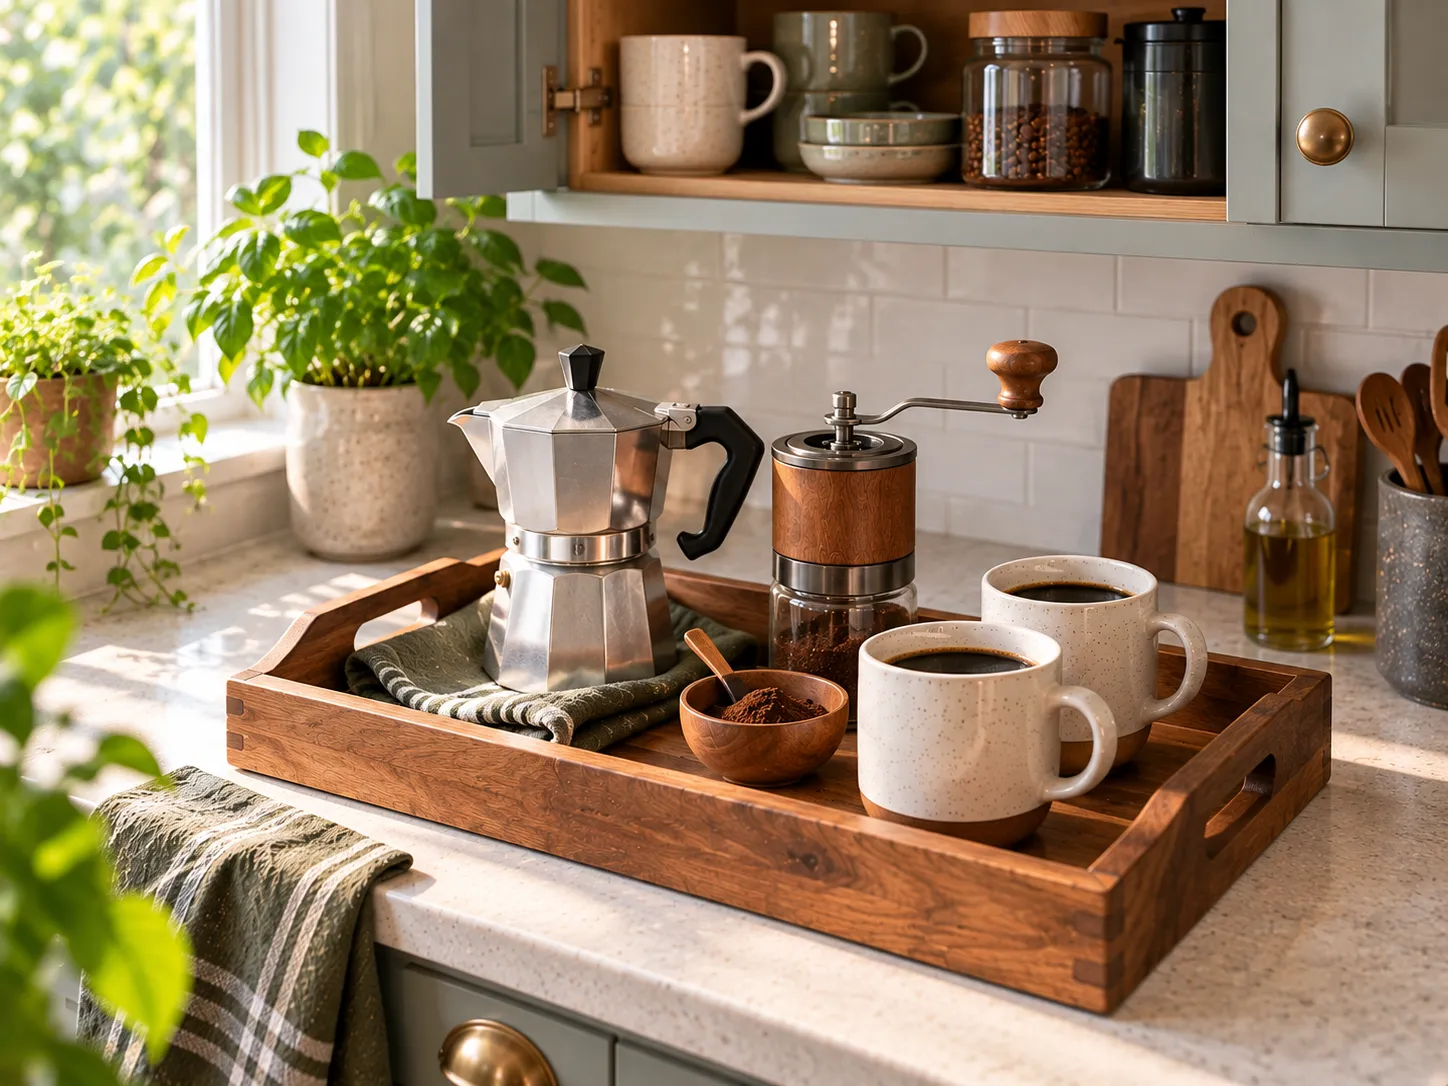
The whole station lives inside a cupboard on a single lift-out tray and only appears on the counter for the ten minutes you actually use it, which suits kitchens where the counter is never free. Size the tray to the cupboard shelf, not the counter, and keep the loaded weight under about 8 pounds so it comes down from a high shelf safely. Handles are worth insisting on. Use the same tray logic as idea 1, just stored out of sight rather than left out. A stovetop moka pot or a hand grinder suits this better than a plug-in machine, since nothing needs unplugging and re-plugging twice a day.
Final Thoughts
Every setup here packs into a box, and none of them costs you a deposit. Start by measuring the strip you can genuinely spare, then choose from that section rather than from the prettiest photo. With 12 inches, the tray in idea 1 does more work than any shelf will. With nothing at all, the cart wins outright. Buy the matching mugs and the good beans later, because the layout is the part that decides whether you use the bar every morning or stop after a week. Pin this for the next move.
Frequently Asked Questions
how do I set up a coffee bar in a rental without drilling?
Use gravity and adhesion instead of screws: a tray or basket to define the zone, a countertop riser for a second level, adhesive hooks under a cabinet for mugs, and a rolling cart when the counter is full. Everything sits on a surface or sticks to one, so nothing needs a wall anchor and nothing leaves a hole behind.
how much counter space do you actually need for a coffee bar?
About 12 inches is the practical minimum for a single machine plus a tray, 18 inches lets you add a second level and a mug zone, and 24 inches gives you a proper three-zone setup with beans, grinder and mugs separated. Below 12 inches, move the station onto a cart instead of fighting for the counter.
will adhesive hooks damage rental cabinets?
Usually not, if you match the hook to the weight and remove it correctly. Clean the surface with rubbing alcohol first, stay well under the rated load, and pull the tab slowly straight down rather than outward when you leave. The damage almost always comes from overloading or from yanking the strip off in a hurry on moving day.
what is the best coffee bar setup if I have no counter space at all?
A rolling cart. A three-tier cart holds the machine, grinder, mugs and beans, parks against a wall or in the gap beside the fridge, and wheels out of the way when you need the floor. A cupboard tray you lift out at breakfast is the smaller alternative if even a cart will not fit.