A renter friendly bathroom vanity makeover without painting lives or dies at the seams, and almost nobody writing about it says so. My first contact-paper vanity looked great for five weeks and then the strip beside the sink bubbled, curled, and took a patch of laminate with it when I pulled it off. So every idea below carries its failure mode attached, plus a reversibility tier: Tier 1 lifts off with no trace, Tier 2 you tell your landlord, Tier 3 you get in writing before you buy anything. Twenty-four ideas, no paint, no primer, no drilling unless the tier says otherwise. Save this to Pinterest so you have the removal notes on hand at move-out.
1. Waterproof Marble Contact Paper on the Countertop, Seams Kept Away From the Sink
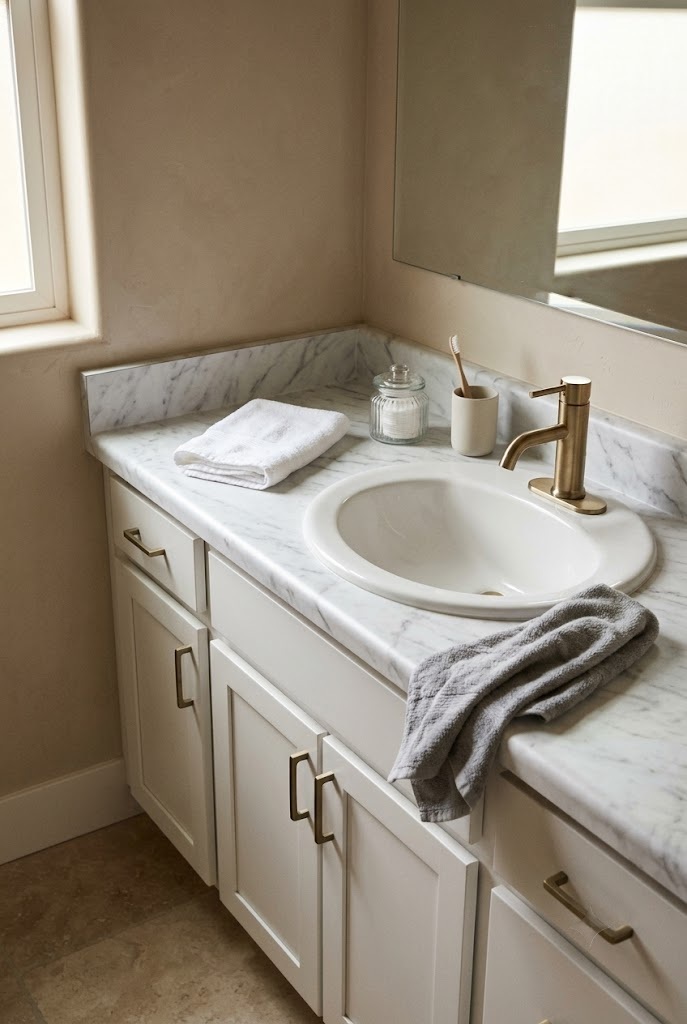
Waterproof countertop contact paper in a soft marble print covers builder-grade laminate in about an hour and lifts off cleanly, provided every seam sits at least six inches from the sink cutout. Water finds seams first, and the strip nearest the basin is where a peel job starts failing. Measure the top, add two inches per side, and wrap the front edge underneath so the cut line lands on the hidden face where towels never rub it. Buy the thicker waterproof grade rather than craft-aisle shelf liner; thin film telegraphs every ridge in the laminate below. My first attempt used the cheap roll and I could read the old countertop texture through it in daylight.
2. Wood-Grain Vinyl on the Cabinet Doors, Cut Short of Every Edge
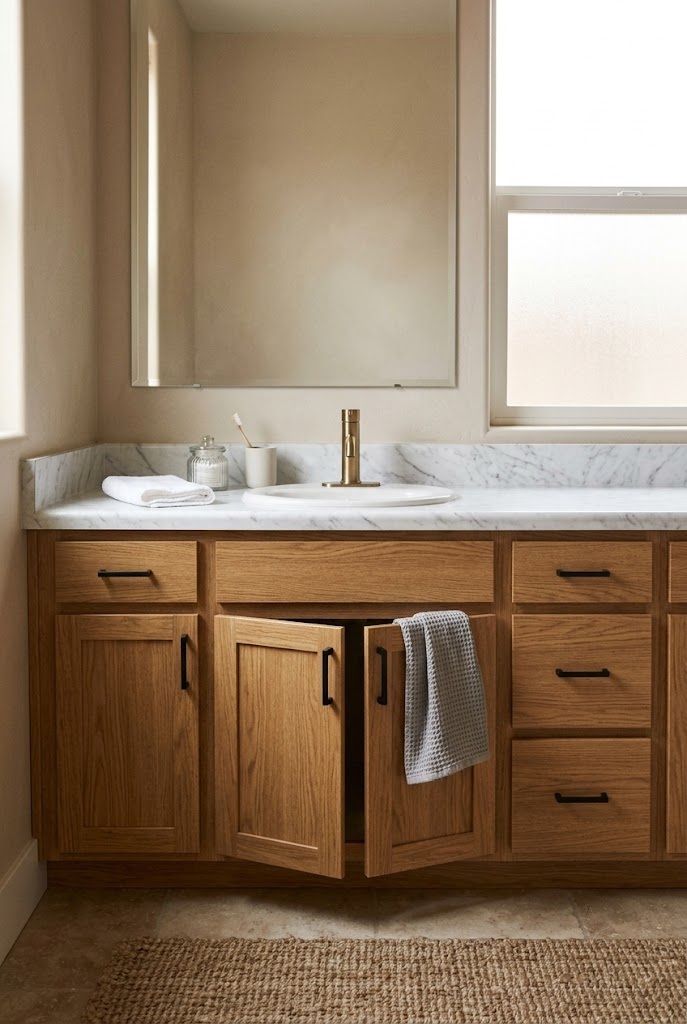
Wood-grain peel-and-stick vinyl on the cabinet fronts changes the whole character of a builder vanity, and stopping the film a quarter inch short of each door edge is what keeps it removable a year later. Edges are where steam gets underneath, and a wrapped edge bonds so hard to laminate that removal takes the melamine skin with it. Leave the border and any lifting stays cosmetic. Warm the film with a hairdryer on low as you smooth it, then press the perimeter with a plastic squeegee. Doors come off in four screws, which means you can apply the vinyl flat on a table instead of fighting gravity over a toilet.
3. Knobs and Pulls Swapped Onto the Existing Hole Spacing
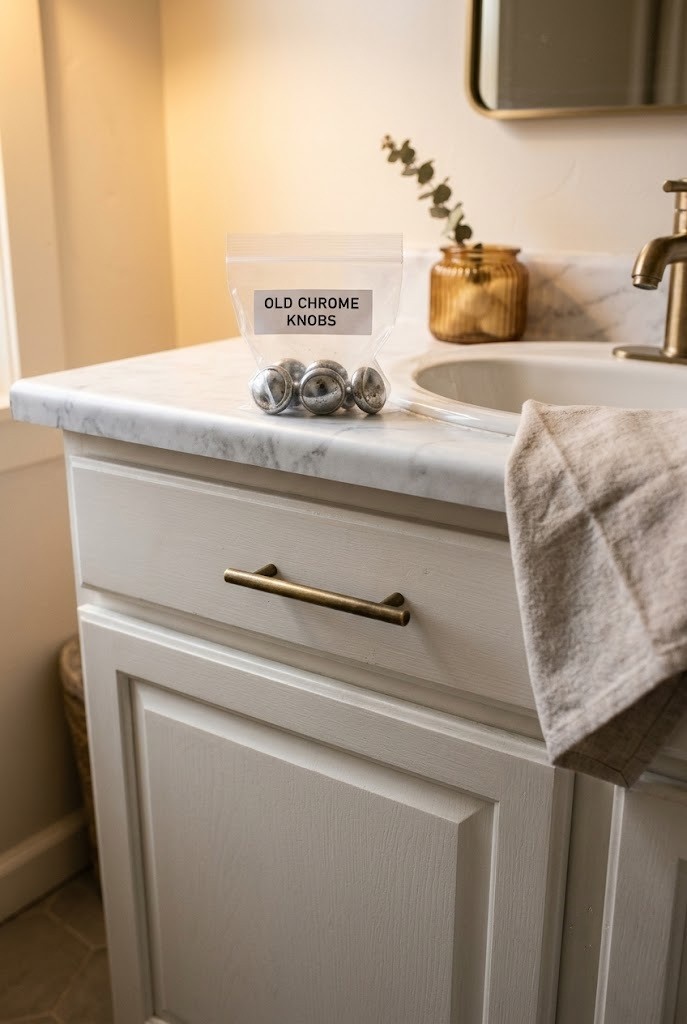
Cabinet knobs and pulls that reuse the existing hole spacing are the highest-impact change on this list and leave zero evidence, as long as you measure center to center before ordering. Standard US spacing is 3 inches or 96mm on older doors and 5 inches or 128mm on newer ones, and a quarter inch of error means new holes, which drags this straight into deposit territory. Single knobs are simpler still, since one hole matches one hole. Bag the original hardware with its screws, label the bag, and tape it inside the sink cabinet where it cannot leave the apartment. Brushed brass reads warmer against builder white than chrome and hides water spotting better.
4. A Rechargeable Stick-On Puck Light Under the Vanity Lip
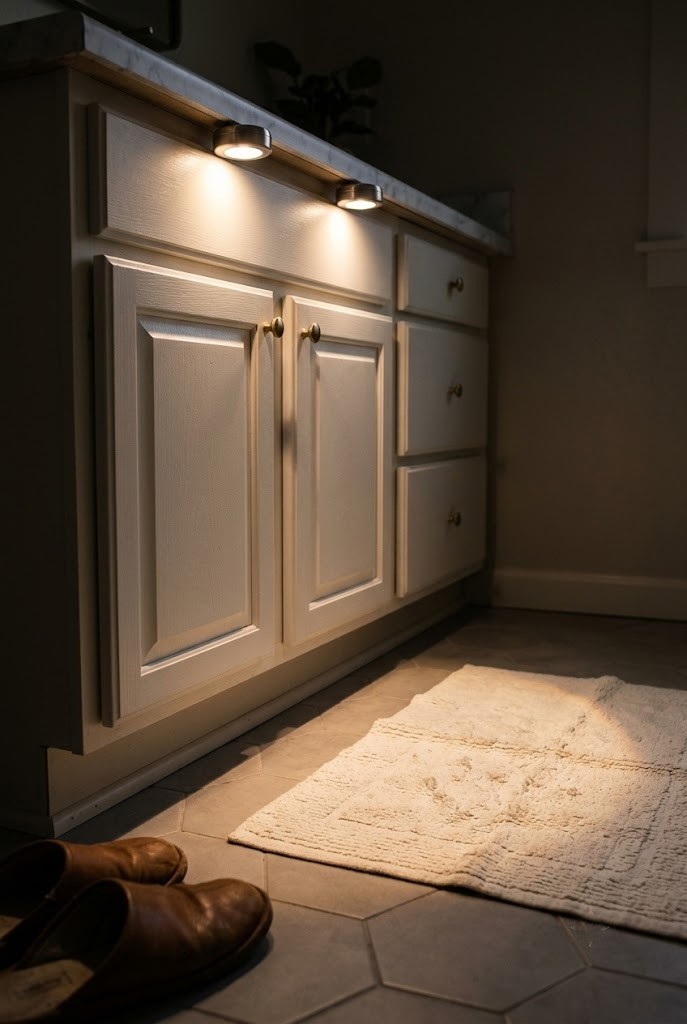
Rechargeable stick-on puck lights mounted under the front lip of the countertop give a flat overhead-lit vanity real depth, and they run on magnets and adhesive pads rather than wiring. Mount two pucks roughly eight inches in from each end so the light pools instead of spotlighting. The magnetic backing plate is the part that sticks; the light itself pops off for charging, which matters because otherwise you will leave it dead for months. Use adhesive strips rated for bathroom humidity and press each one for a full thirty seconds. On a laminate lip they leave nothing behind. On textured paint they can pull a chip, so keep them on the vanity itself.
5. Peel-and-Stick Terrazzo on the Toe-Kick Strip Only
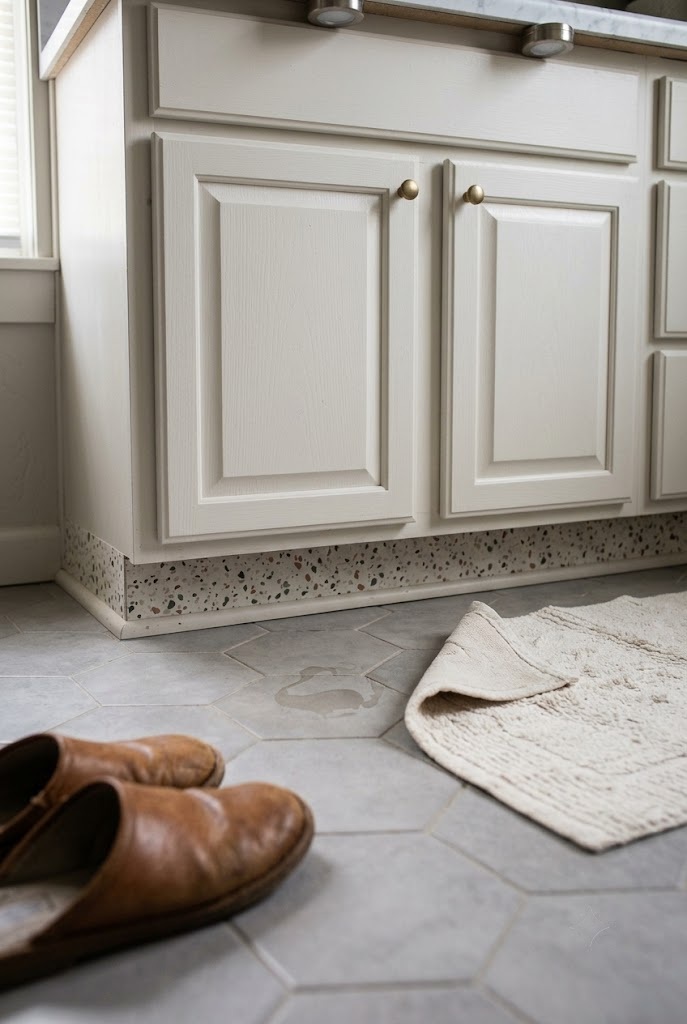
Covering just the recessed toe-kick at the base of the vanity delivers a hit of pattern for roughly one square foot of material and almost no risk, because that strip never gets touched or wiped. Terrazzo and small-scale mosaic prints work here where they would overwhelm a full countertop. Cut the piece a quarter inch short at both ends so the vertical edges stay hidden in the shadow line. The toe-kick is also the wettest floor-level surface in the room, so use the same waterproof grade from idea 1 rather than a paper-backed print. Mop water finds a paper edge within a month and lifts it into a curl you will keep re-sticking.
6. A Leaning Framed Mirror Propped Against the Builder Mirror
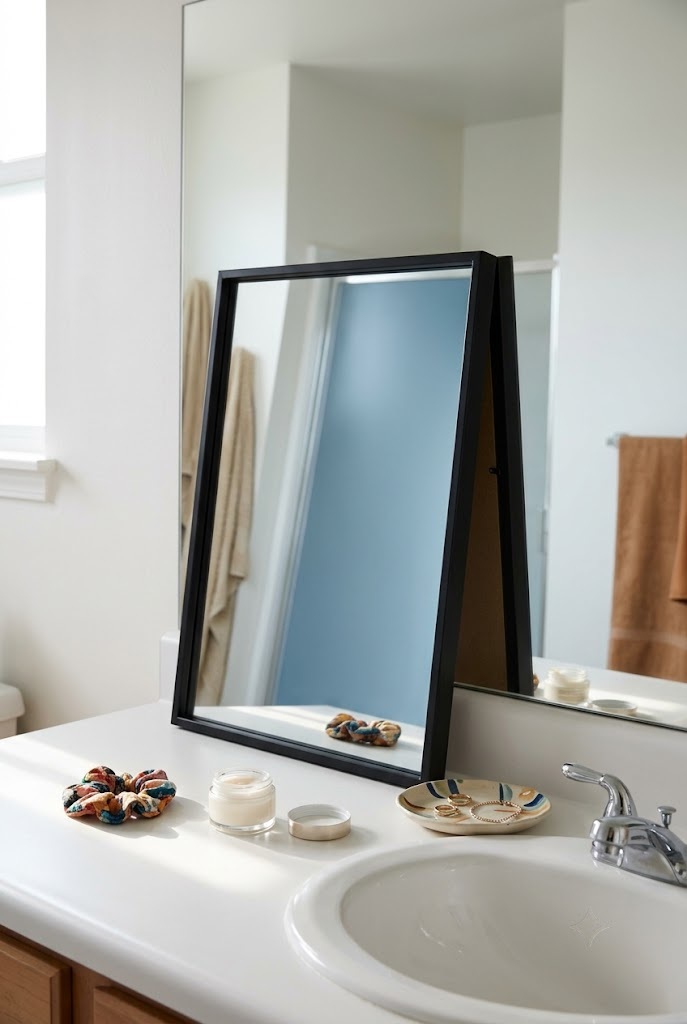
Standing a framed mirror on the countertop and leaning it against the builder-grade sheet mirror hides the frameless edge that makes rental bathrooms read cheap, with no anchors and no adhesive anywhere. Pick a mirror roughly two-thirds the width of the vanity so the old mirror still bounces light around it. Stick two clear rubber bumpers on the back corners so it neither slides on laminate nor scratches the glass behind. The trade-off is counter space: a leaning mirror eats about four inches of depth, comfortable on a 22-inch top and cramped on an 18-inch one. Measure your countertop depth before buying, not after.
7. Vinyl Applied to Drawer Fronts Removed and Laid Flat
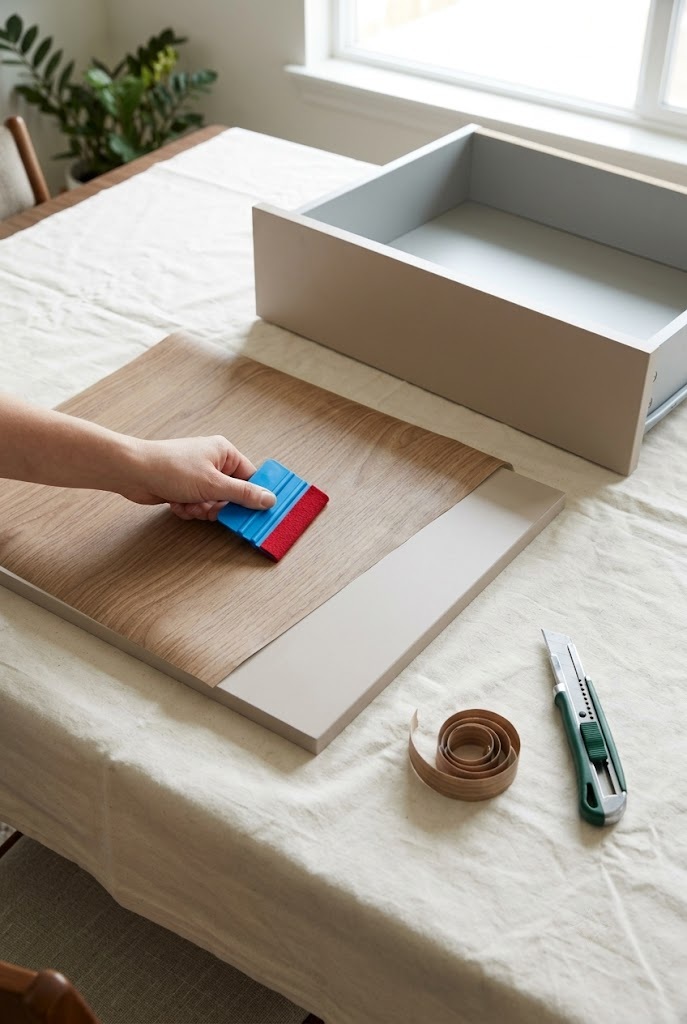
Pulling the drawers out and applying vinyl to the fronts on a flat table produces a visibly better result than working in place, because you can stretch and reposition the film without it grabbing halfway through. Drawer fronts on builder vanities are usually a screwed-on panel or an integrated box front, and either way the drawer lifts out on its slides. Work in a dry room rather than the bathroom, then let the panels sit twenty-four hours before reinstalling so the adhesive cures away from steam. Wrapping only the fronts and leaving the boxes bare keeps material cost low too. Two standard drawers rarely use more than half a roll.
8. A Tension Rod and Fabric Skirt Under an Open Vanity
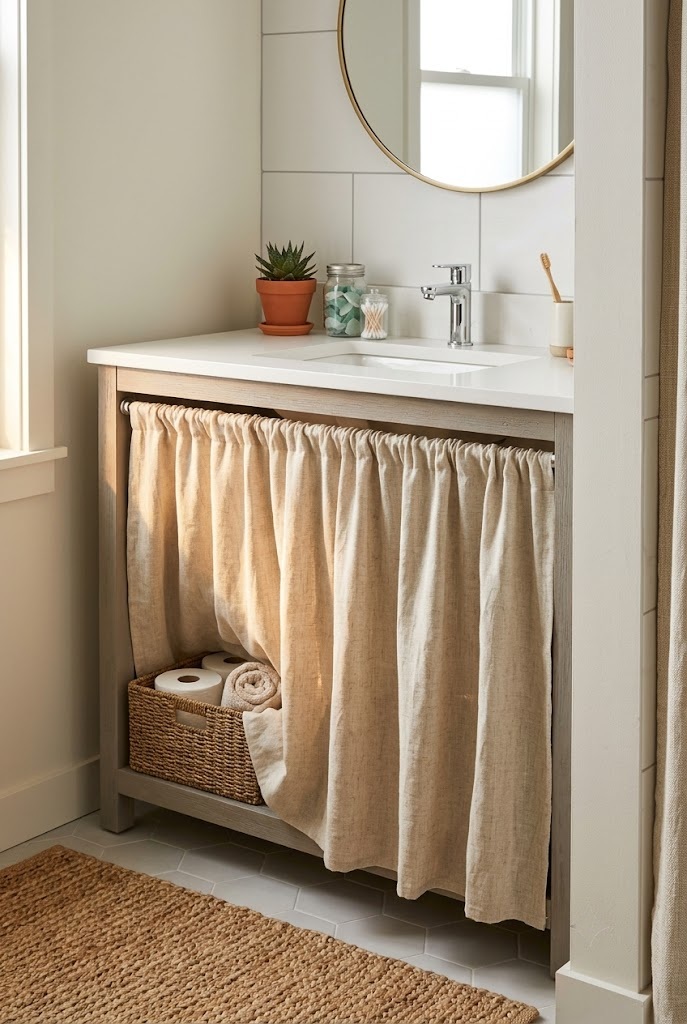
A fabric skirt hung on a spring-tension rod inside the vanity opening hides plumbing and stored supplies without a single screw, and it rescues pedestal sinks and open-bottom vanities where cabinet doors do not exist. Measure the inside width, buy a rod rated slightly longer, and set it just under the front rim so the fabric hangs flush with the cabinet face. Choose a fabric that tolerates humidity: linen blends and outdoor canvas dry fast, while heavy cotton stays damp and eventually smells. Hem it half an inch above the floor so mopping does not wick moisture up the panel. Swapping the fabric seasonally changes the whole look with no new hardware.
9. Adhesive Tile Set Above the Splash Zone, Not Behind the Faucet
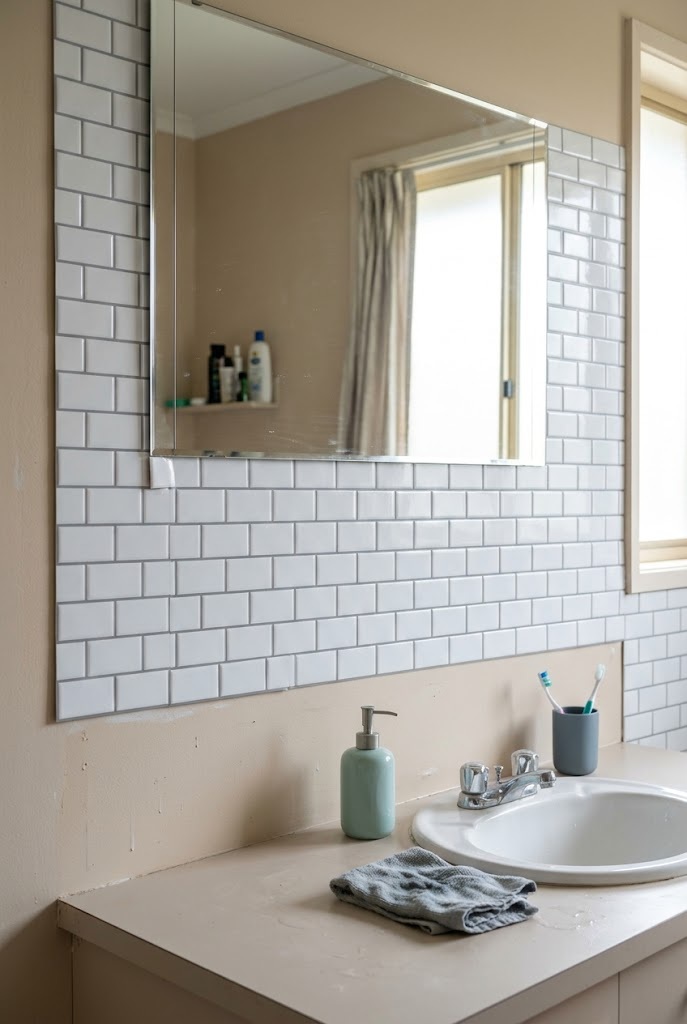
Peel-and-stick tile installed starting six inches above the countertop, rather than at the counter line, survives years longer, because the constant splash band directly behind a faucet is exactly where adhesive tile fails first. Run the field from that line up to the bottom edge of the mirror instead. The gap left below can be filled by a countertop tray or simply left as clean laminate. Apply the same short-of-the-edge discipline from idea 2 on the outer vertical edges. Grout-look vinyl reads best in small formats; large-format faux marble sheets show their seams under bathroom lighting. Press each tile from the center outward, then roll the whole field.
10. A Large Tray Covering the Worst Section of Laminate
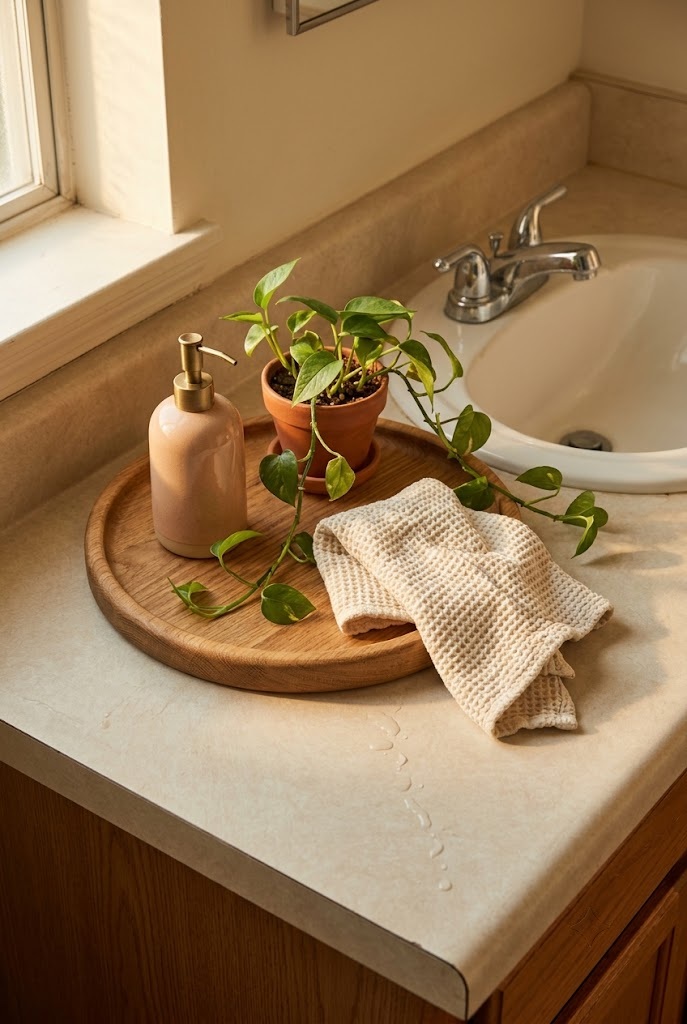
A marble or wood tray set over the ugliest stretch of countertop is the fastest fix on this list and takes about four minutes, which makes it the right first move while you decide on anything bigger. Size it to cover the area beside the basin, where builder laminate usually shows its most obvious print repeat. Corral a soap dispenser, a small plant and a folded hand towel on it so the group reads as styling rather than storage. Felt-backed trays slide without scratching; bare stone grinds grit into laminate over months. Lift and wipe under it weekly, because trapped water sits there unnoticed and leaves a ring.
11. Marble Vinyl Wrapped Over Countertop and Backsplash as One Surface
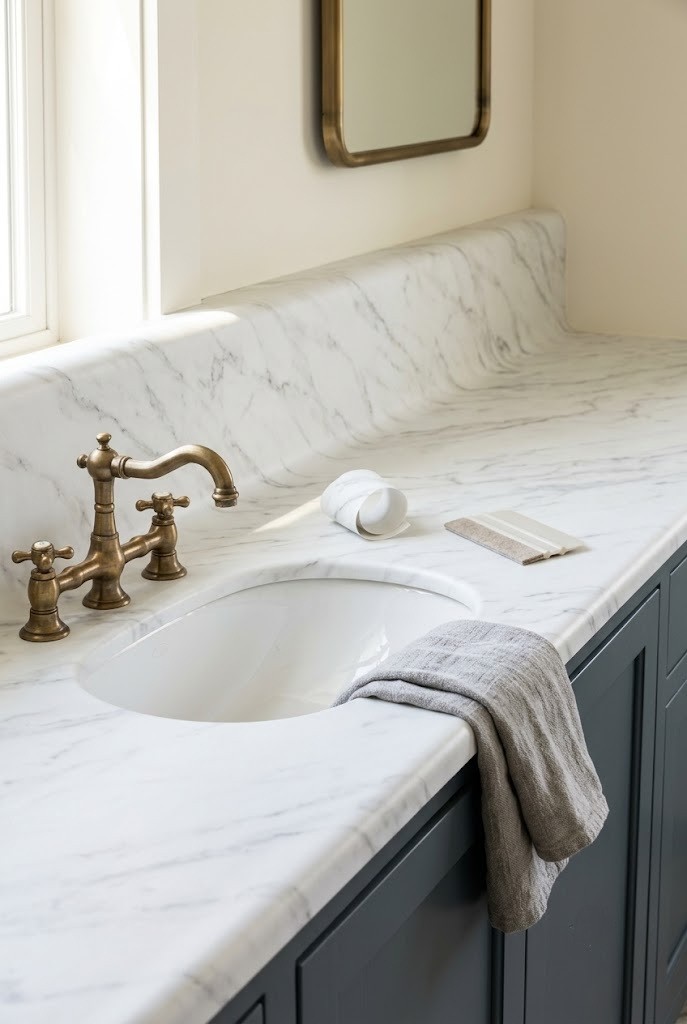
Wrapping the countertop and its attached backsplash in one continuous run of vinyl gets closest to the look of a real stone top, and it moves into landlord-notification territory because the film now crosses onto a wall-attached surface. The coved joint between the two is the hard part: crease the vinyl into it with a felt-edged squeegee rather than letting it bridge, or the tunnel that forms will fill with water. This is a two-person job on anything wider than 36 inches. Set against the countertop-only method in idea 1, this version doubles material use and roughly triples install time. Photograph the original surface before you start.
12. Cabinet Doors Removed and Stored, Baskets Filling the Opening
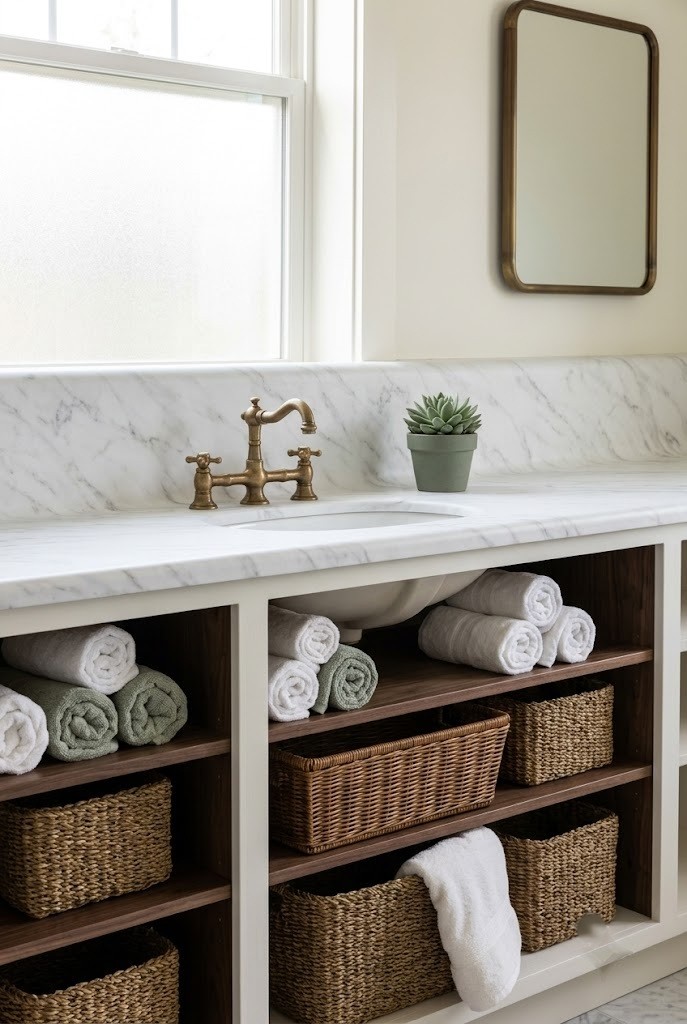
Taking the cabinet doors off entirely and stacking woven baskets in the opening turns a closed builder vanity into open storage, and since original components leave the frame it counts as an alteration worth mentioning even though it is fully reversible. Hinge screws stay in the frame, and the doors go flat under a bed with their hardware bagged and taped to them. Line the cabinet base with a cut-to-size vinyl remnant so a slow leak shows before it soaks the particleboard. Woven baskets with fabric liners hold towels; open seagrass suits bottles. Measure the opening height first, since most vanity interiors run around 24 inches and plenty of bins are taller.
13. Stick-On LED Strip Lighting Along the Cabinet Underside
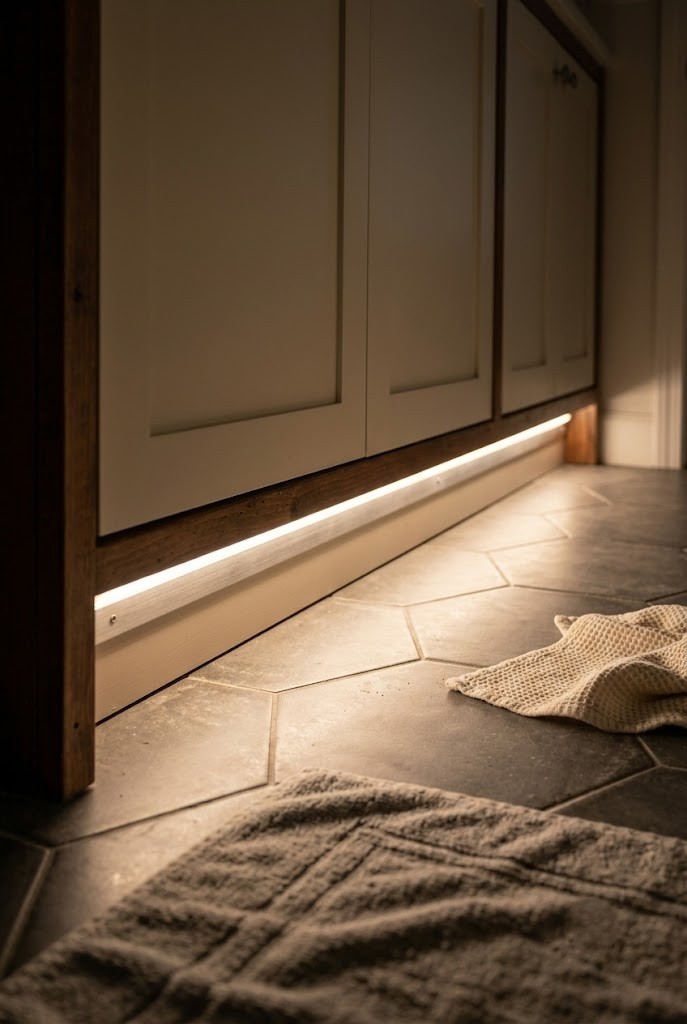
Rechargeable stick-on strip lights run along the underside of the vanity frame give night-light glow at floor level and read as built-in, though the adhesive channel is what pushes this past pure zero-trace. Mount the aluminum channel rather than the bare strip, or the individual diodes print as a row of dots on the floor. Motion-sensor versions earn their keep in a bathroom more than anywhere else in a rental. Warm white around 2700K keeps the room from looking clinical at 2am. Adhesive on a painted cabinet side can lift finish, so keep the run on the underside where any mark stays out of sight.
14. A Same-Footprint Faucet Swap With the Original Boxed
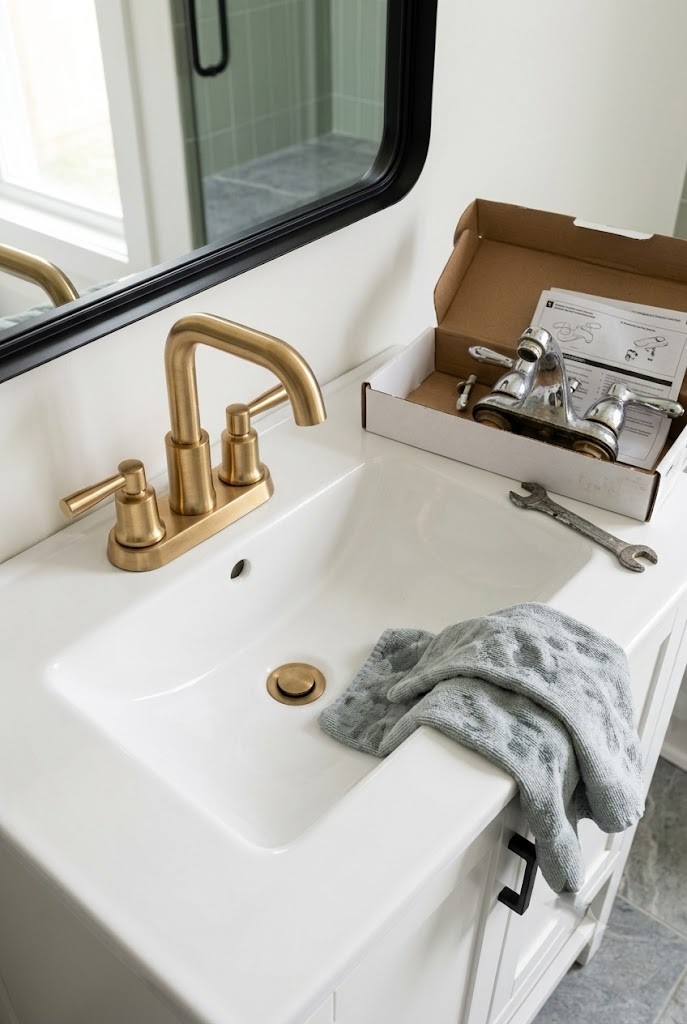
Replacing the faucet with one matching the existing hole configuration is the biggest single visual upgrade available without touching the vanity body, and it stays reversible as long as the original fixture goes into a box rather than a dumpster. Count the holes first: single-hole, centerset at 4 inches, or widespread at 8 inches. Buying the wrong configuration means either an escutcheon plate to cover the gap or a drilled countertop, and drilling ends reversibility permanently. Shut the supply valves, keep a towel and bowl underneath, and expect corroded nuts. Tell your landlord, because plumbing is the category they care about most, and several will reimburse the part.
15. Peel-and-Stick Beadboard Panels on the Exposed Vanity End
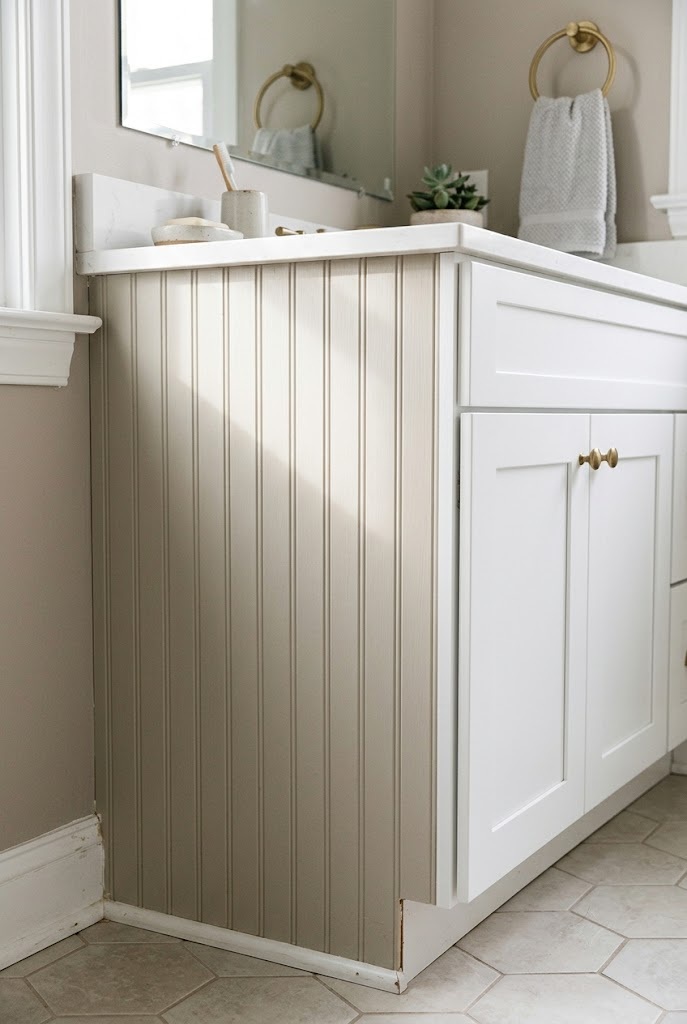
Beadboard-textured adhesive panels on the exposed side of the vanity add architecture to a plain box, and because the panels are thicker and stiffer than film they warrant a mention to your landlord even when the adhesive is rated removable. The exposed end panel is a low-wear, low-splash surface, which is the main reason this one survives. Cut with a utility knife against a metal straightedge and stop the panel a quarter inch short of every edge. A pale greige panel against white doors gives contrast without a drop of paint. At removal expect to need a heat gun; work slowly at around 200F or the laminate comes away with the panel.
16. A Replacement Mirror Hung on the Existing Wall Anchor
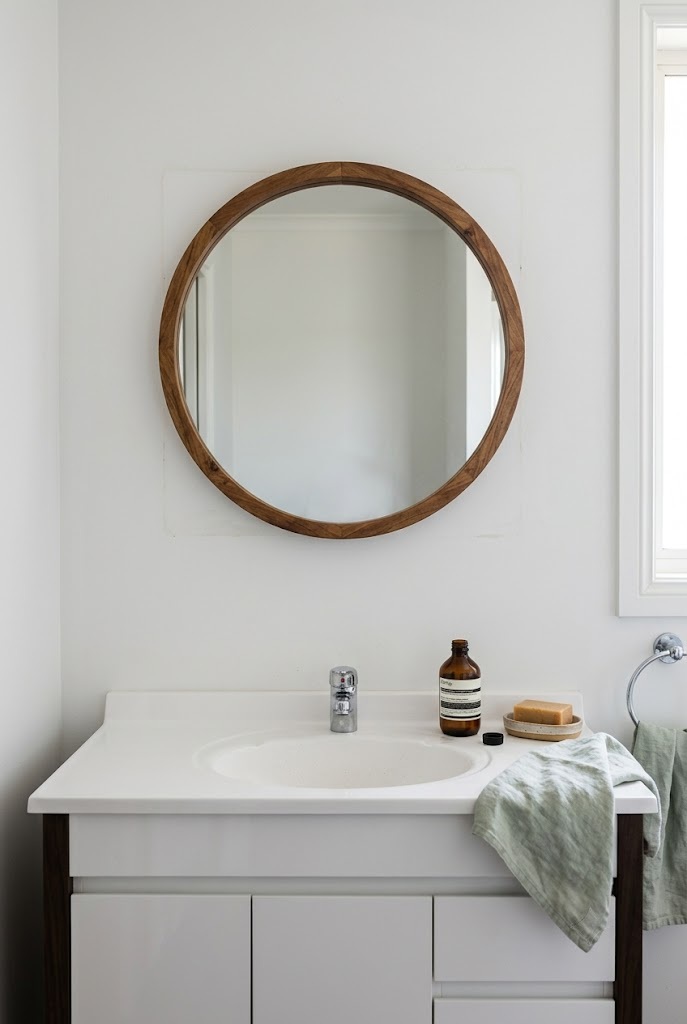
Hanging a framed mirror on the anchor the builder mirror already occupies gives a real upgrade with no new holes, but the sheet mirror often sits on adhesive mastic as well as clips, and getting it down is the risky part. Clips-only installs come off in minutes. Mastic installs crack the glass and pull drywall paper, which is precisely the damage a deposit inspection notices. Check the top edge with a flashlight before committing to anything. If mastic is present, use the leaning method in idea 6 instead. When clips do come out, store them and their screws in the same labeled bag as the cabinet hardware.
17. Plug-In Sconces Mounted on Heavy-Duty Removable Strips
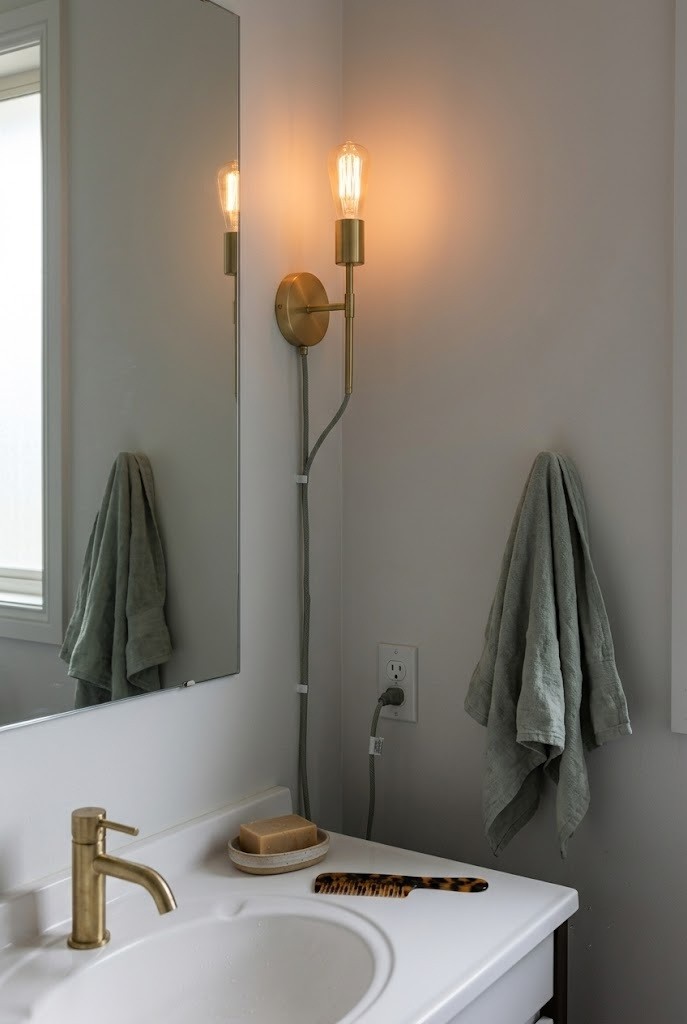
Plug-in sconces mounted beside the mirror on heavy-duty removable adhesive strips replace the flat glare of a builder light bar, with the cord routed down to the outlet the vanity light never uses. Weight decides everything: most removable strip pairs top out around four pounds, and a metal sconce with a glass shade often exceeds that. Weigh the fixture on a kitchen scale before you buy. Cord management is what makes this look deliberate rather than temporary, so a fabric cord cover in the wall color does more work than the sconce itself. GFCI outlets trip on cheap dimmers, so choose a fixture with an inline switch.
18. A Tension Rod and Stick-On Bins Inside the Under-Sink Cabinet
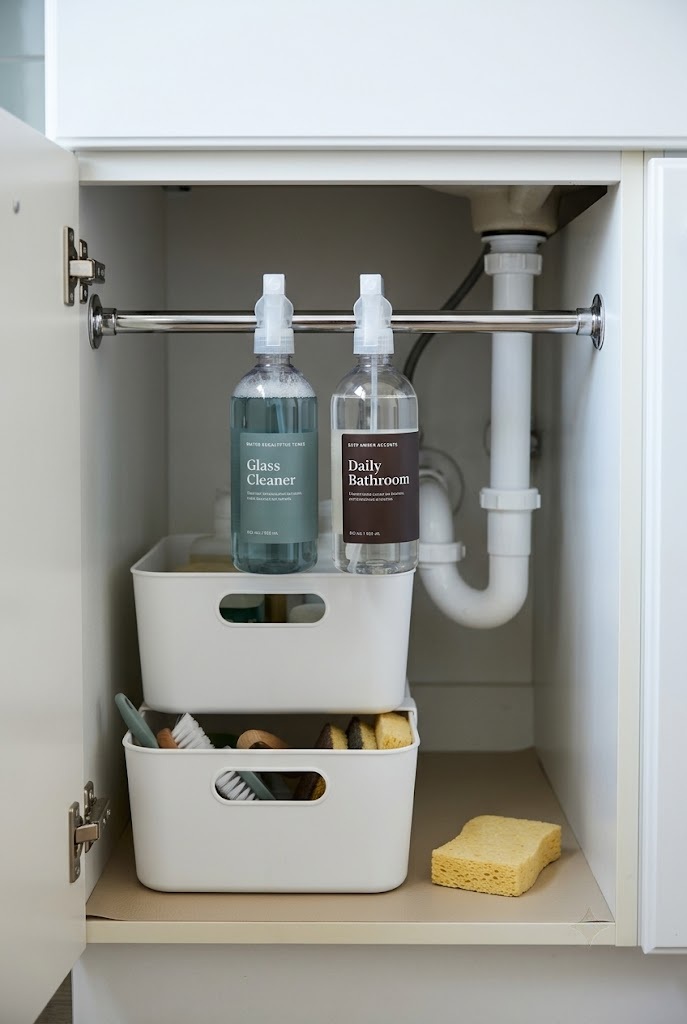
A tension rod mounted across the under-sink cabinet holds spray bottles by their trigger necks and frees the cabinet floor for stacked bins, with no drilling at all. Set the rod about eight inches below the underside of the countertop and clear of the P-trap so nothing fouls the plumbing. Adhesive-backed bins on the inside of the cabinet door take small items, but that door panel is thin and heavy loads will sag it over time, so keep those to brushes and tubes. A fabric skirt on a tension rod covers the same opening if your cabinet has no doors. Nothing porous goes on the base, since damp cabinets grow mildew on cardboard fast.
19. Rigid Replacement Door Fronts Hung on the Existing Hinge Cups
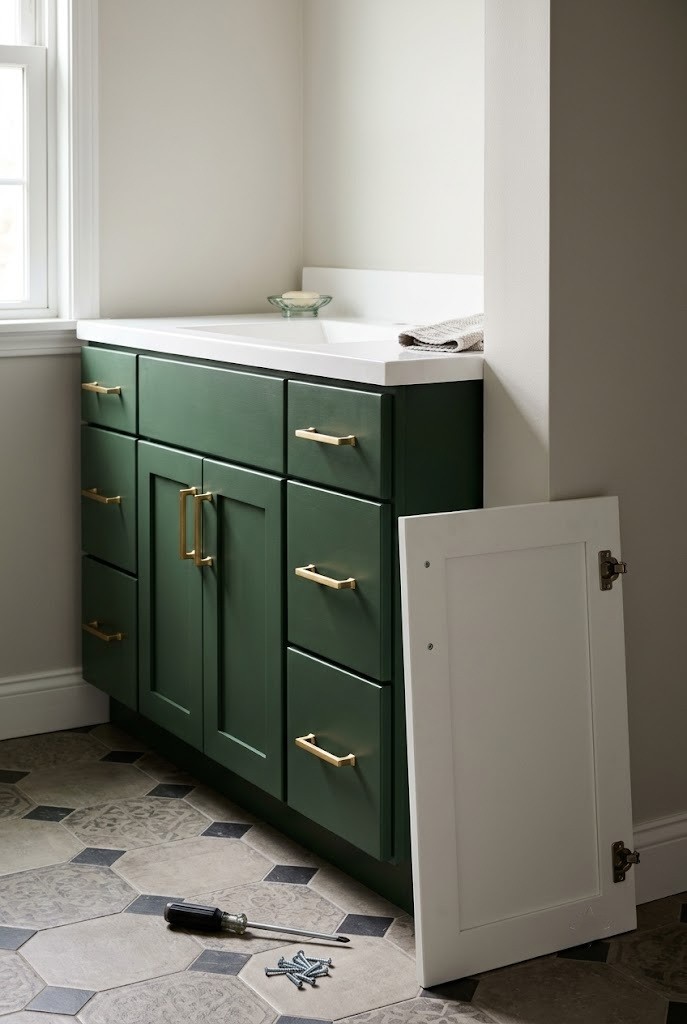
Swapping the cabinet doors for rigid PVC or MDF replacement fronts bored to match the existing hinge cup positions gets you a genuinely different vanity, and it belongs in the get-it-in-writing tier because original components leave the unit and new hardware enters it. Measure the hinge cup center from the door edge, usually 22mm, and the cup diameter, usually 35mm. Order fronts pre-bored unless you own a Forstner bit and a drill press. Store the original doors flat and dry, ideally under a bed rather than in a damp closet. The written agreement should name the storage location and confirm the originals go back at move-out.
20. A Drop-In Countertop Cut to the Original Footprint
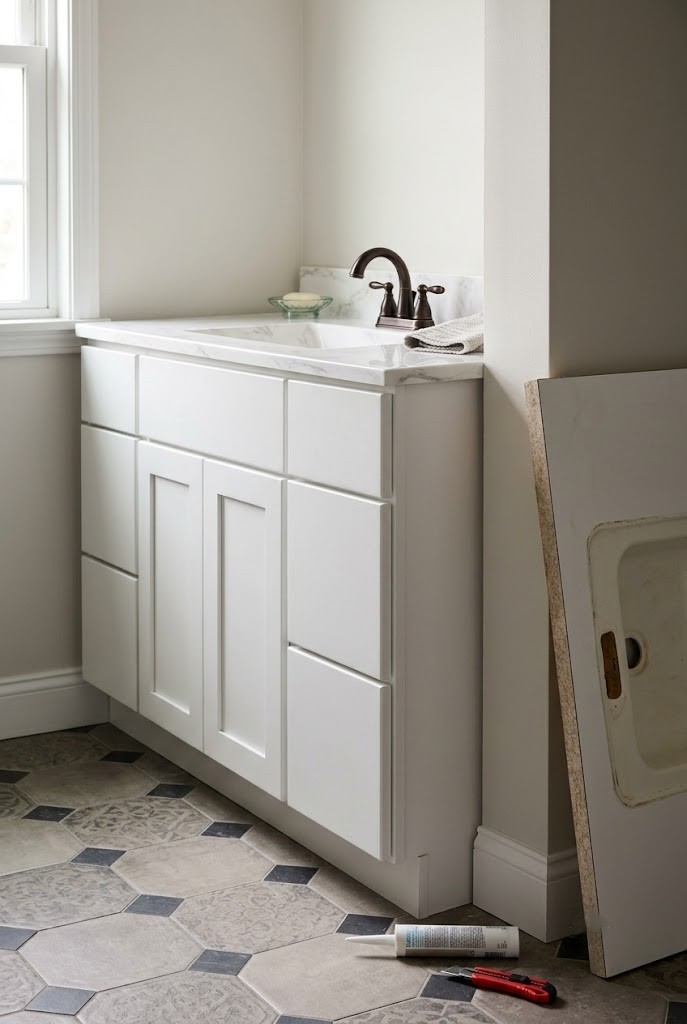
Replacing the countertop with a same-footprint drop-in unit is the most dramatic change on this list and needs written permission, because the original top is silicone-bonded to the cabinet and only comes off with force. Cultured marble and solid-surface integral-bowl tops sell in standard 25, 31 and 37 inch widths that match most builder vanities. The old top rarely survives removal intact, so the agreement must state who owns the replacement at move-out and what happens if you leave first. Weighed against the wrap in idea 11, this stays the wrong call for a one-year lease. At two years or more the math changes.
21. The Whole Vanity Swapped With the Original Stored On-Site
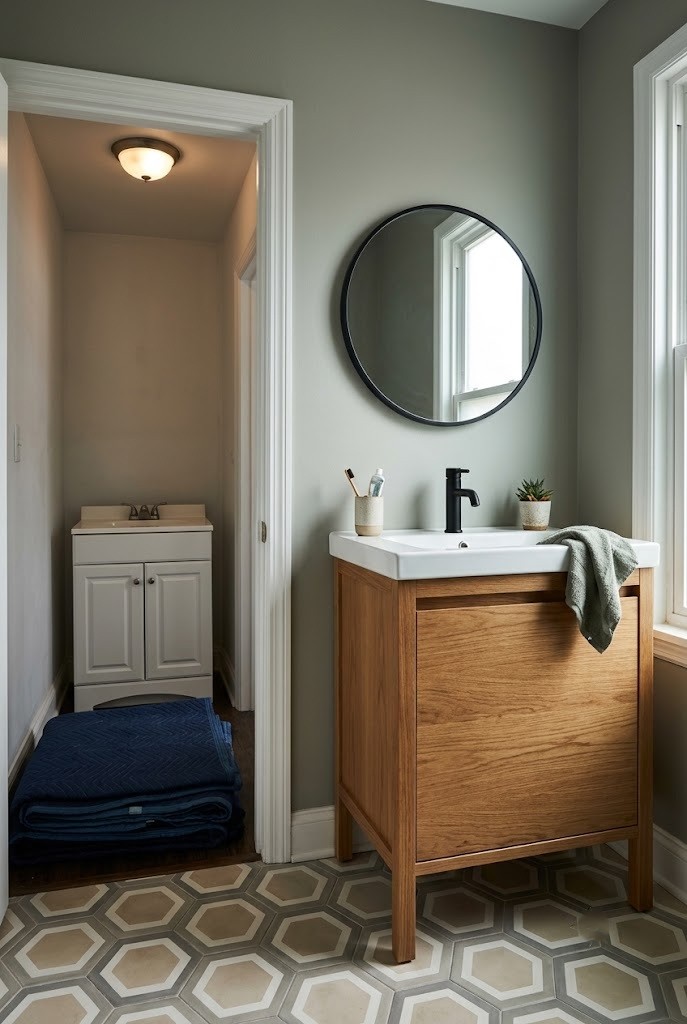
Removing the entire vanity and installing a different one is a legitimate move in a long lease, provided the original is stored intact somewhere in the unit and the water shutoffs actually hold. Plumbing rough-in height and drain position decide what fits, since a vanity with a full back panel will not clear a drain that exits high on the wall. Budget for a plumber if the shutoff valves are original and stiff, because a valve that refuses to close turns a Saturday project into an emergency call. Get written agreement with photographs of the original in place and in storage. Landlords often say yes when the upgrade outlasts your tenancy.
22. A Wall Cabinet Anchored Above the Toilet
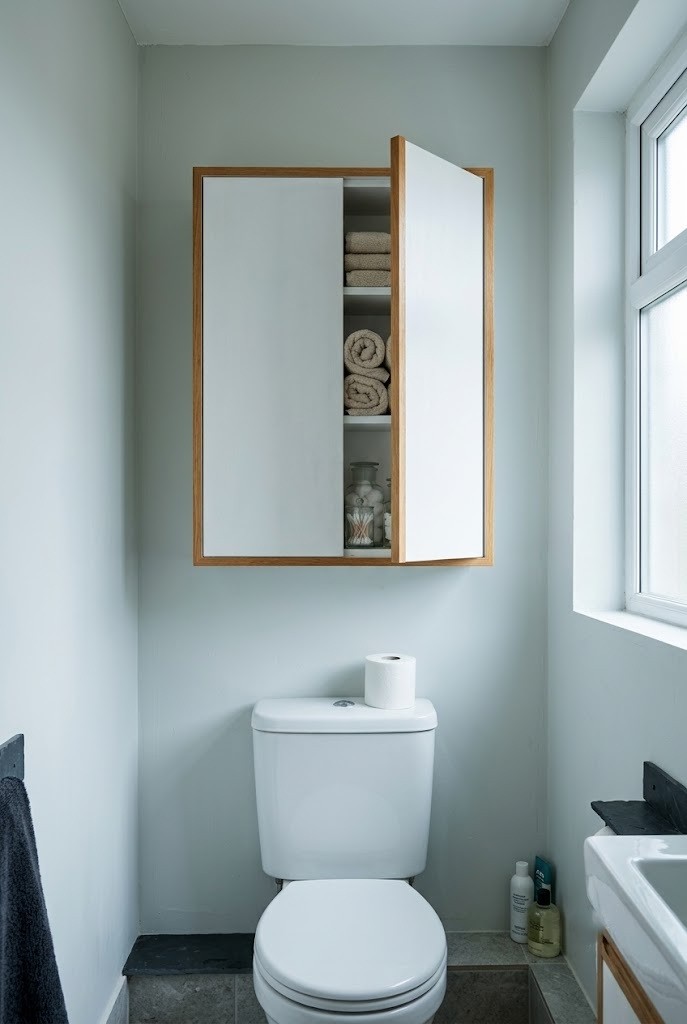
Mounting a wall cabinet above the toilet solves rental bathroom storage properly, and drywall anchors are exactly the kind of hole a deposit inspection flags, so this one needs written sign-off before the first drill bit goes in. Toggle anchors hold far more weight than plastic expansion plugs and leave a bigger hole, and that trade is worth naming in the agreement itself. Keep the cabinet bottom at least 24 inches above the tank lid so the lid clears when it lifts. Fill and touch up at move-out only if the agreement says you must, since plenty of landlords would rather the cabinet stayed. Photograph the bare wall before drilling.
23. Stone-Composite Adhesive Tile Across the Full Vanity Wall
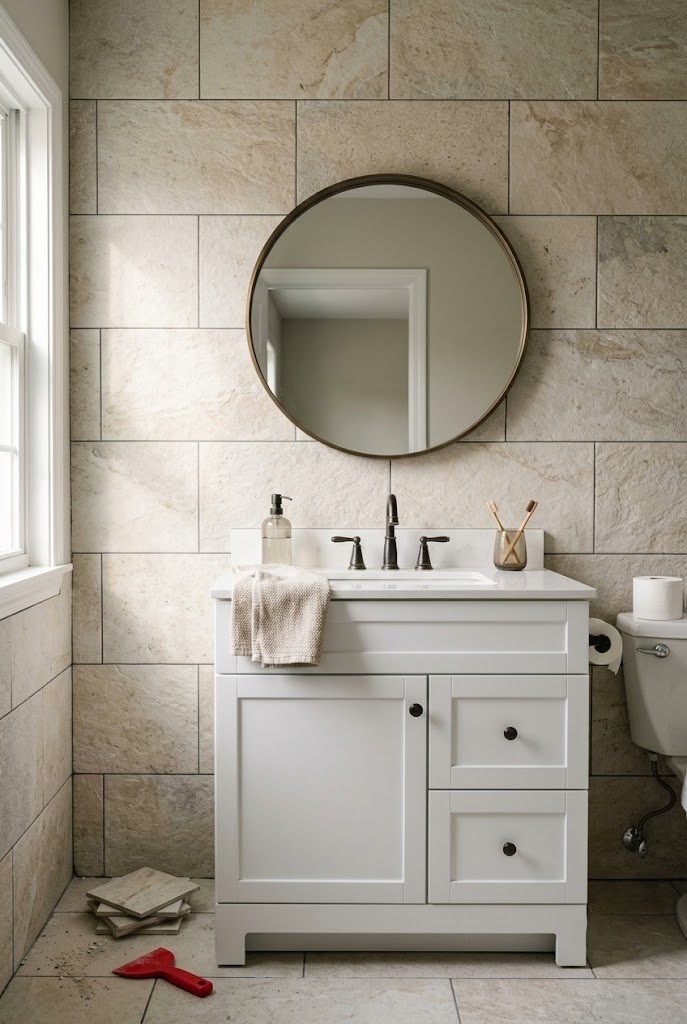
Stone-composite adhesive tile across the whole wall behind the vanity looks close to real tile, weighs several pounds per square foot, and bonds hard enough to take paint and sometimes drywall paper with it, which is why it sits in the highest-risk tier. These are not the flexible vinyl sheets from idea 9; they are rigid, thick, and unforgiving once placed. Removal needs a heat gun and a wide scraper, and even done carefully you should expect wall repair afterward. Plan the layout outward from the vertical center of the vanity so cut tiles land in the corners. Written approval should cover who repairs the wall and to what standard.
24. A Hardwired Light Fixture Upgrade Above the Vanity
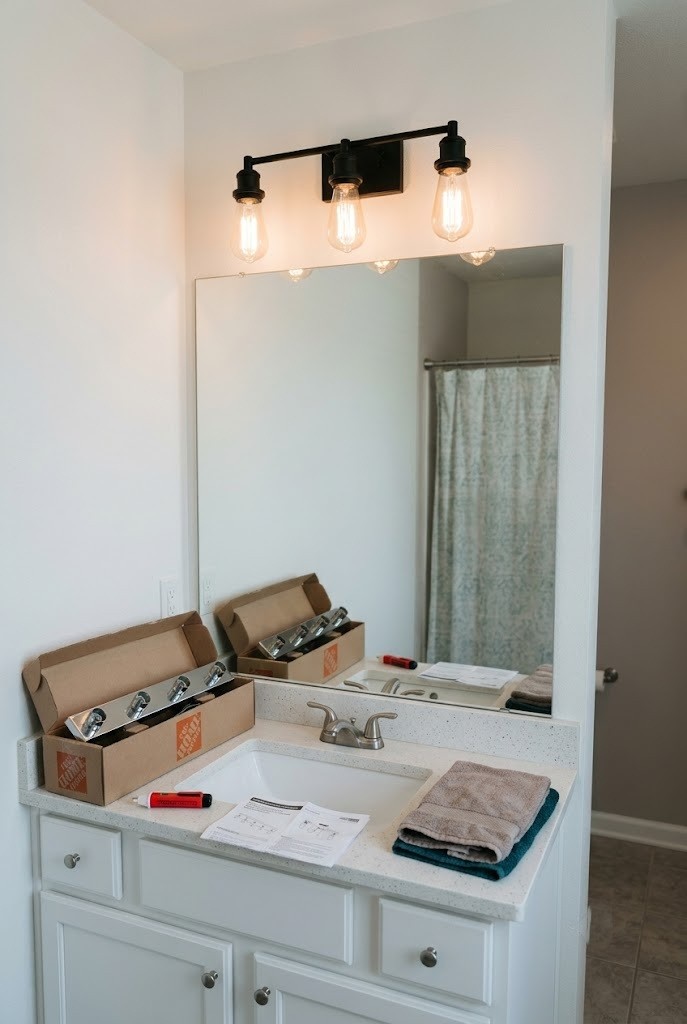
Replacing the hardwired vanity light bar is straightforward electrically and still the item most leases treat as off-limits without written consent, because it touches the building wiring and, in many US cities, licensing rules. Kill the breaker and confirm with a non-contact tester before anything else. Match the new fixture backplate to the existing junction box footprint, or you will be patching paint around a smaller plate and inviting exactly the deduction you were avoiding. Keep the original fixture boxed and labeled. Some landlords approve this and deduct nothing; others want a licensed electrician invoice on file. Ask before buying, since fixture returns after install are rarely accepted.
Final Thoughts
Pick your tier before you pick your look. If your lease has under a year left, stay in Tier 1 and put your money into hardware, lighting and a good waterproof wrap on the countertop only. Anything in Tier 3 should have an email from your landlord sitting in your inbox before the box arrives. And whatever you stick down, keep the originals bagged, labeled and inside the apartment, because a stored door is the difference between a full deposit and an argument. Save this to Pinterest so the removal notes are with you at move-out.
Frequently Asked Questions
will peel and stick vinyl damage a bathroom vanity when I remove it?
It can, and the risk depends almost entirely on how long it stayed and whether you wrapped the edges. Film left under two years on a laminate surface, with edges cut short rather than wrapped, usually lifts with gentle heat and leaves nothing. Wrapped edges and multi-year installs bond into the melamine and often pull the surface layer off in patches.
how do I stop contact paper bubbling in a steamy bathroom?
Keep every seam at least six inches from the sink and run the exhaust fan for ten minutes after each shower. Bubbles form when moisture gets under an edge and the adhesive releases, so the perimeter is where the work goes: press it with a felt-edged squeegee, warm it with a hairdryer on low, and re-press any edge that starts to lift.
can I change my bathroom vanity hardware without asking my landlord?
Yes, as long as you reuse the existing holes and keep the original knobs to reinstall at move-out. Hardware that fits the same center-to-center spacing leaves no evidence at all. The moment you drill a new hole it becomes an alteration, and that is when you need permission in writing rather than after the fact.
what is the cheapest way to make a builder grade vanity look better?
New knobs plus a large tray, usually under 40 dollars combined and done in an afternoon. Hardware changes the vanity's whole read from across the room, and a tray hides the worst stretch of laminate while giving the counter a styled focal point. Add a stick-on puck light if you have another 20 dollars to spend.