Most renter friendly tub shower combo ideas online stop at the easy stuff: buy a nicer curtain, swap the showerhead, done. What almost none of them tell you is which of those "removable" fixes actually wreck the surface on the way off, and in a wet zone that is where deposits quietly disappear. These renter friendly tub shower combo ideas are sorted by exactly that, by what each one does to the wall when it comes off: first the zero-trace looks, then the ones worth asking your landlord about, then the ones to avoid. One honest note up front: a tension rod presses on the wall but does not pierce or stick, so it counts as no-trace here. Save this to Pinterest for both move-in and move-out day.
1. A Ceiling-Height Tension Rod That Makes the Combo Read Taller
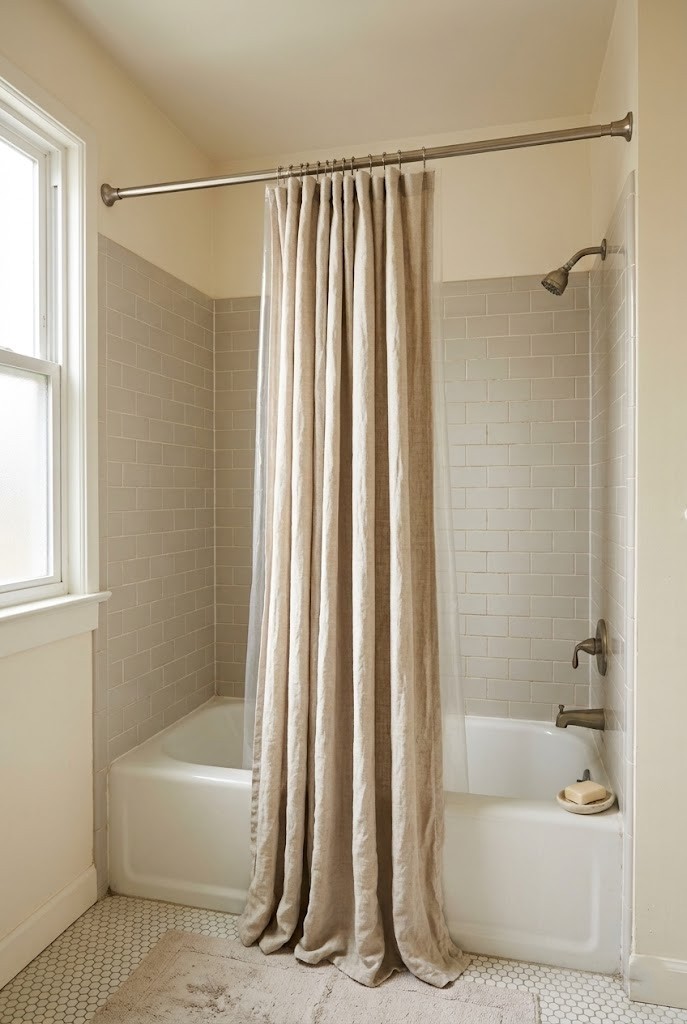
Mounting a ceiling-height tension rod above the tub and hanging a full-length curtain from it drops one unbroken vertical line from ceiling to floor, which tricks the eye into reading the whole combo as taller and less boxy. Set the rod as close to the ceiling as the spring allows, then pair it with an extra-long curtain panel set so the fabric skims the tub edge instead of stopping mid-wall. Nothing pierces or sticks here: the rod holds by pressure alone and lifts off clean at move-out. Keep a clear liner behind the decorative panel so the pretty fabric never sits in the spray line and stays dry.
2. A Layered Curtain Setup on a Second Tension Rod
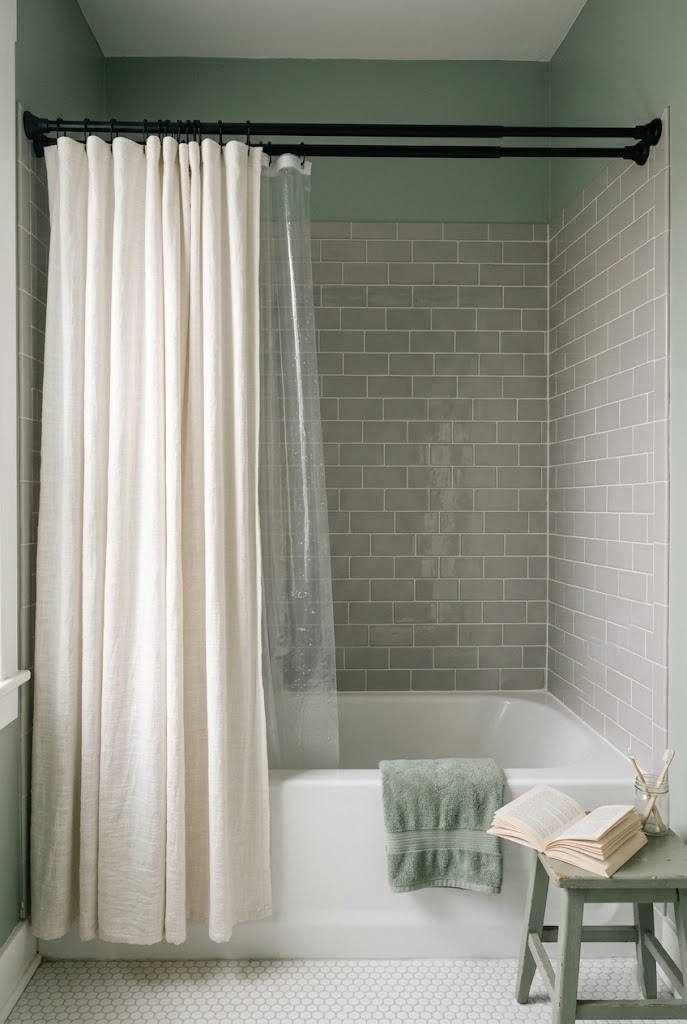
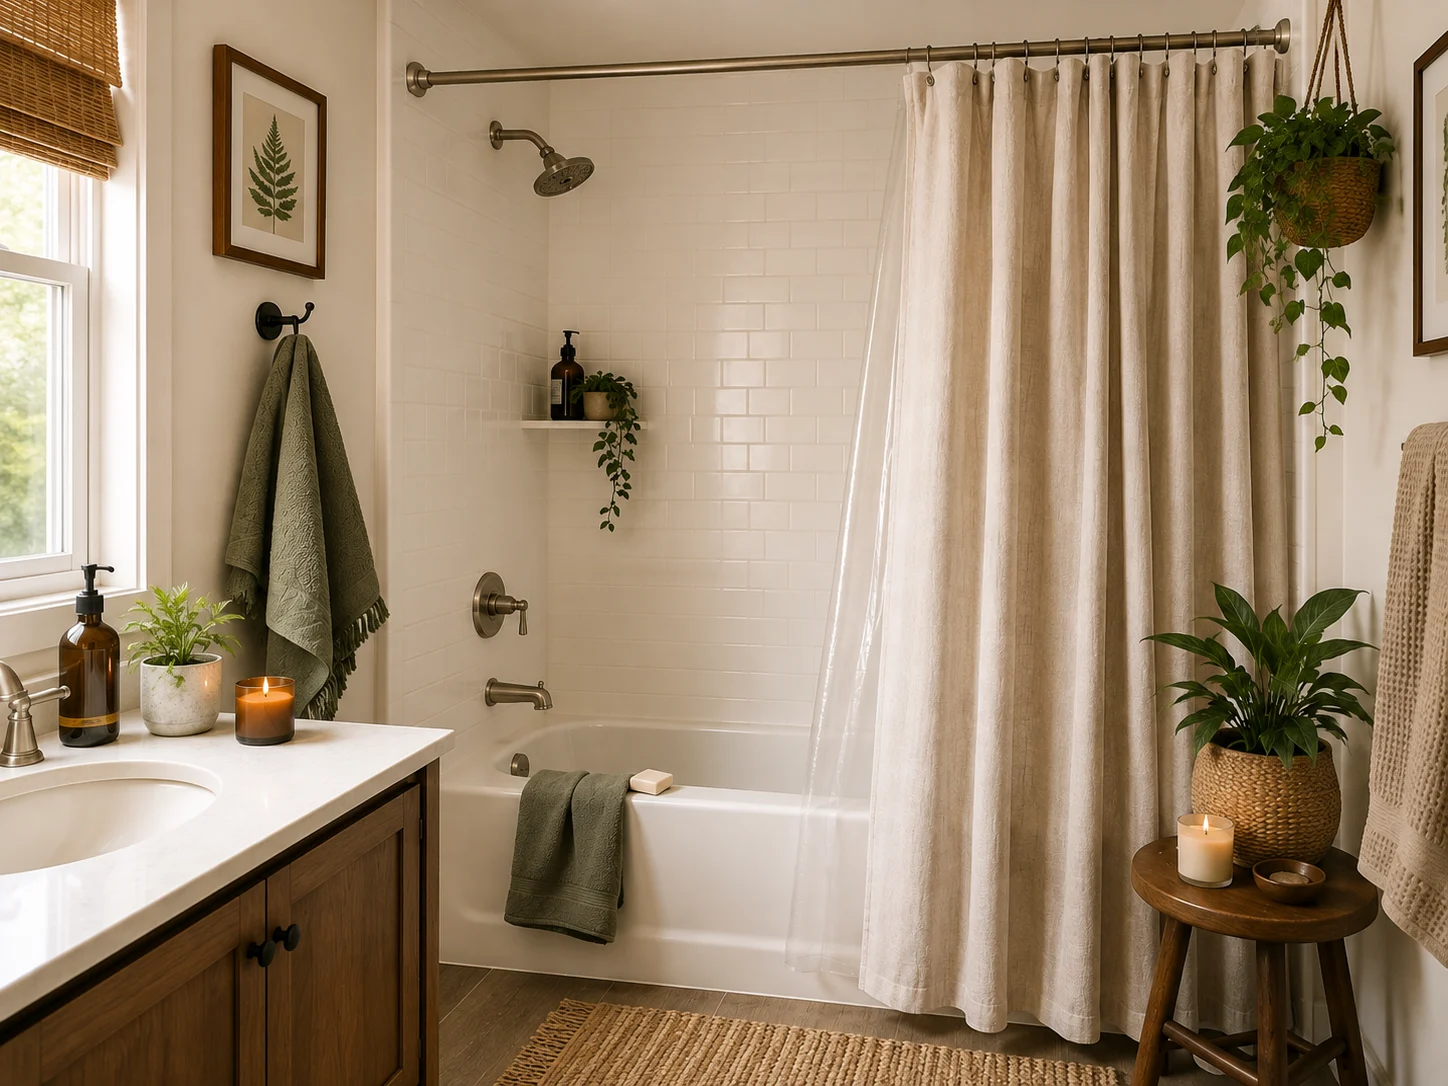
Running two tension rods a couple of inches apart lets you layer a waterproof liner in front and a decorative curtain behind, so the tub reads like a dressed window instead of a plastic sheet on a hook. The front liner takes all the water and wipes down; the back panel stays dry and does the styling. This builds directly on the ceiling-height line from idea 1, just with depth added. Choose a liner with weighted magnets at the hem so it clings to the tub wall and stops billowing at your legs. Both rods pop off with no marks, which is the whole point in a rental.
3. Nicer Curtain Rings and a Hemmed Liner for a Custom Look
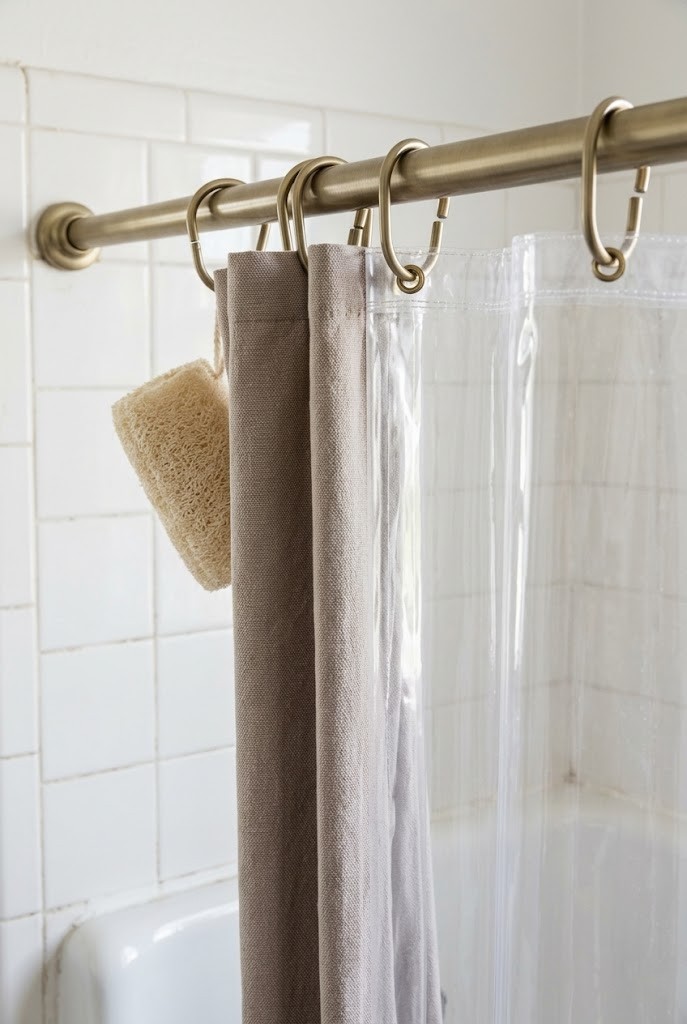
Swapping the flimsy plastic rings for matte metal ones and trimming a too-long liner to the exact tub height is the cheapest upgrade here, and it touches nothing but the curtain itself. Cheap combos usually ship with a liner that puddles in the tub, which traps water and grows mildew along the fold; cutting it to hang about an inch above the tub floor fixes both the look and the smell. Metal rings also glide instead of catching, so the curtain actually closes fully across the spray gap. None of this involves the wall, the tile, or a single conversation with the landlord.
4. A Tool-Free Showerhead Swap You Can Reverse in Two Minutes
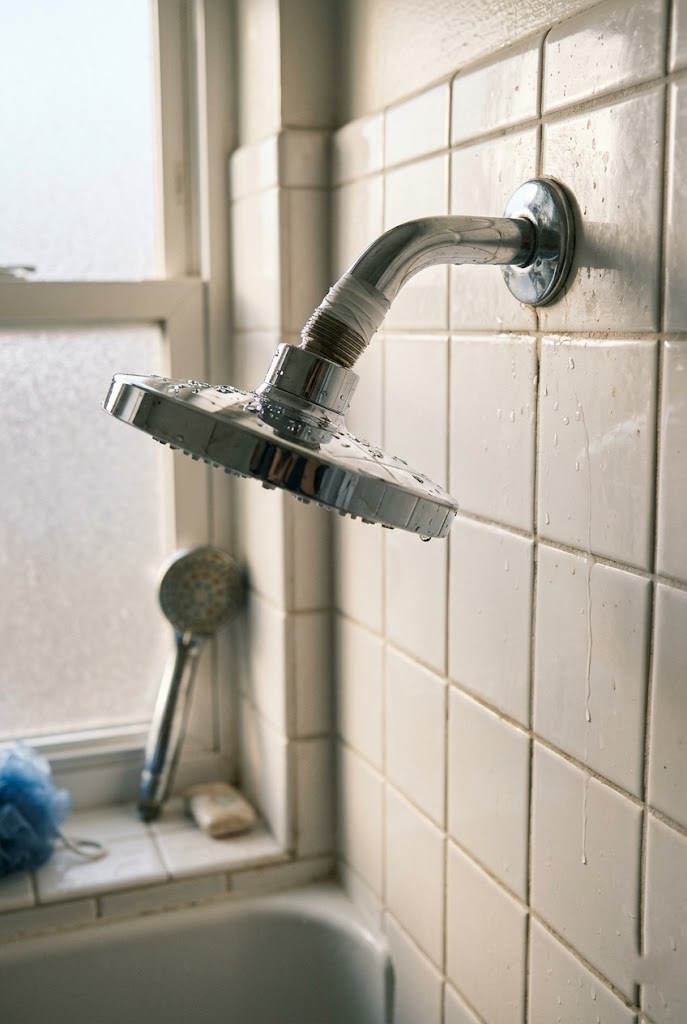
Unscrewing the builder-grade showerhead by hand and threading on a better one is the single biggest feel upgrade in a rental bathroom, and it leaves zero trace because you keep the original in a drawer and screw it back at move-out. Most heads spin off the shower arm by hand or with a light grip; wrap the arm threads with plumber's tape before the new head goes on so it seals without a wrench. A tool-free showerhead swap changes water pressure and spray feel more than any curtain ever will. Bag the old head with its rubber washer so nothing goes missing before the lease ends.
5. A Handheld Head on a Slide Bar That Clamps to the Shower Arm
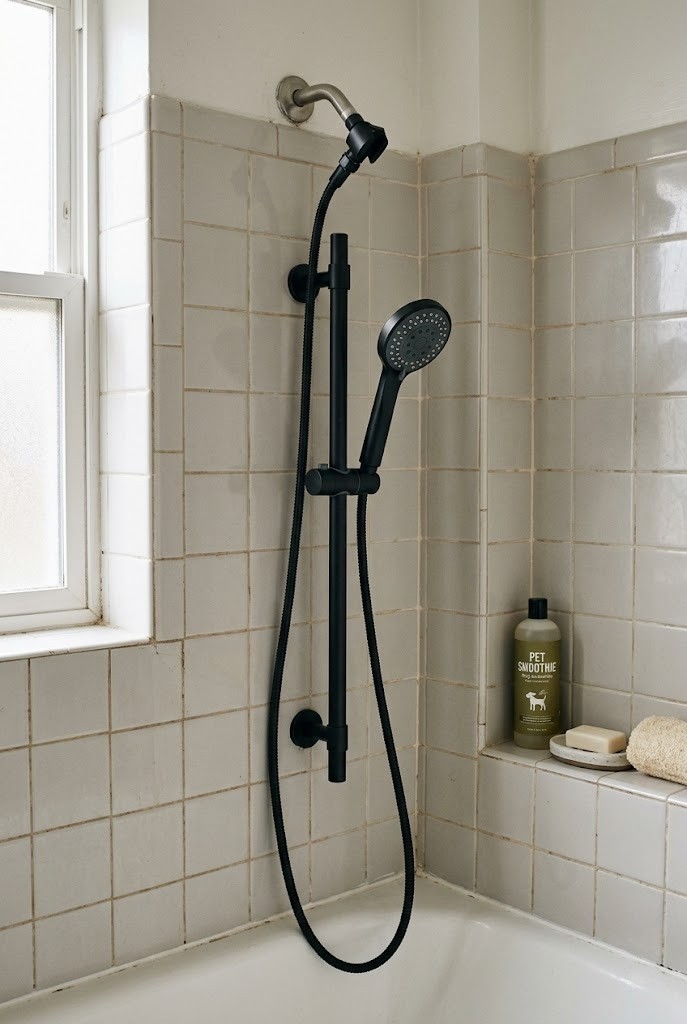
Clamping a slide-bar handheld onto the existing shower arm gives you a height-adjustable, detachable head without a single hole in the tile, because the bracket grips the arm you already have instead of screwing into the wall. This is the detachable cousin of the fixed swap in idea 4, better if you rinse a tub, a dog, or long hair. Shop specifically for these arm-mounted handheld kits, not wall-mounted ones; the wall versions need anchors, and that is exactly the deposit risk you are avoiding. The hose and cradle all thread on by hand, and the whole rig lifts off leaving only the original arm behind.
6. An Over-the-Arm Caddy That Hangs Without Suction or Glue
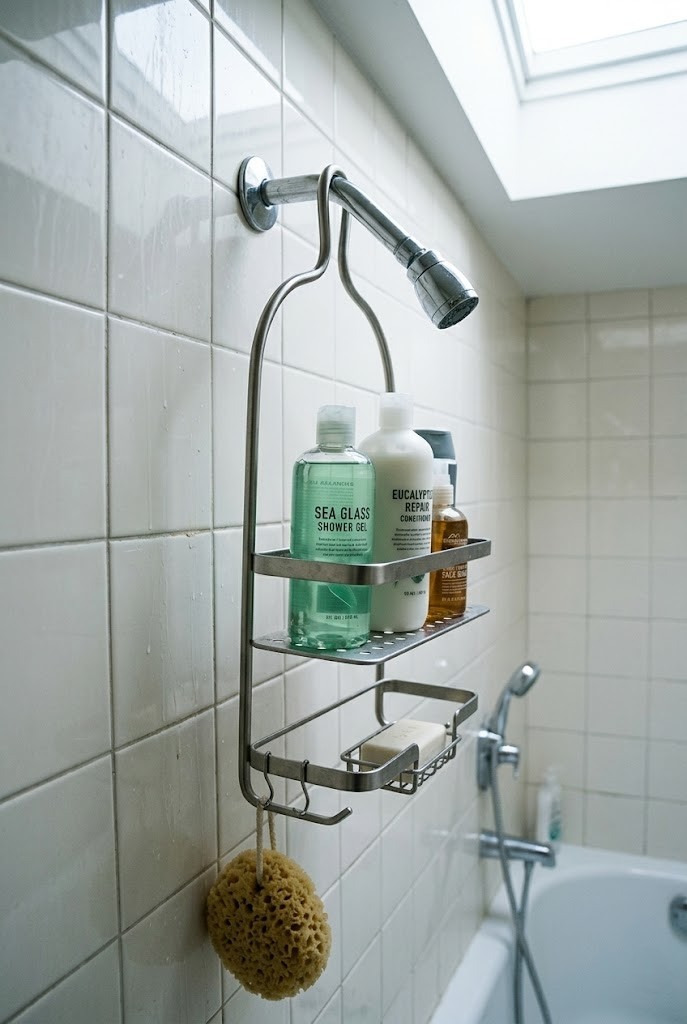
Hanging a caddy from a hook that loops over the shower arm keeps your bottles off the tub ledge with nothing stuck to any surface, which sidesteps the whole adhesive-failure problem this post keeps circling back to. Suction and glue both let go in a hot, wet zone eventually; a hook carrying its load on the metal arm does not. Pick an adhesive-free organizer with drainage holes so shampoo water runs out instead of pooling and going slimy at the bottom. Because it hangs on the arm, it lifts straight off when you leave: no residue, no scrubbing, and no explaining a mark to the landlord.
7. A Leaning Bathroom Ladder for Towels That Only Touches the Floor
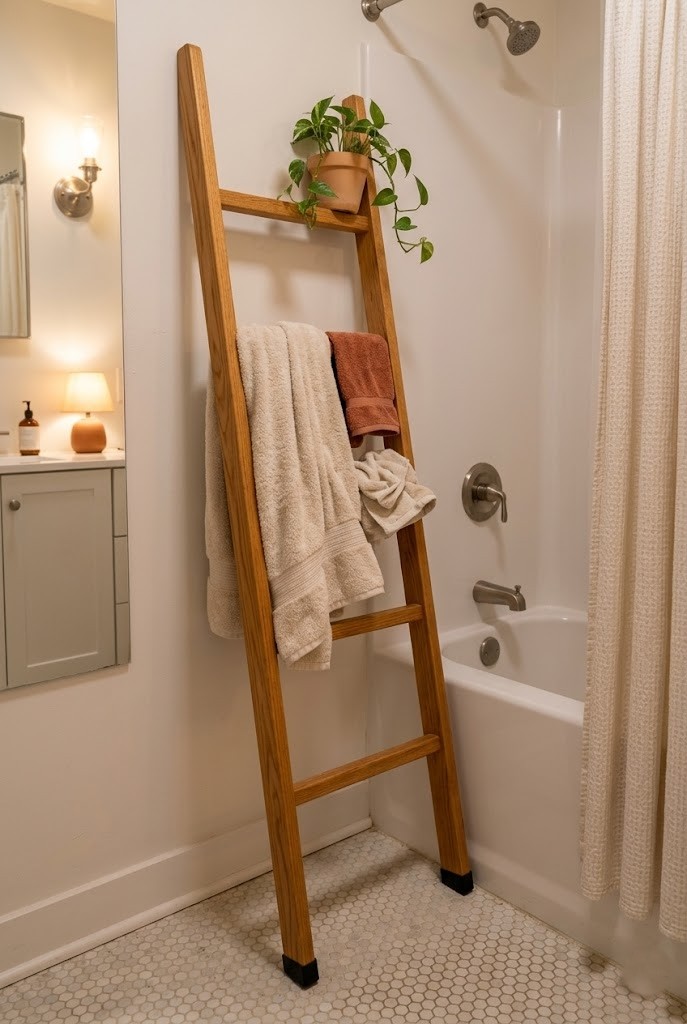
Leaning a wooden ladder rack against the wall beside the tub gives you three or four towel rungs with its whole weight resting on the floor, so no bar gets screwed into tile and no adhesive holds up a wet towel it was never rated for. Rest the top against a painted wall, not the tile, and add a rubber foot or felt pad at the base so it does not slide on a damp floor. Damp towels dry faster spread over rungs than bunched on a hook. At move-out it is simply furniture: you pick it up and carry it to the next place.
8. A Rolling Cart Parked Beside the Tub for Everything the Combo Can't Hold
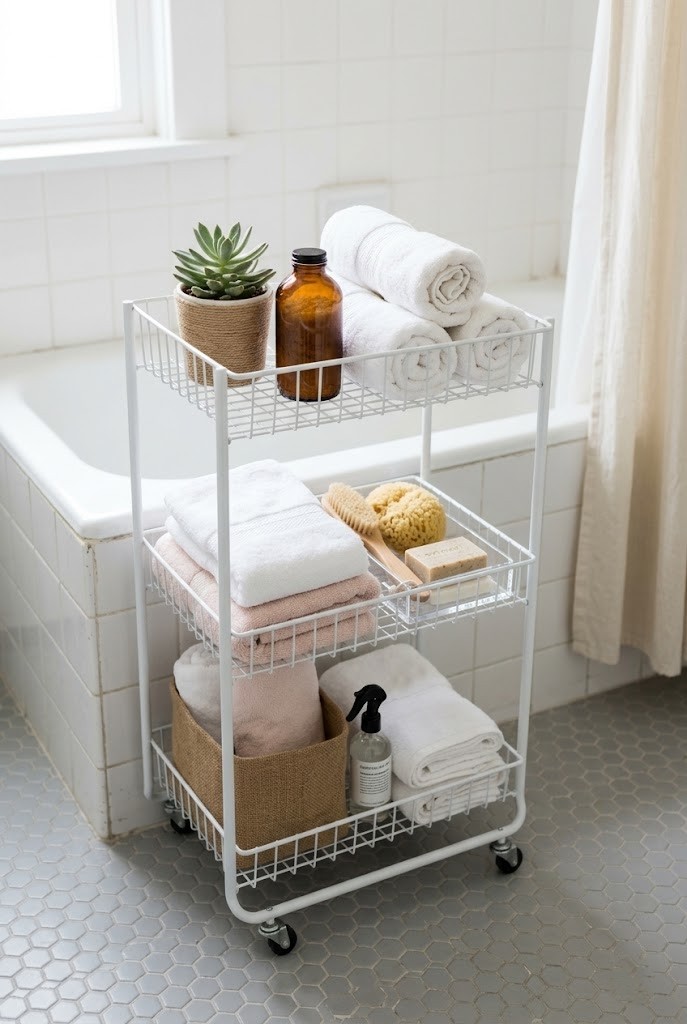
Parking a slim rolling cart next to the tub solves the storage a bare combo never gives you, and it touches nothing but the floor it rolls on. Tub-shower combos rarely have a ledge deep enough for towels, backups, and bath stuff at once; a three-tier cart holds all of it and rolls out of the way when you mop. Choose one narrow enough to clear the door swing, and set a waterproof tray on the top tier so dripping bottles do not rust the wire. Nothing is fixed, so it moves with you and leaves the bathroom exactly as you found it.
9. A Teak Slat Mat Laid Over the Ugly Tub Floor
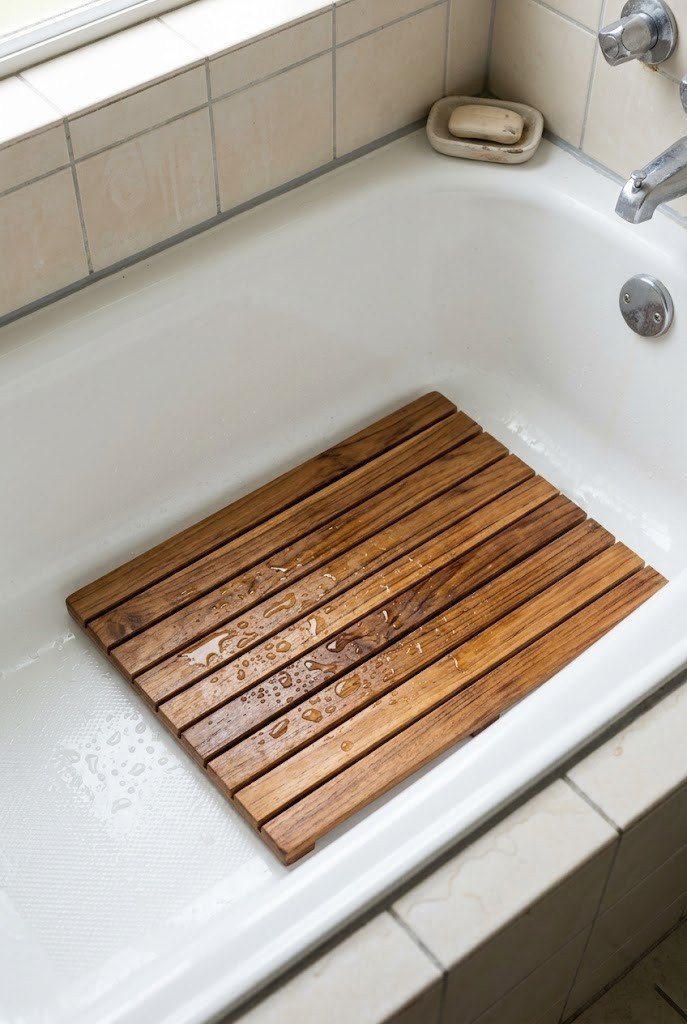
Laying a teak or bamboo slat mat across the bottom of the tub hides a stained, dated, or scratched tub floor without refinishing anything or sticking a single appliqué to the surface. The mat simply sits there, lifts out to dry, and takes nothing with it when you go, unlike adhesive non-slip strips that fight you on the way out. Buy one sized to the flat of your tub, not the sloped ends, so it lies stable underfoot. The catch is what happens underneath: trapped water breeds mildew fast, so this only works if you stand it on its edge to dry after every shower.
10. A Freestanding Towel Stand Instead of a Drilled Wall Bar
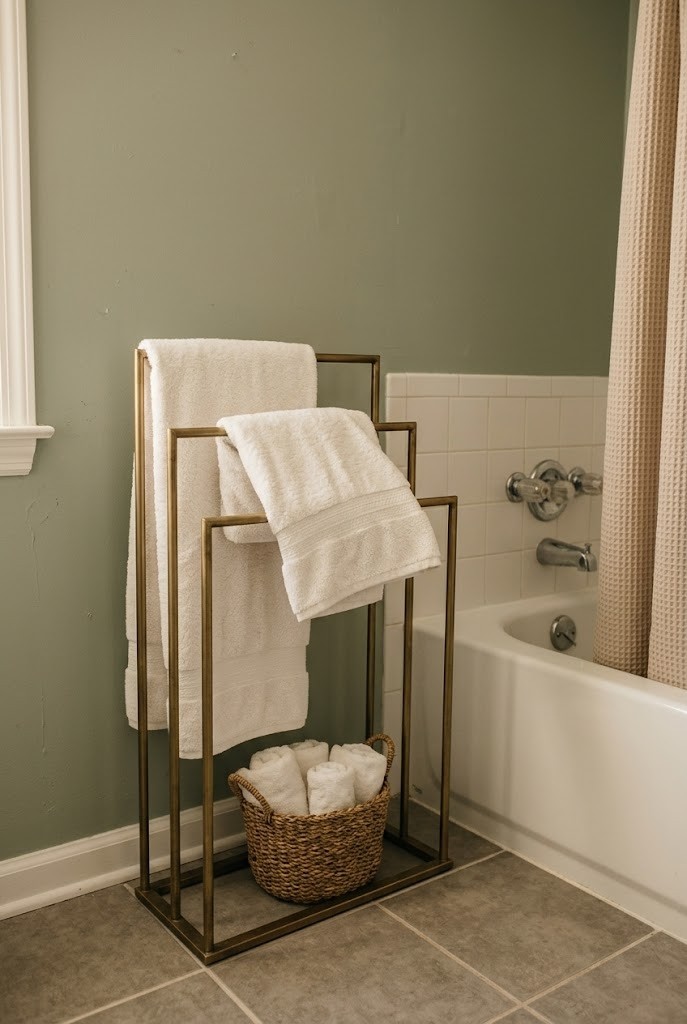
Standing a freestanding towel rack on the floor replaces the wall-mounted bar you are not allowed to install, giving you hanging space with zero holes and zero anchors. A weighted or wide-based stand is the version you want, because a tall, tippy one loaded with wet towels becomes a hazard in a small wet room. Position it just outside the splash line so towels catch drips off your body rather than spray off the head. Since it is freestanding, it also moves to wherever the layout actually works, which a fixed bar never does. When the lease ends, it walks out the door with you.
11. A Curtain Valance on a High Rod to Frame the Whole Combo
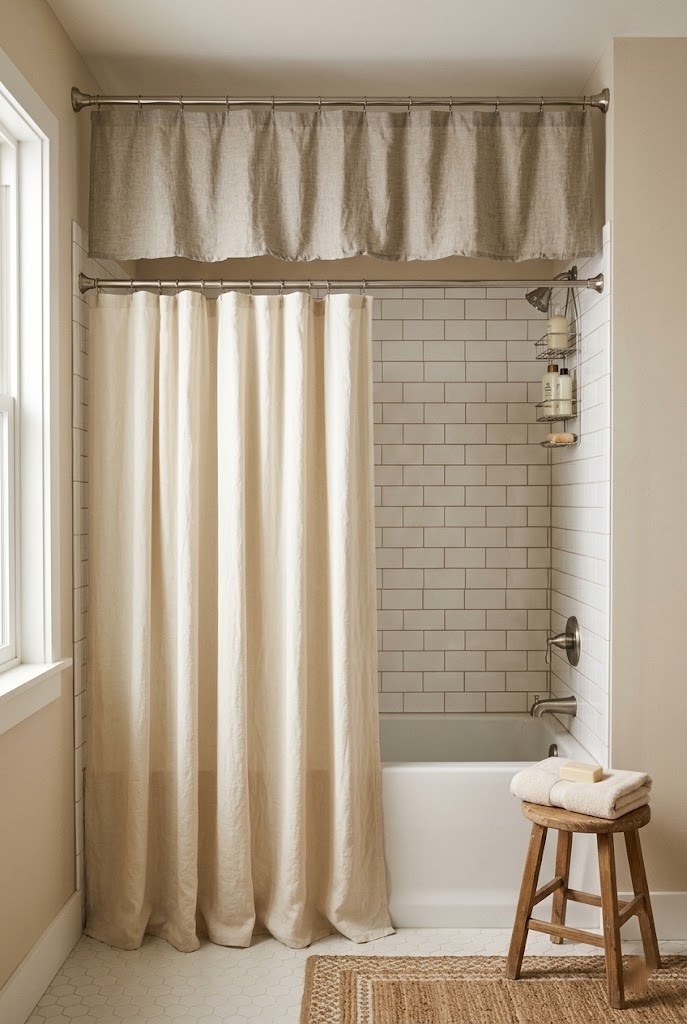
Adding a short valance on a second high tension rod caps the shower curtain with a finished top edge, the way a window treatment frames a window, and it hides the utilitarian rings and rod hardware. Pair it with the tall curtain from idea 1 and the combo starts reading as a designed alcove rather than a plastic afterthought. Keep the valance shallow, roughly a sixth of the curtain's height, so it reads as a detail and not a second full curtain crowding the space. Both the valance and its own tension rod are pressure-mounted and lift off clean, so the framing costs you nothing at move-out.
12. Humidity-Loving Plants on a Freestanding Stand Near the Tub
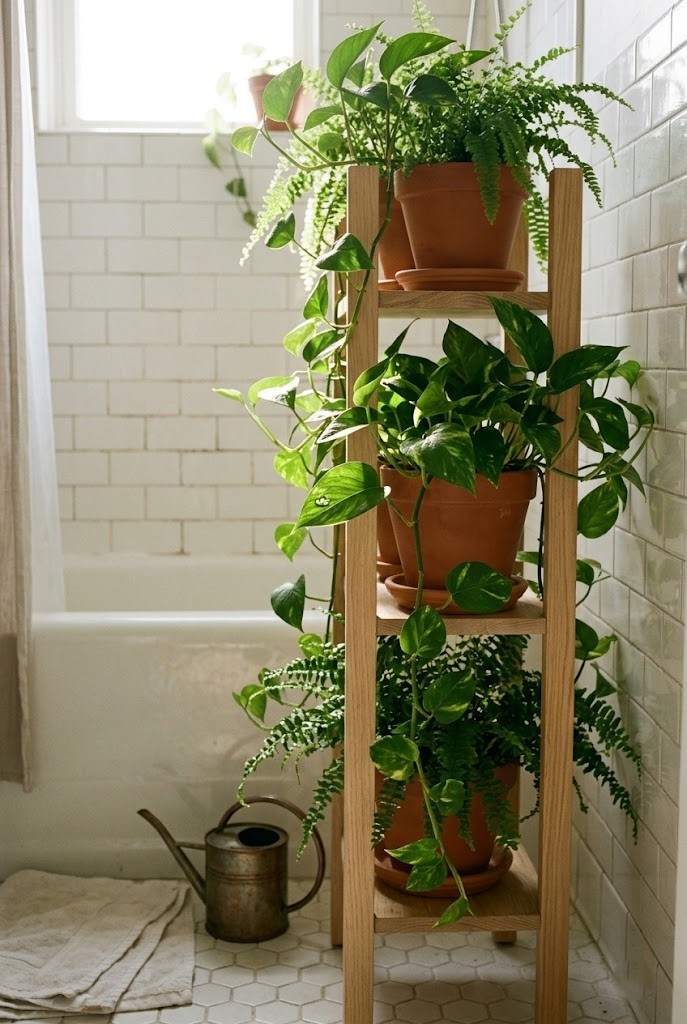
Grouping humidity-loving plants on a freestanding plant stand near the tub softens all the hard tile and porcelain and turns the combo's steam into a feature instead of a problem. Ferns, pothos, and small palms actually like the moisture a shower throws off, so they thrive where drier plants sulk. Keep the stand out of the direct spray so soil does not wash out, and off the tub ledge entirely, because that ledge is precious real estate you already fought hard for. The stand touches only the floor, so there is nothing to remove at move-out but a plant you carry to the next apartment.
13. Woven Floor Baskets That Store Towels Without a Single Screw
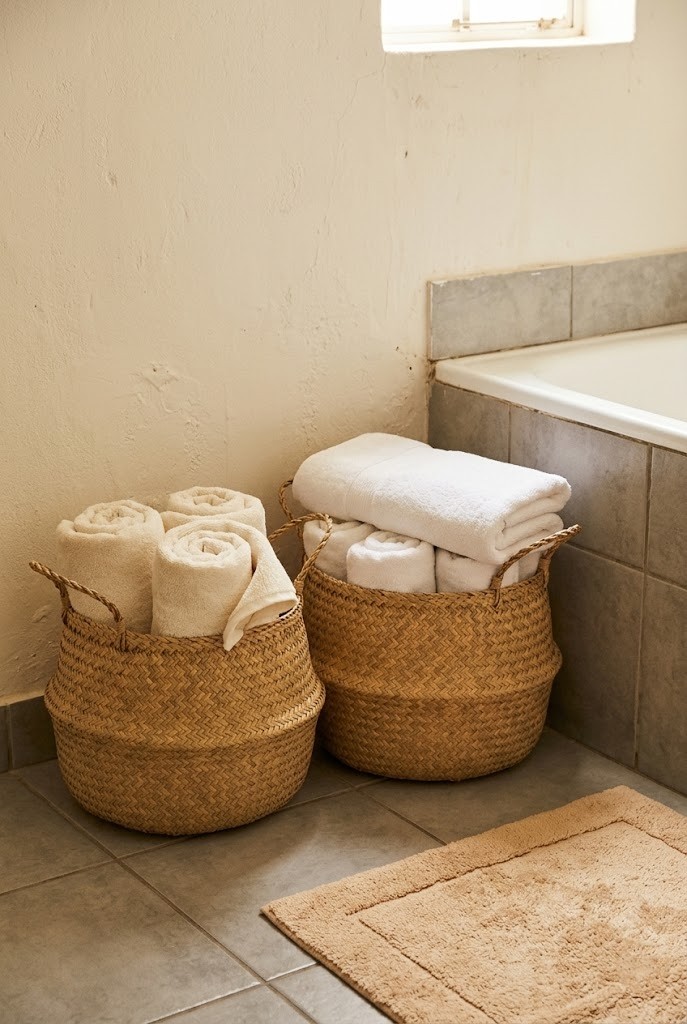
Setting a pair of woven floor baskets beside the tub gives you soft, open storage for towels and paper backups with nothing mounted to a wall. Combos almost never have a linen closet nearby, and stacking rolled towels in a basket reads intentional while solving the actual shortage. Choose baskets with a sealed or plastic-lined interior, or a wipeable liner, since bathroom floors get splashed and raw seagrass wicks water and warps. Because they just sit on the floor, they double as a fast way to move clutter out of sight when you clean, and they leave with you at the end of the lease.
14. A Tension-Mounted Shade for the Window Over the Tub
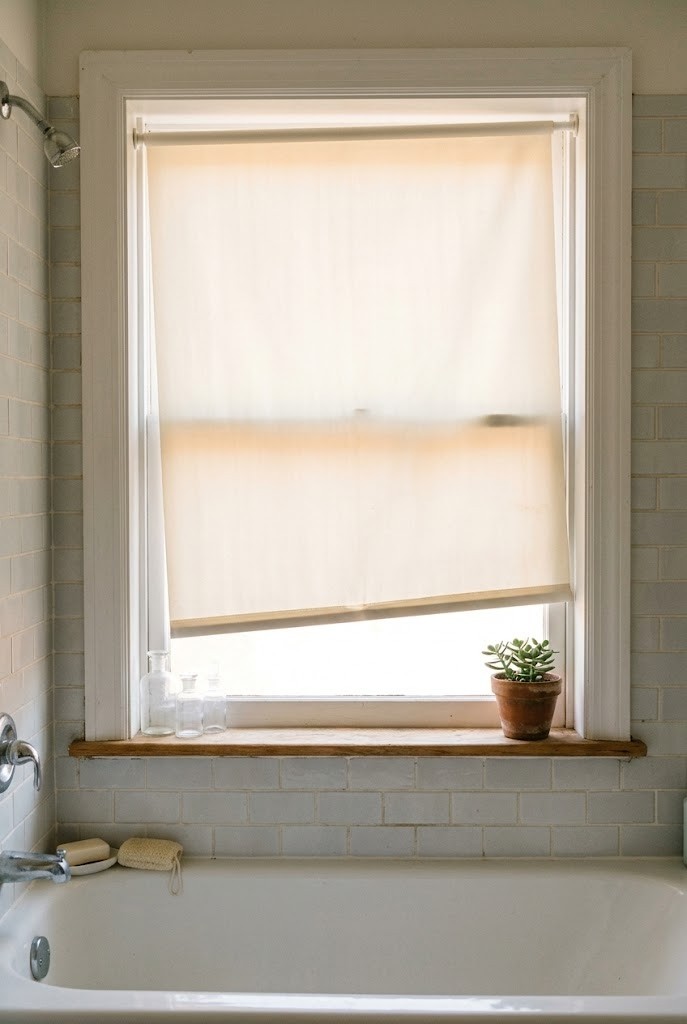
Fitting a tension-mounted shade inside the window frame over a tub gives you privacy and light control without drilling the trim, since the rod springs into the frame the same way the shower rod does. Bathrooms with a window right over the combo are common and awkward: you need cover, but the frame is often tile-surrounded and off-limits. An inside-mount tension rod with a washable fabric or a wipeable vinyl shade solves it and lifts out clean. Keep fabric back from the direct spray, or go vinyl, because a cloth shade sitting in the wet zone molds along its bottom edge within weeks.
15. Re-Caulking the Grimy Tub Line Yourself (Ask First)
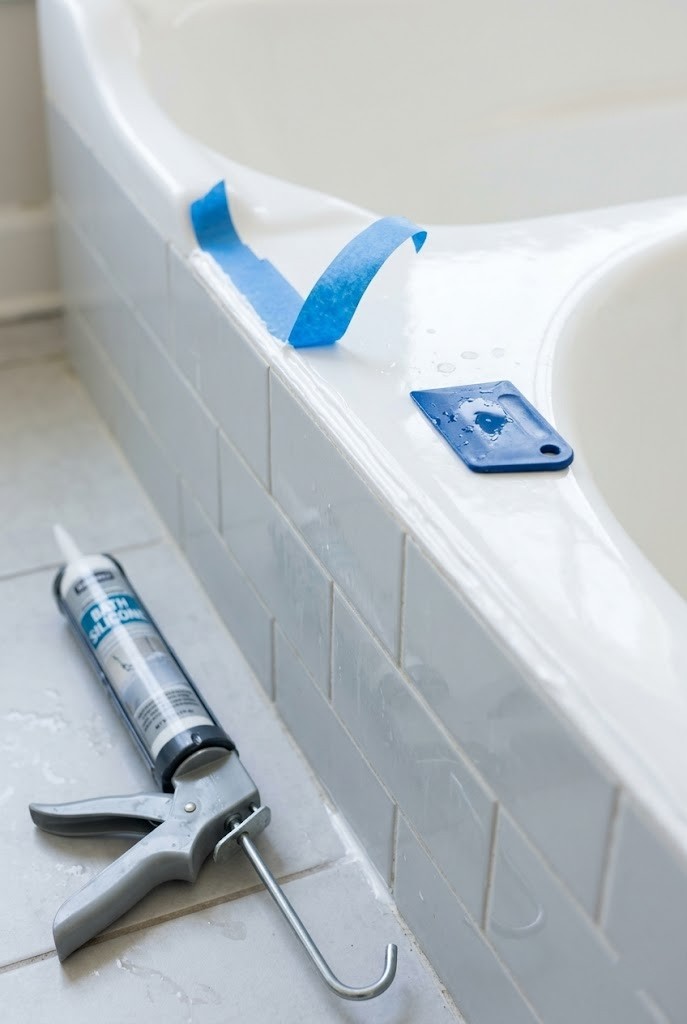
Stripping the yellowed, peeling caulk along the tub-to-wall joint and running a fresh white bead is the single change that makes an old combo look cleaned-up rather than worn-out, but because it is a surface modification you clear it with the landlord first. Most are glad someone is maintaining the seal; some want to send their own person. Fresh caulk also stops water sneaking behind the tub, which is a repair you do not want blamed on you. This is genuinely doable in an afternoon, and done in matching white it reads as maintenance, not alteration, which is what keeps it deposit-safe.
16. Adhesive Hooks, But Only in the Dry Zone (and Only With Permission)
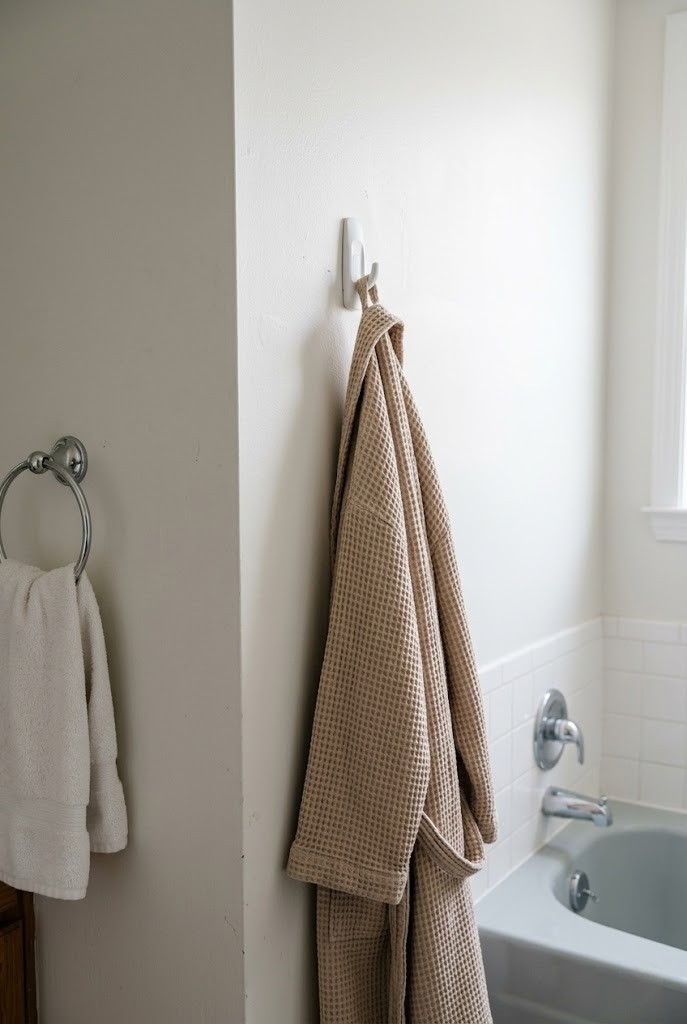
Using removable adhesive hooks can work for a robe or a loofah, but only well outside the spray line, and this is exactly where I lost a deposit once, so ask first and test removal before you trust them. In a dry corner by the door, a quality removable hook peels off clean months later. Anywhere steam and water hit directly, the adhesive creeps, then fails, and the worst ones pull a chip of paint when they finally let go. Press them onto smooth painted wall, never onto tile grout, and give the adhesive a full day to cure before you hang anything on it.
17. An Adhesive Shelf Outside the Spray Line, Removal-Tested First
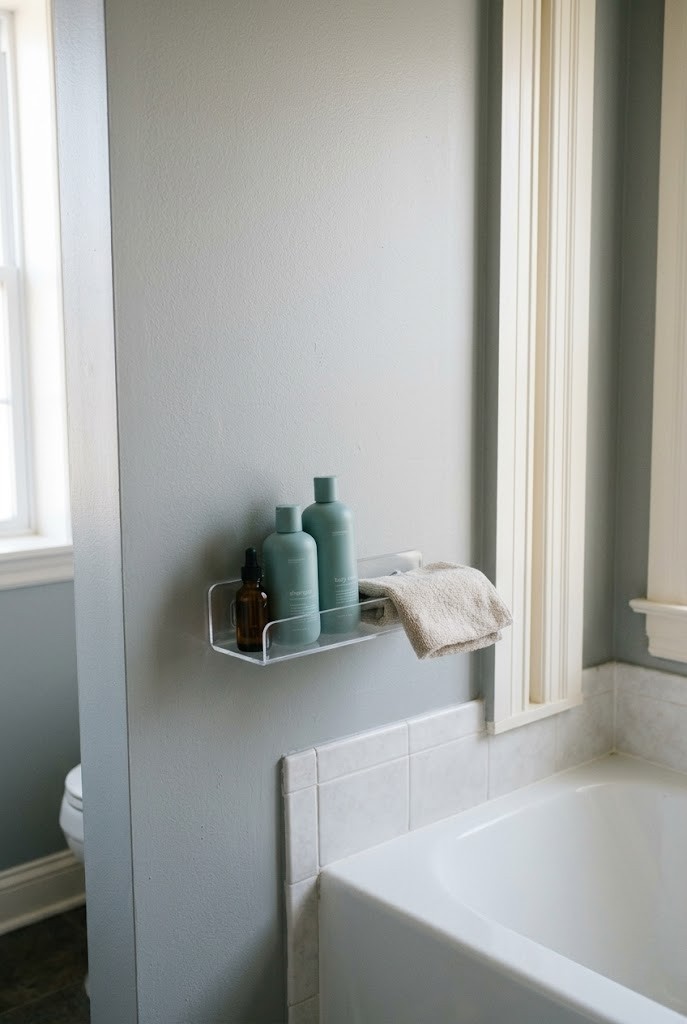
Mounting a small adhesive shelf can add a real ledge to a ledgeless combo, but only just outside the direct spray and only after you test the adhesive's removal on a hidden spot, because this whole category is where deposits quietly die. Unlike the arm-hung caddy in idea 6, which needs no adhesive at all, a stuck shelf is a bet that the bond releases clean in a year. Stick it to smooth painted wall, load it light, and check it monthly for creep. If the test square lifts paint, stop there and go back to a hanging or freestanding option instead of gambling the deposit.
18. Replacing the Whole Showerhead and Arm (Clear It With the Landlord)
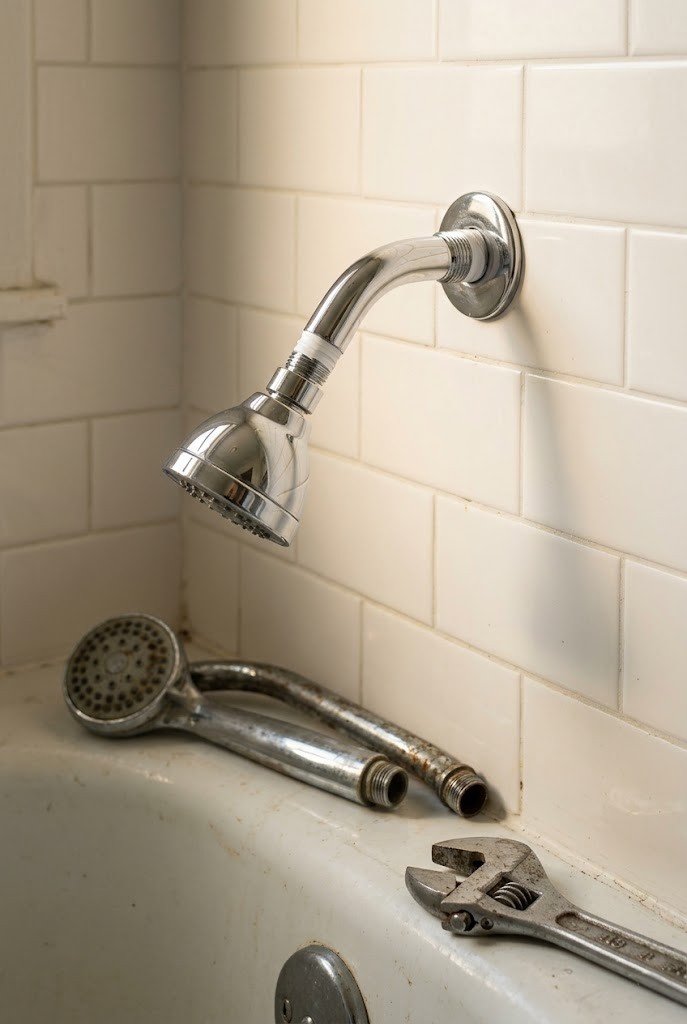
Swapping the entire shower arm along with the head lets you change the height and reach of the spray, not just the nozzle, but because it threads into the wall plumbing you ask before you touch it and you keep every original part. The arm unscrews from the fitting inside the wall; wrap the new threads with plumber's tape and hand-tighten so you do not crack anything. This goes further than a simple tool-free head swap, which is why it needs a yes first. Bag the old arm and head together so the exact originals go back at move-out and nobody debates what was there before.
19. Peel-and-Stick Tile on the Wall Behind the Tub, Never in the Wet Zone
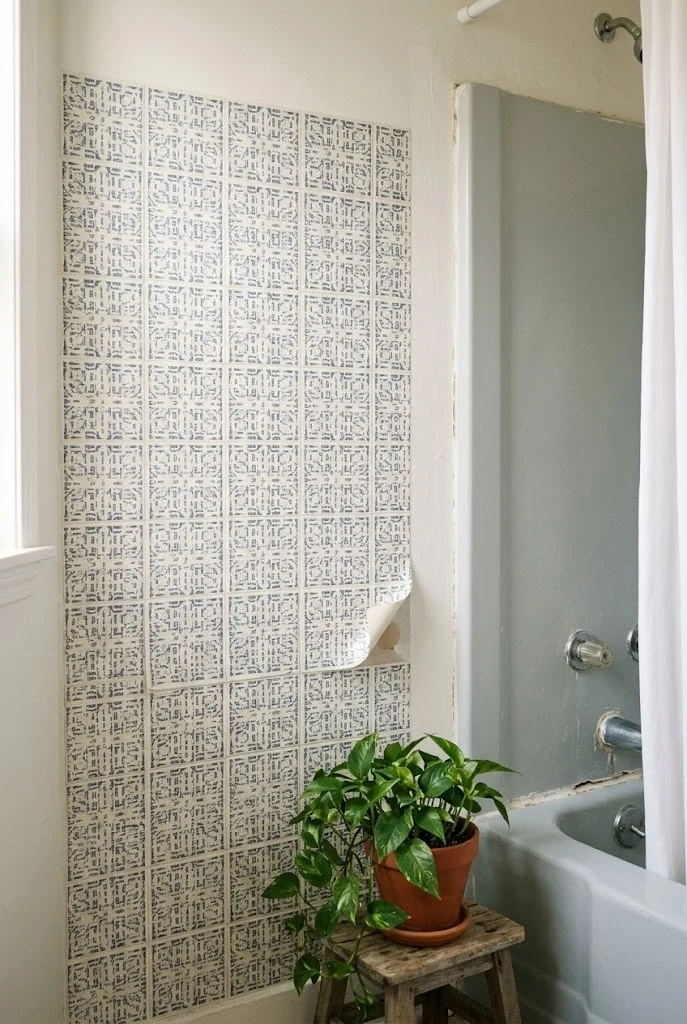
Applying peel-and-stick tile to a dry wall section behind or beside the tub can add pattern, but keep it entirely out of the splash zone and ask first, because even the good ones can pull paint when they come off. On a dry accent wall away from water, a quality peel-and-stick sheet behaves; the adhesive stays put and releases with a little heat from a hairdryer at move-out. The failure that ruins deposits is putting it where water hits, which is genuinely its own topic worth a careful read before you commit. Test one sheet in a corner, live with it a month, and only then cover more wall.
20. A Spring-Tension Shelf Wedged Across the Tub Alcove
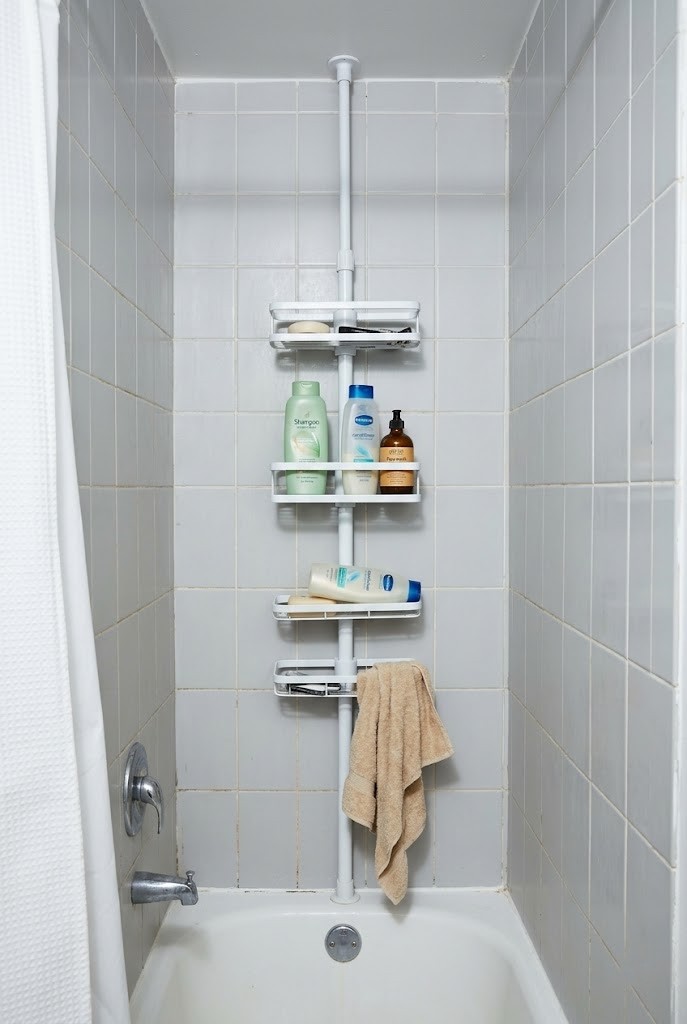
Wedging a spring-tension shelf between the two walls of the tub alcove adds a storage ledge held by pressure, not screws, though it does press on tile, so ask if your walls are old or hollow-feeling. On solid, well-set tile it is genuinely low-trace and lifts out clean, closer to a freestanding cart than to anything adhesive. Load it lightly, keep it to bottles and a folded cloth, and never hang your full weight off it. The pressure that holds it can, over months on weak tile, stress a grout line, so this sits one notch below the truly no-touch options for a good reason.
21. Peel-and-Stick Tile Directly on the Tub Surround (Don't)
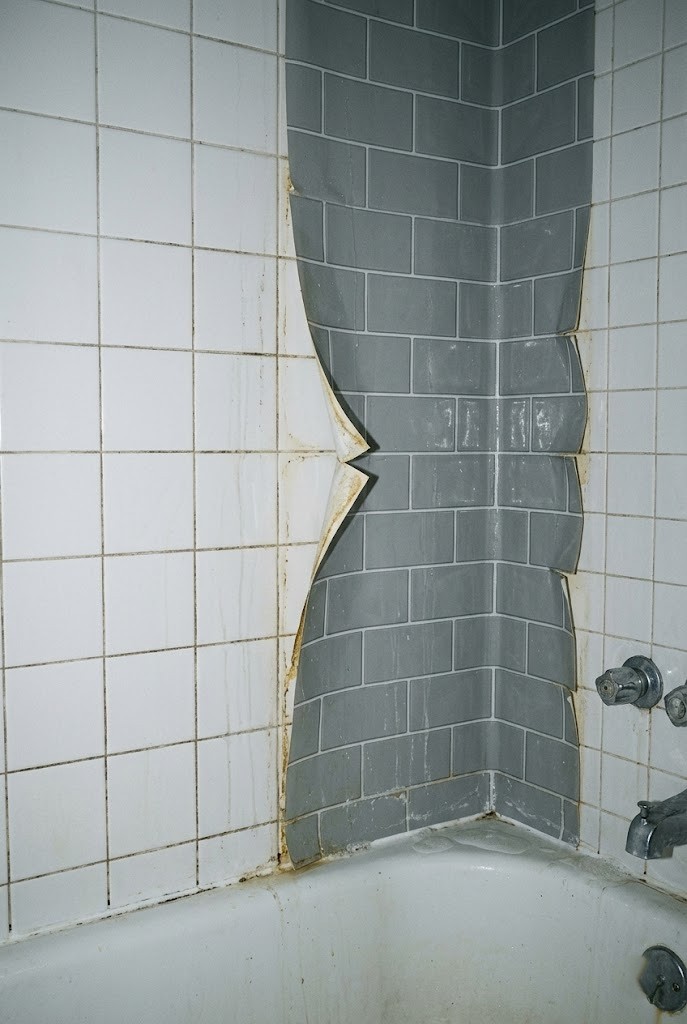
Sticking peel-and-stick tile onto the actual wet tub surround is the classic deposit-killer, so skip it entirely no matter how good the before-and-afters look online. This is the wet-zone version of the dry accent wall in idea 19, and the difference is everything: constant steam works under the edges, so the adhesive either fails and peels in weeks or bonds so hard it takes the original tile glaze or the wall paint with it on removal. Either outcome costs you money. The product is sold as removable, but removable and wet-zone-durable are not the same promise, and the wet zone is exactly where that gap swallows your deposit.
22. Suction Shower Caddies Loaded With Product (Avoid)
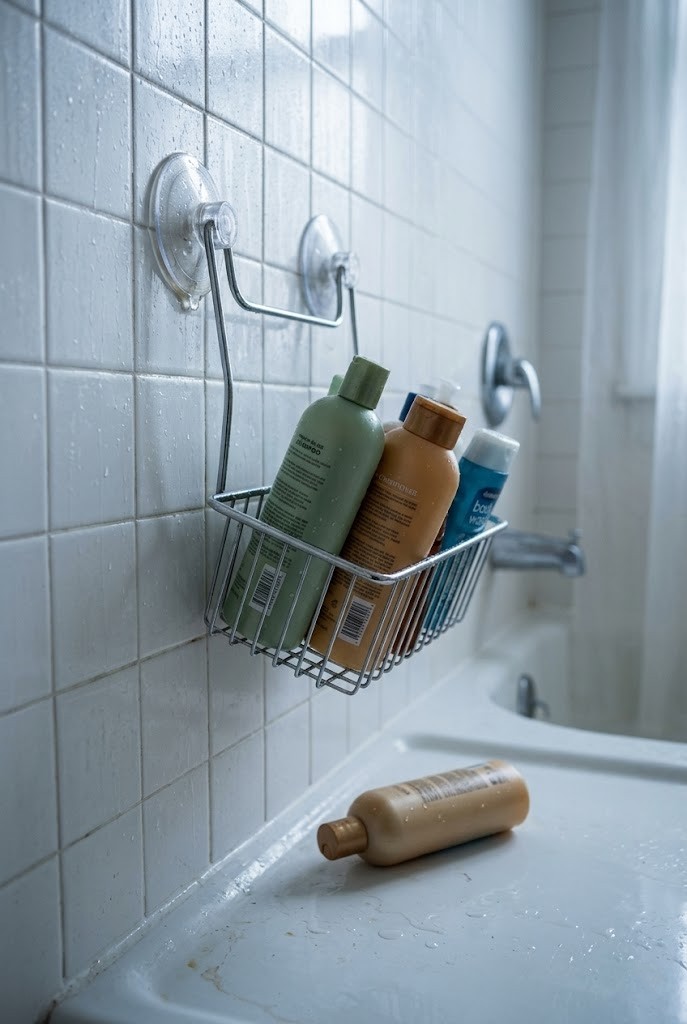
Relying on a suction shower caddy to hold your bottles is a slow-motion failure in a hot combo, so skip the loaded suction rig and hang from the arm as in idea 6 instead. Suction needs a perfectly smooth, cool, dry surface to grip, and a shower is none of those; heat and film under the cup let go, usually at the worst moment, and a caddy full of glass bottles crashing into the tub chips both. On some tub finishes the cups also leave faint rings or pull at a resurfaced coating over a long lease. It looks tidy on day one and betrays you by month two.
23. Adhesive Non-Slip Strips Left Down for the Whole Lease (Avoid)
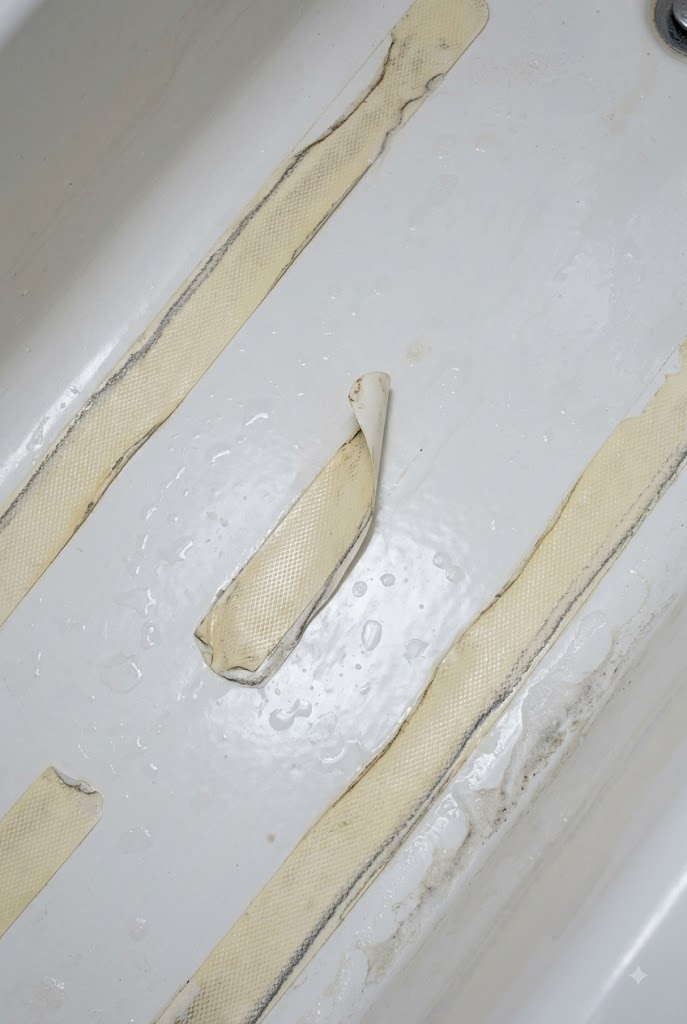
Applying adhesive non-slip strips or flower appliqués to the tub floor and leaving them down for a year is a removal nightmare, so use the lift-out teak mat from idea 9 instead. The strips grip fine at first, but the adhesive yellows, traps grime along every edge, and cures harder the longer it sits, so by move-out it either shreds into little stuck pieces or peels up a strip of the tub's finish with it. Renters reach for these because slipping in a slick tub is a real fear, which is fair, but a mat that lifts out solves the same safety problem without bonding to a surface you have to hand back clean.
24. "Removable" Waterproof Wallpaper in the Spray Zone (Avoid)
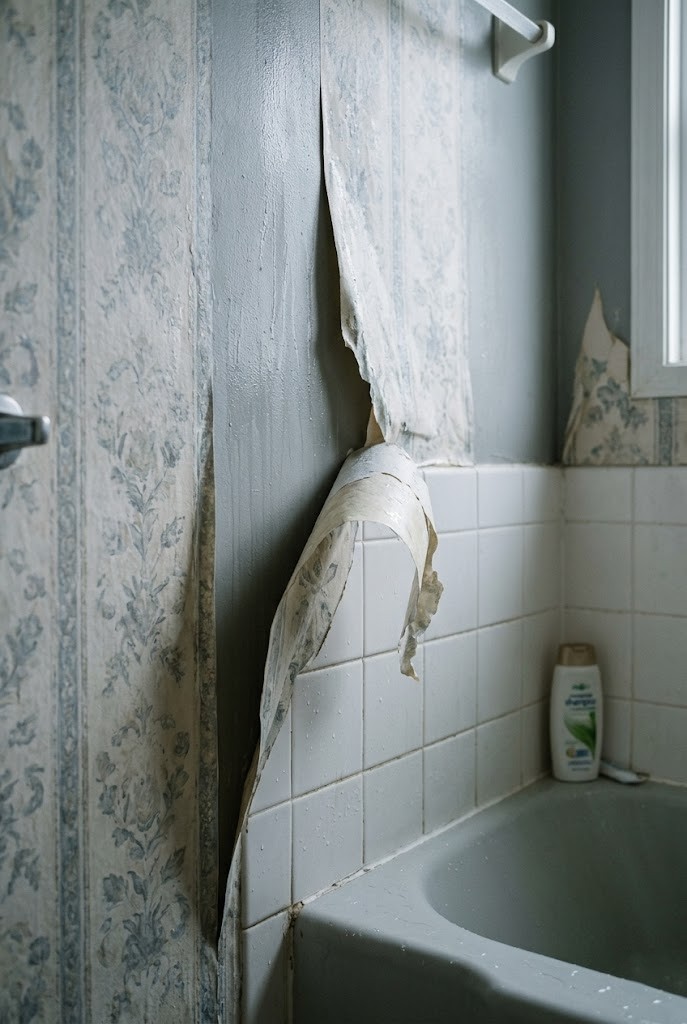
Hanging so-called removable waterproof wallpaper where the shower actually sprays is the last trap in this list, so keep any wallpaper well away from the wet zone or skip it. Marketed as peel-off and water-safe, these papers still rely on adhesive that steam gets behind; seams lift and curl within weeks, and the glue that stays bonds tighter to the wall over the lease, so it comes off in shreds with paint attached. A dry accent wall outside the splash line is a different conversation, closer to a proper dry-wall install, but the direct spray zone defeats the entire product. If you want pattern near the tub, put it on fabric you can wash and rehang instead.
Final Thoughts
The combo itself is fixable in a rental; you just have to sort the reversible from the regretful before you commit. Lead with the zero-trace curtain, showerhead, and freestanding moves, ask before anything adhesive or plumbed, and treat the wet zone as no-man's-land for stick-on products. Once the tub looks intentional, the rest of your renter bathroom is the easy part, and the vanity right next to it deserves the same deposit-safe logic. Lighting that needs no wiring is its own small project for another day. Save this to Pinterest before your next move so the deposit stays yours.
Frequently Asked Questions
Do tension rods damage the tile in a tub shower combo?
No, a tension rod grips by spring pressure against the walls and leaves no holes or adhesive, so it comes off clean at move-out. The one caveat is very old or loose tile, where constant pressure can stress a weak grout line. On solid, well-set tile a tension rod is the safest mount you can use in a rental.
What's the safest way to add storage to a tub shower combo without drilling?
Hang a caddy from the shower arm or park a freestanding rolling cart beside the tub; both add real storage and touch nothing but the arm or the floor. Skip suction and adhesive shelves in the wet zone, because heat and moisture break the bond over time and the failure can pull paint or tub finish with it.
Can I use peel-and-stick tile around my rental tub?
Only on a dry wall well outside the spray zone, and only after asking your landlord and testing one sheet. In the direct wet zone, steam gets under the seams and the adhesive bonds harder over months, so it tears off paint or glaze on removal. The wet zone is where peel-and-stick turns into a deposit charge.
How do I make an ugly tub floor look better without refinishing it?
Lay a teak or bamboo slat mat over it; it hides stains and adds grip while resting loose on the tub, so it lifts out and leaves with you. Avoid adhesive non-slip strips for a long lease, since the aged glue yellows and can pull the tub's finish when you finally peel it off.